
Slack is a popular workplace communication platform for companies. On top of the usual messaging function, businesses have access to advanced features like the Workflow Builder to create webhooks. In this blog post, we’ll show you how to create an incoming webhook to send a Slack notification from respond.io using HTTP Request.
How to send a Slack notification
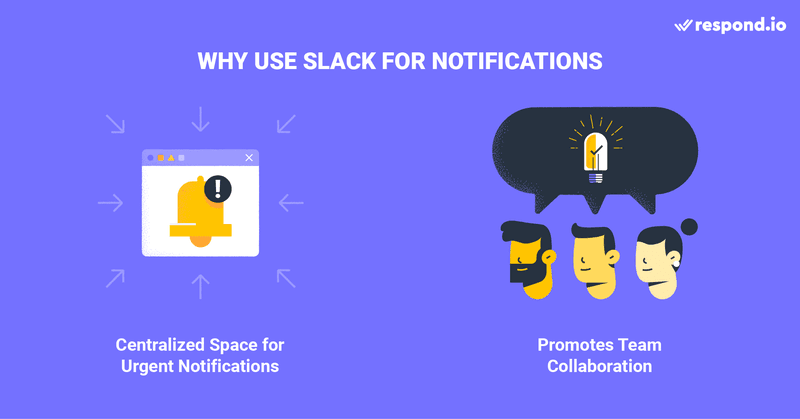
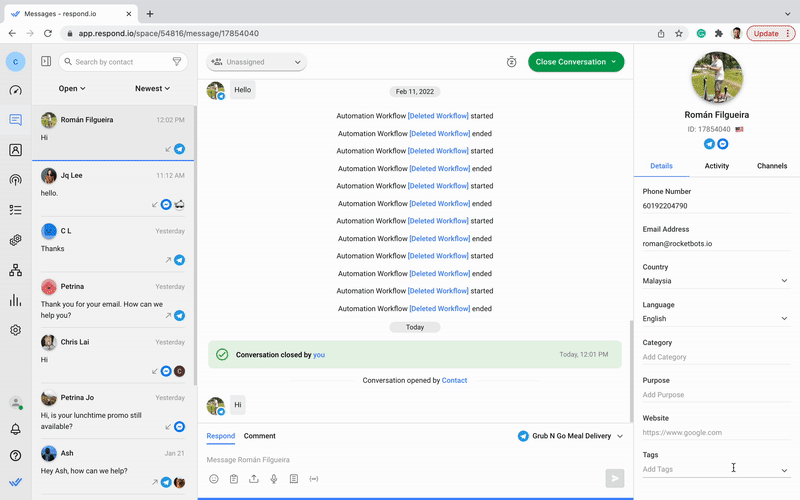
Team members want to receive immediate notifications when important events occur on other platforms. But these notifications don’t come very often. Therefore, having them on a platform that is used on daily basis like Slack is much more convenient.
Receiving notifications on Slack channels helps teams be on the same page. They will have access to the same information and can better collaborate, coordinate and delegate tasks accordingly.
These are some of the benefits of using automatic Slack notifications. Want to set up your own? Let’s go through all the steps needed to send an HTTP Request from respond.io to Slack.
Sending a Slack Notification via respond.io Workflow
This process involves using both respond.io and Slack workflows, so businesses will need an account on both platforms. In respond.io, the HTTP Request Step is available for Business plan and above.
To use Slack workflows, businesses must also sign up for a Slack paid plan. Once ready, the next step is to generate a Slack request URL to be used in a respond.io HTTP Request Workflow.
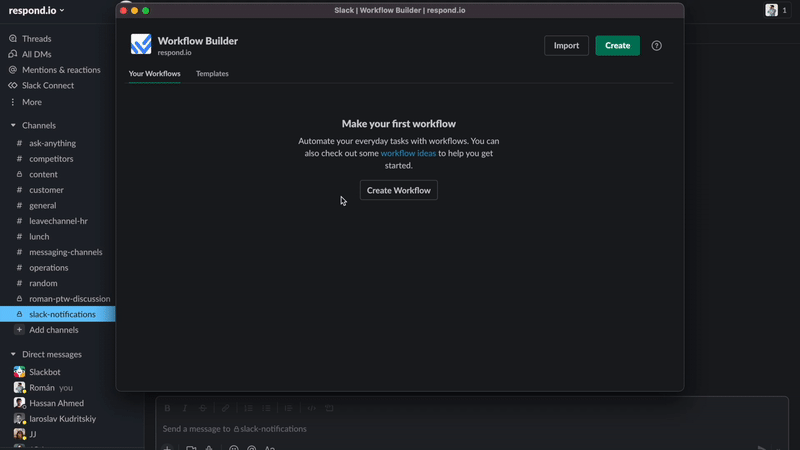
1. Create a Slack workflow
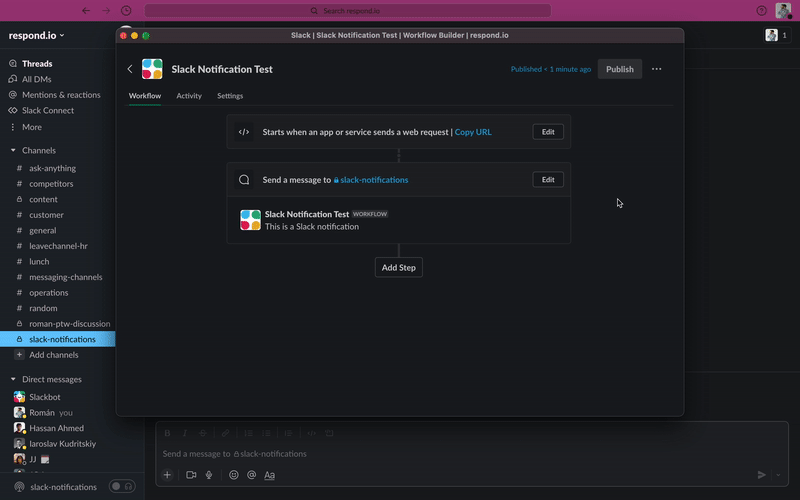
Let’s start by creating a new Slack workflow. First, you must choose a trigger, which is the workflow’s starting point. To exchange information between respond.io and Slack, select the Slack Incoming Webhook trigger.
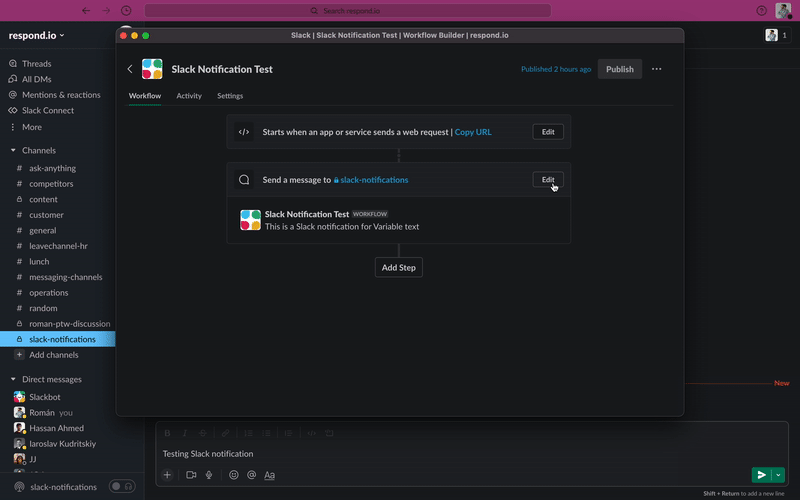
2. Write the Slack notification
We now have a trigger, which initiates the workflow when activated. Since we want to send a notification, choose the Send a Message Step. Click on Publish in the top right to generate an URL. Later, you’ll send an HTTP Post request to this URL from respond.io.

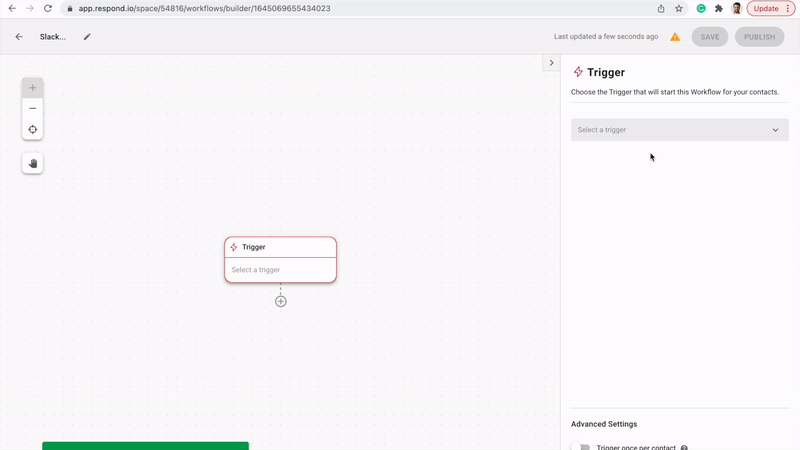
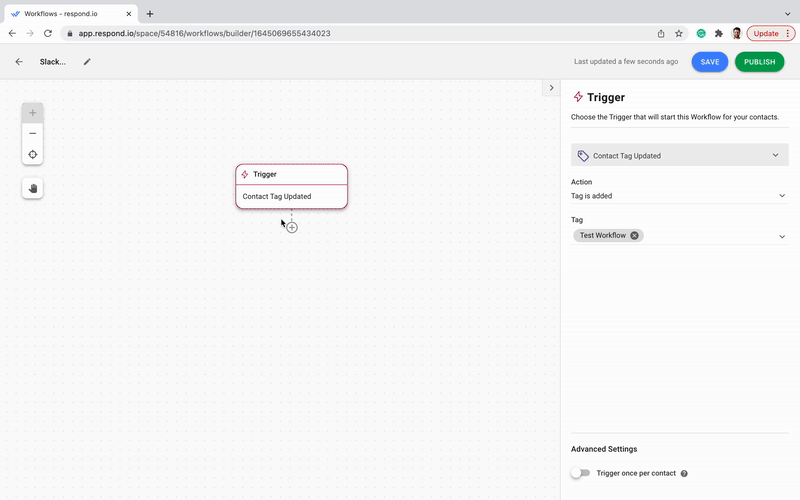
3. Set up a respond.io Workflow
To send a notification to Slack from respond.io, we first need to set up a respond.io Workflow. Start by choosing Contact Tag Updated as a trigger. This will allow you to test the Slack notification by simply adding your Tag of choice to a Contact.
4. Create the connection with your Slack workflow
Since we want to post data from respond.io to Slack, choose Method: POST from the drop-down list. Copy and paste the Slack URL from step 2 here. Now your HTTP request is ready to send data to Slack. Let’s publish it and test the result.
5. Test the notification
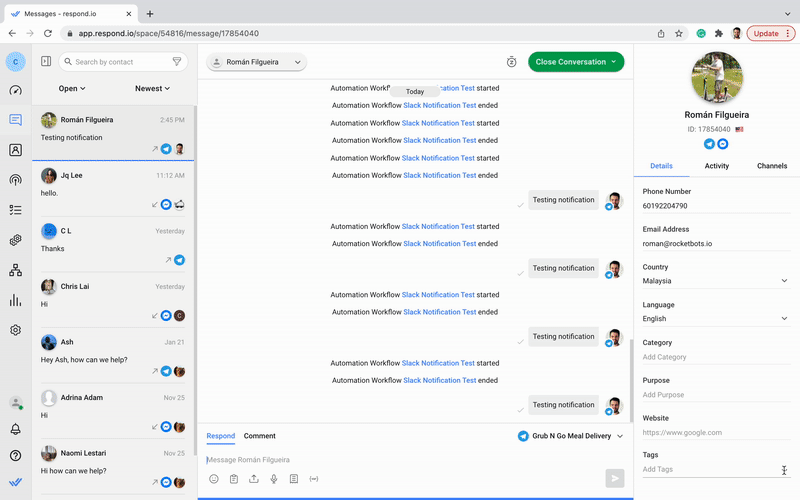
To test the Slack notification, you need to activate the respond.io trigger. Add your tag to a respond.io Contact. Then, open your chosen Slack channel. If the Slack incoming webhook is set correctly, you will receive a new notification.
In some scenarios, sending a simple message like this is all you’ll need. But what happens if, for example, a User wants to send a Slack notification that includes Contact details?
Adding Contact Details to a Slack Notification
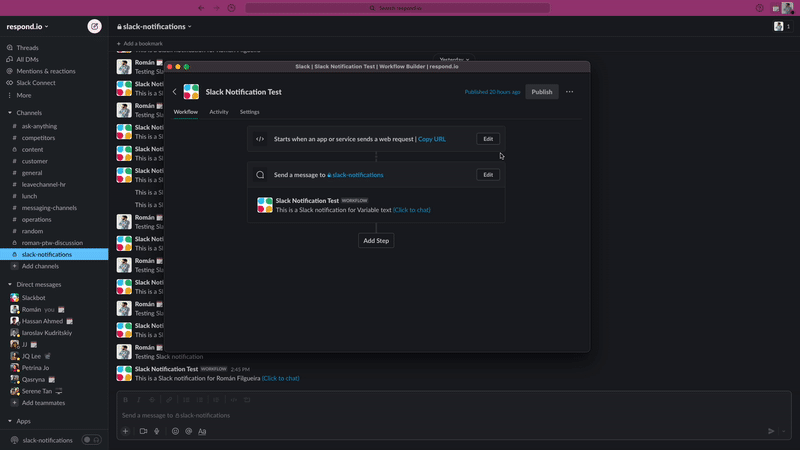
Dynamic variables are key elements in respond.io Workflows, since they allow Users to operate with personalized Contact data. Let’s see how to add dynamic variables to the Slack message body to pass Contact information from respond.io to Slack.
1. Add Slack variables to the message body
To send Contact data in a notification, we need to create the variables on Slack first, followed by respond.io. Once done, you'll need to use the HTTP body with Slack variables generated in the respond.io Workflow.
2. Add dynamic variables to the respond.io Workflow
To customize your Slack notification with the Contact name, copy and paste the HTTP body from Slack to respond.io. Then choose the $contact.name dynamic variable from the drop-down.
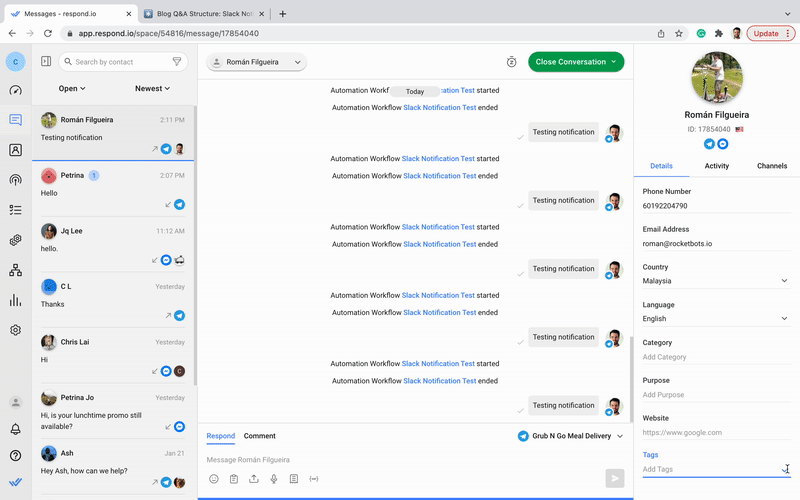
3. Test the notification
To test the notification, go to the respond.io Messages Module. Select a Contact, and assign him/her the tag. Then, open your chosen Slack channel. If everything is set correctly, you will receive a notification with the Contact name.
Sometimes, using dynamic variables is not enough. Users will still need additional context like Contact details or Conversation history when going through their Slack notifications. The easiest way is to add a link to respond.io in the Slack notification.
Making the Conversation Available via Slack
By adding a hyperlink to the Slack notification, respond.io Users can check the Contact’s complete data and Conversation history on respond.io to get a better understanding of their case with just a click.
1. Add a link to the Slack notification
To add a direct link to the respond.io Conversation, return to Slack and edit the Send a Message step. Then, add this URL: https://apps.respond.io/message/{contactID}. Once published, this will be your link to the respond.io Conversation.
2. Test the notification
To test the notification, select a respond.io Contact, and assign him/her the tag. Open your chosen Slack channel. If everything is set correctly, you will find a new message with a hyperlink to respond.io. Click it to make sure it works.
In conclusion, using dynamic variables and hyperlinks to respond.io takes Slack notifications to the next level, allowing Users to get better insight into each Contact. Hence, they can deal with inbound conversations more effectively, which leads to a better customer experience.
This is a simple way of using the HTTP Request Step to make a Slack incoming webhook. But there are other practical ways too in which these can be implemented. We will soon update this article with more useful applications to serve different use cases.
Further Reading
And that’s everything you need to know about Slack notifications with respond.io. If you would like to learn about other interesting topics, check out these articles:
- How to Send a WhatsApp Business Notification
- WhatsApp CRM: Using respond.io as a CRM with WhatsApp Integration
- How to Set Up Facebook Comment Auto Reply