

The Onboarding module guides first-time users through setting up a respond.io Workspace.
By completing the Onboarding module, you will:
Connect a Channel so customer conversations can start flowing into your Inbox
Set up Lifecycle to organize Contacts based on your sales process
Set up an AI Agent to automate conversations and reduce manual work
Invite teammates to your Workspace to collaborate and distribute the workload
What is the Onboarding module?
The Onboarding module is a step-by-step checklist for first-time users on the respond.io platform. It ensures the Workspace is properly configured for:
Receiving and managing customer conversations
Tracking leads and customers using Lifecycle
Automating conversations using AI Agents
Collaborating with teammates
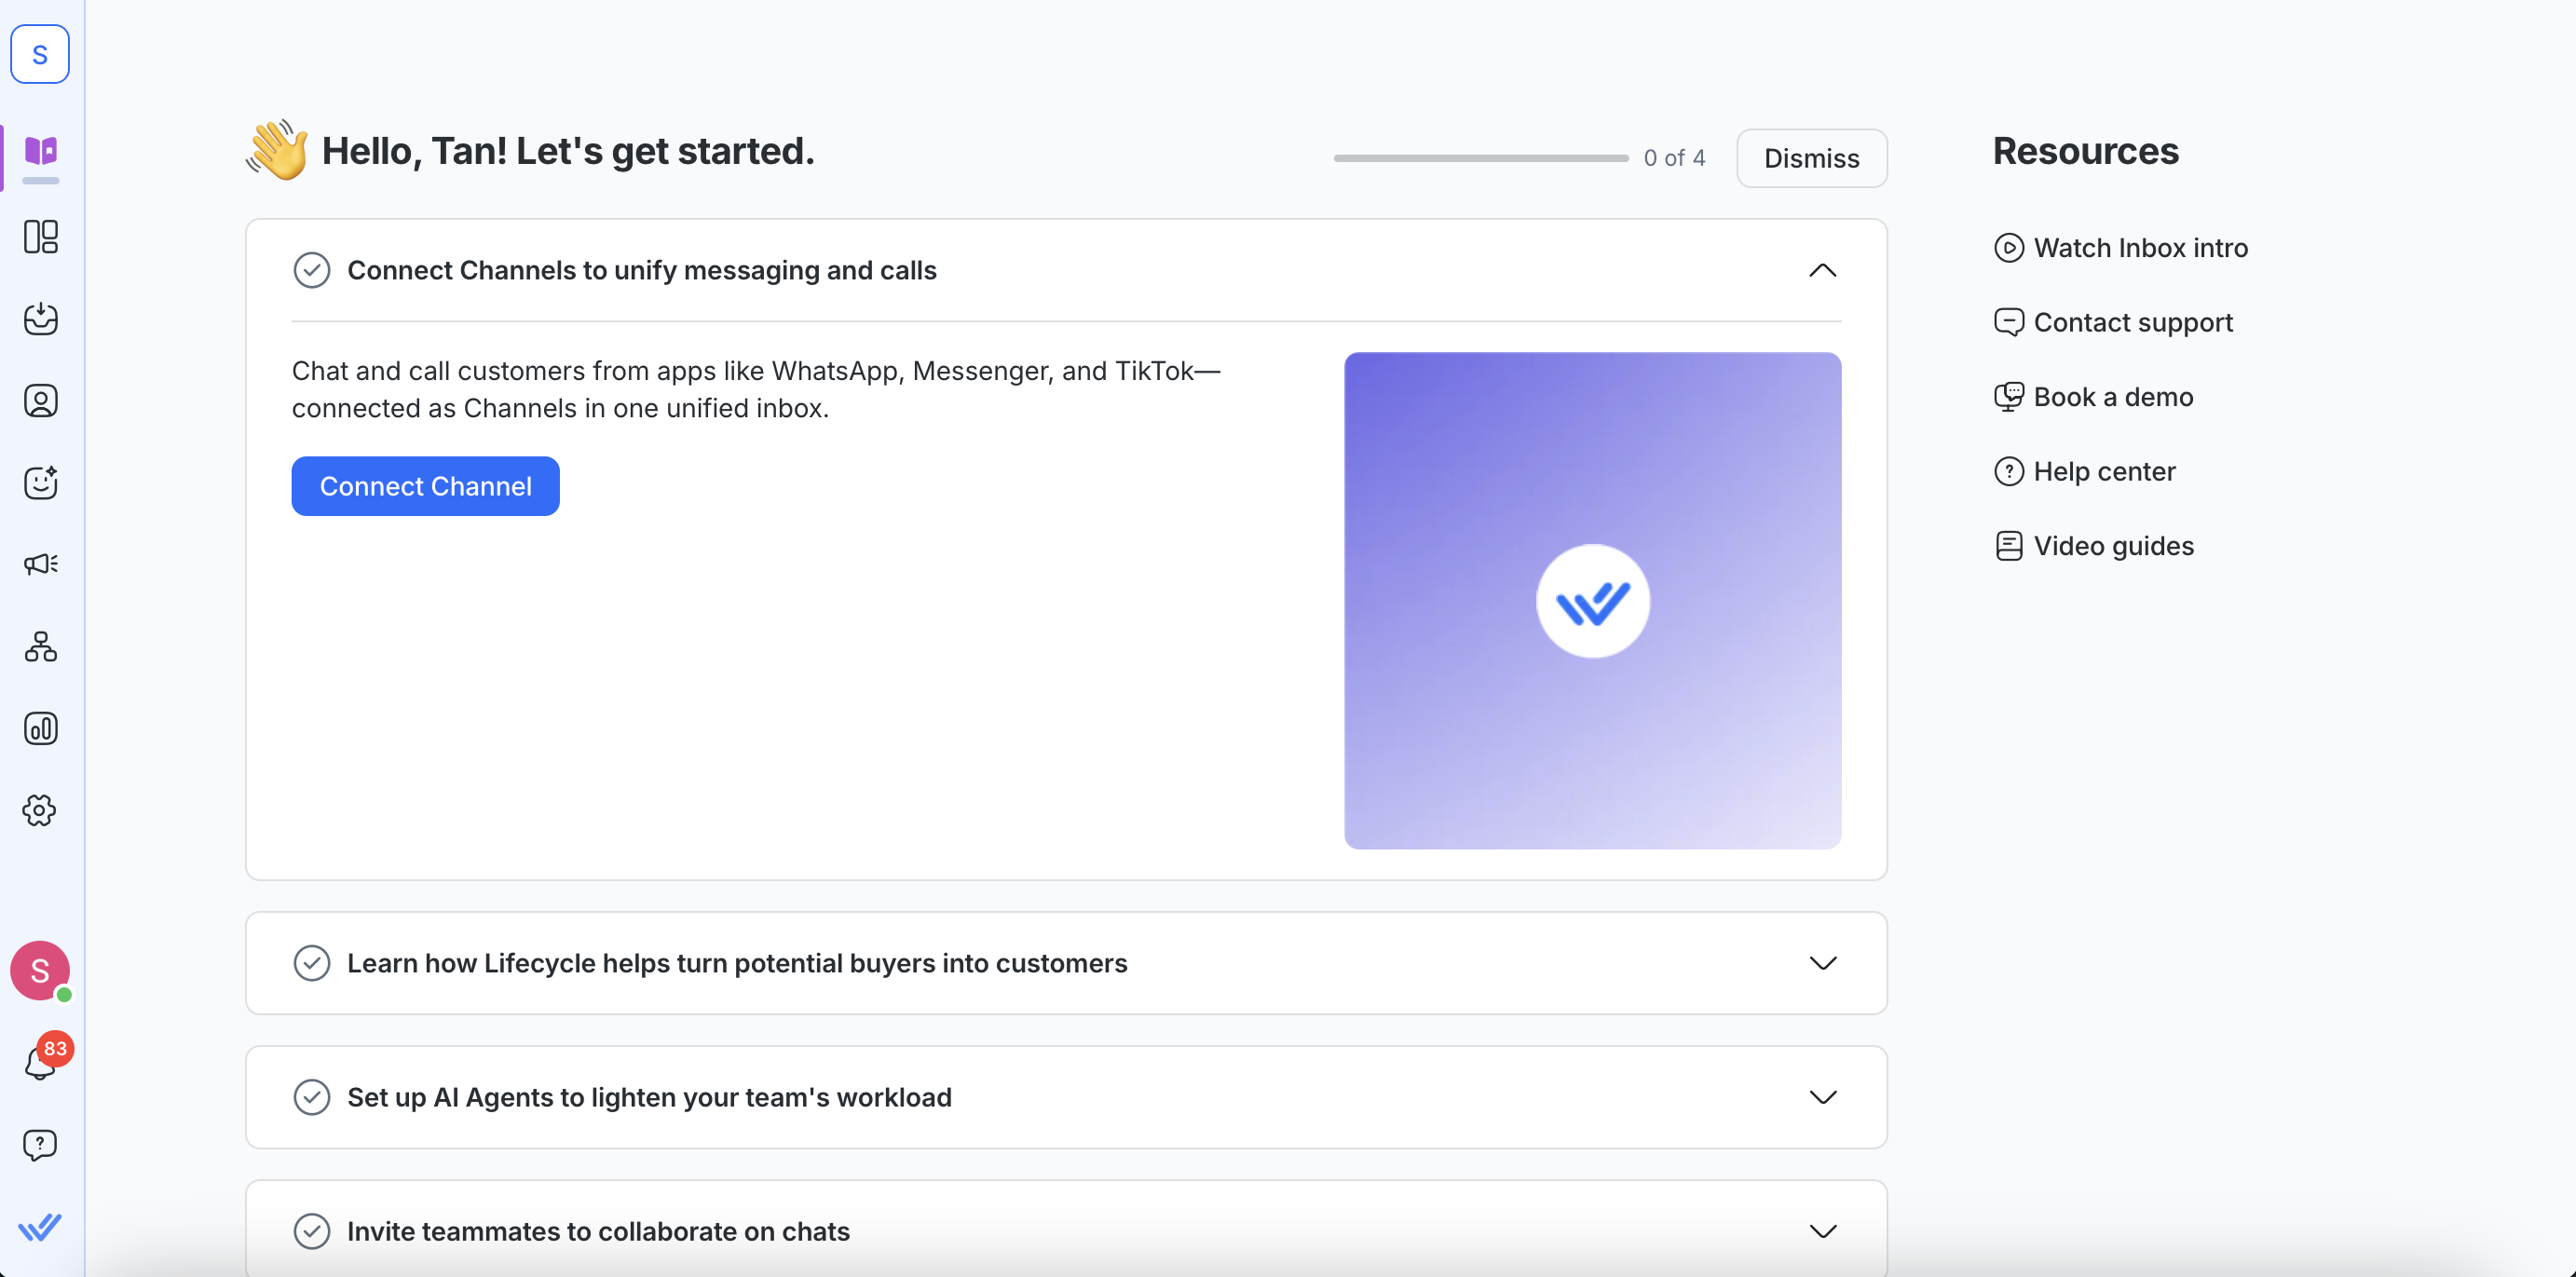
Note: Only Workspace Owners can dismiss the checklist. Once dismissed, the onboarding icon is removed from the navigation sidebar for all users in the Workspace.
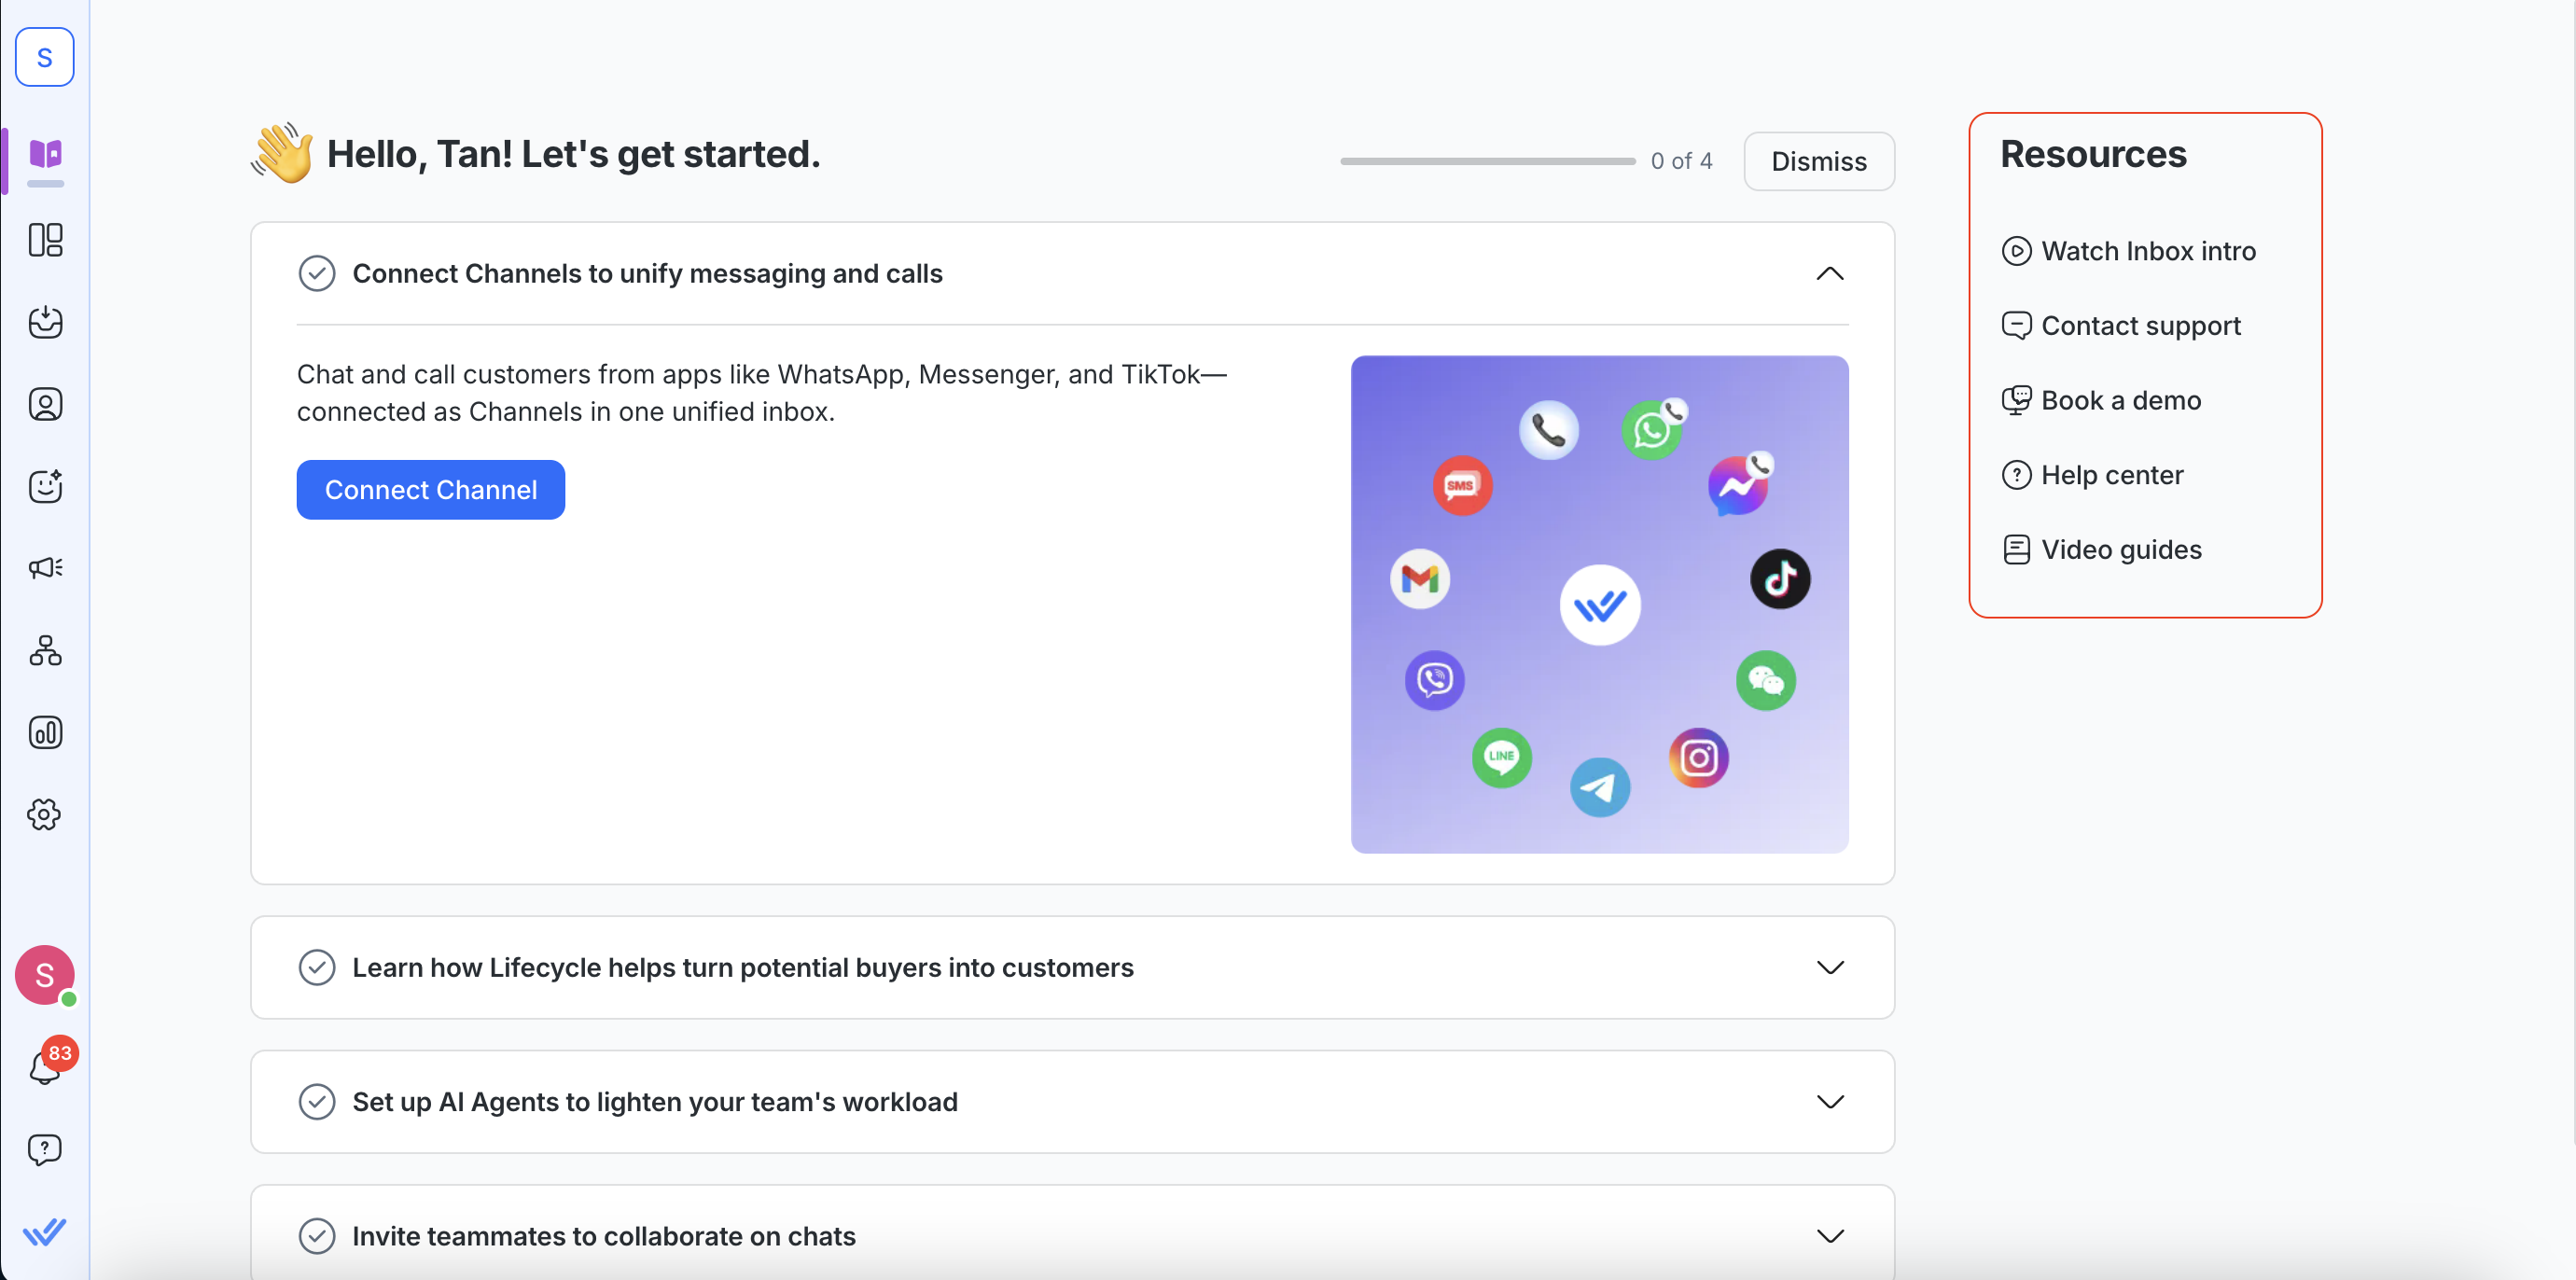
Step 1: Connect Channels to unify messages and calls
To get started, connect at least one messaging Channel to your Workspace. This means your customers can reach out from whichever platform they choose and your team can handle everything in one place.
Once you connect a Channel:
Customer messages appear in your Inbox
Your team can reply from one unified workspace
Conversations from different platforms are centralized in one place
You can also manage calls (where supported)
View the full list of supported Channels and setup guides here.
Step 2: Learn how Lifecycle helps turn potential buyers into customers
Once your Channel is connected and conversations are coming in, track and organize Contacts based on where they are in your sales process.
Lifecycle helps you and your team:
Track new leads from their first message
Identify high-intent Contacts
Monitor conversion progress across stages
View pipeline performance in the Reports module
Organize Contacts based on sales readiness
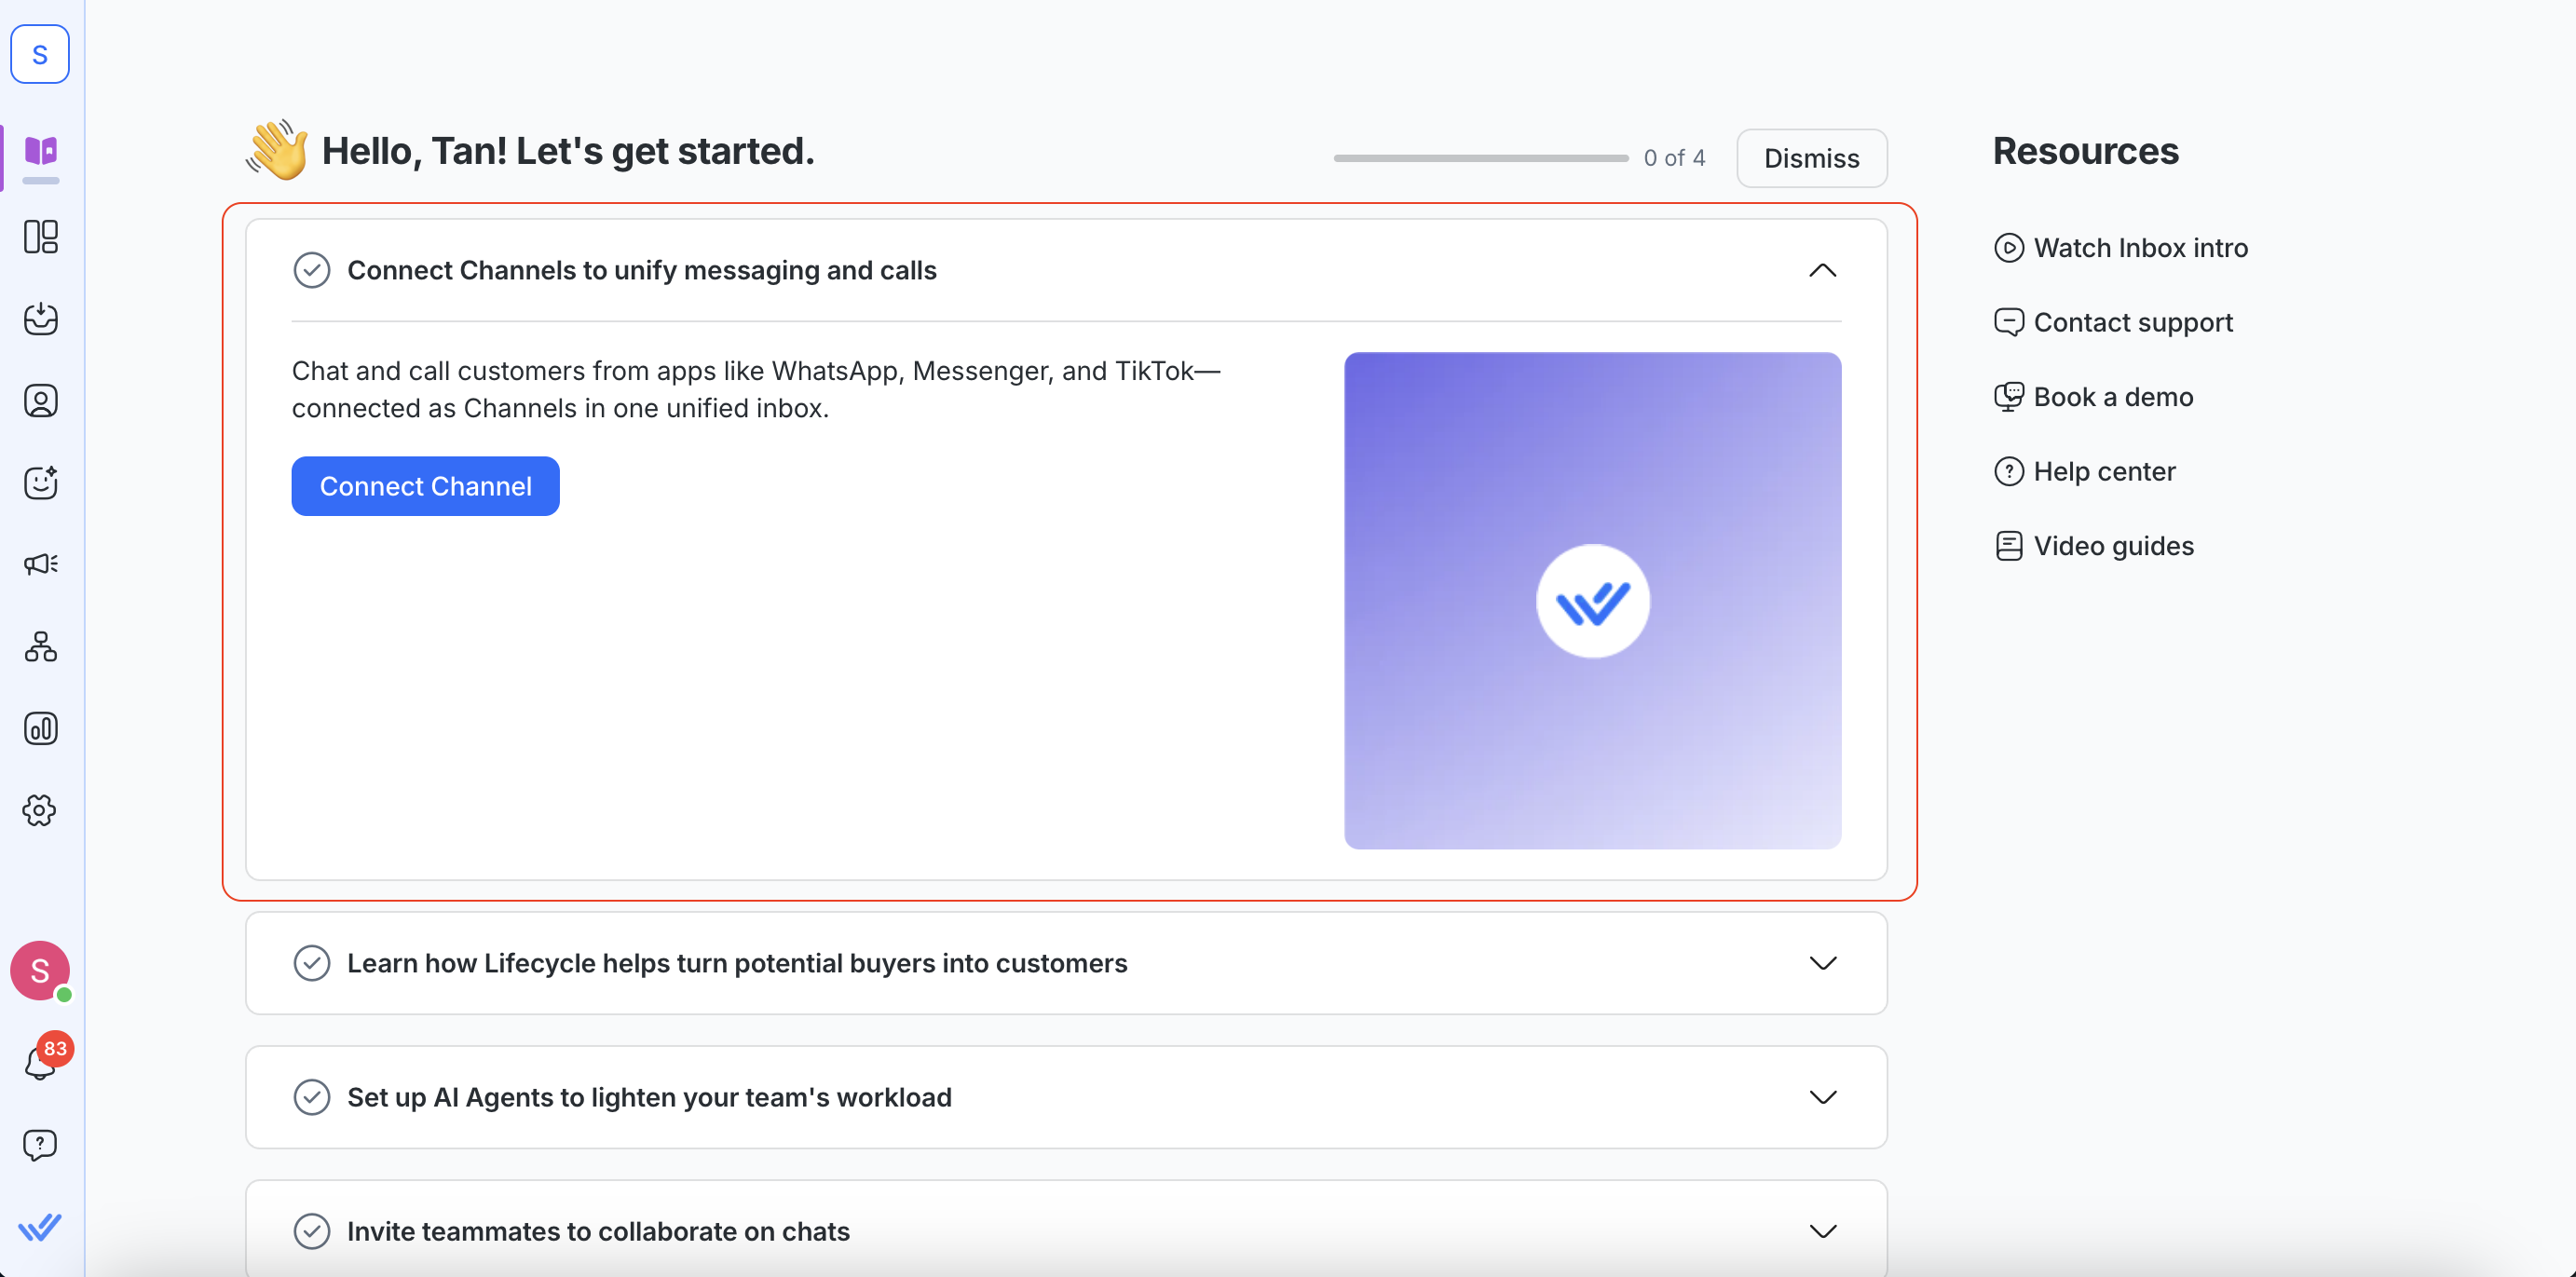
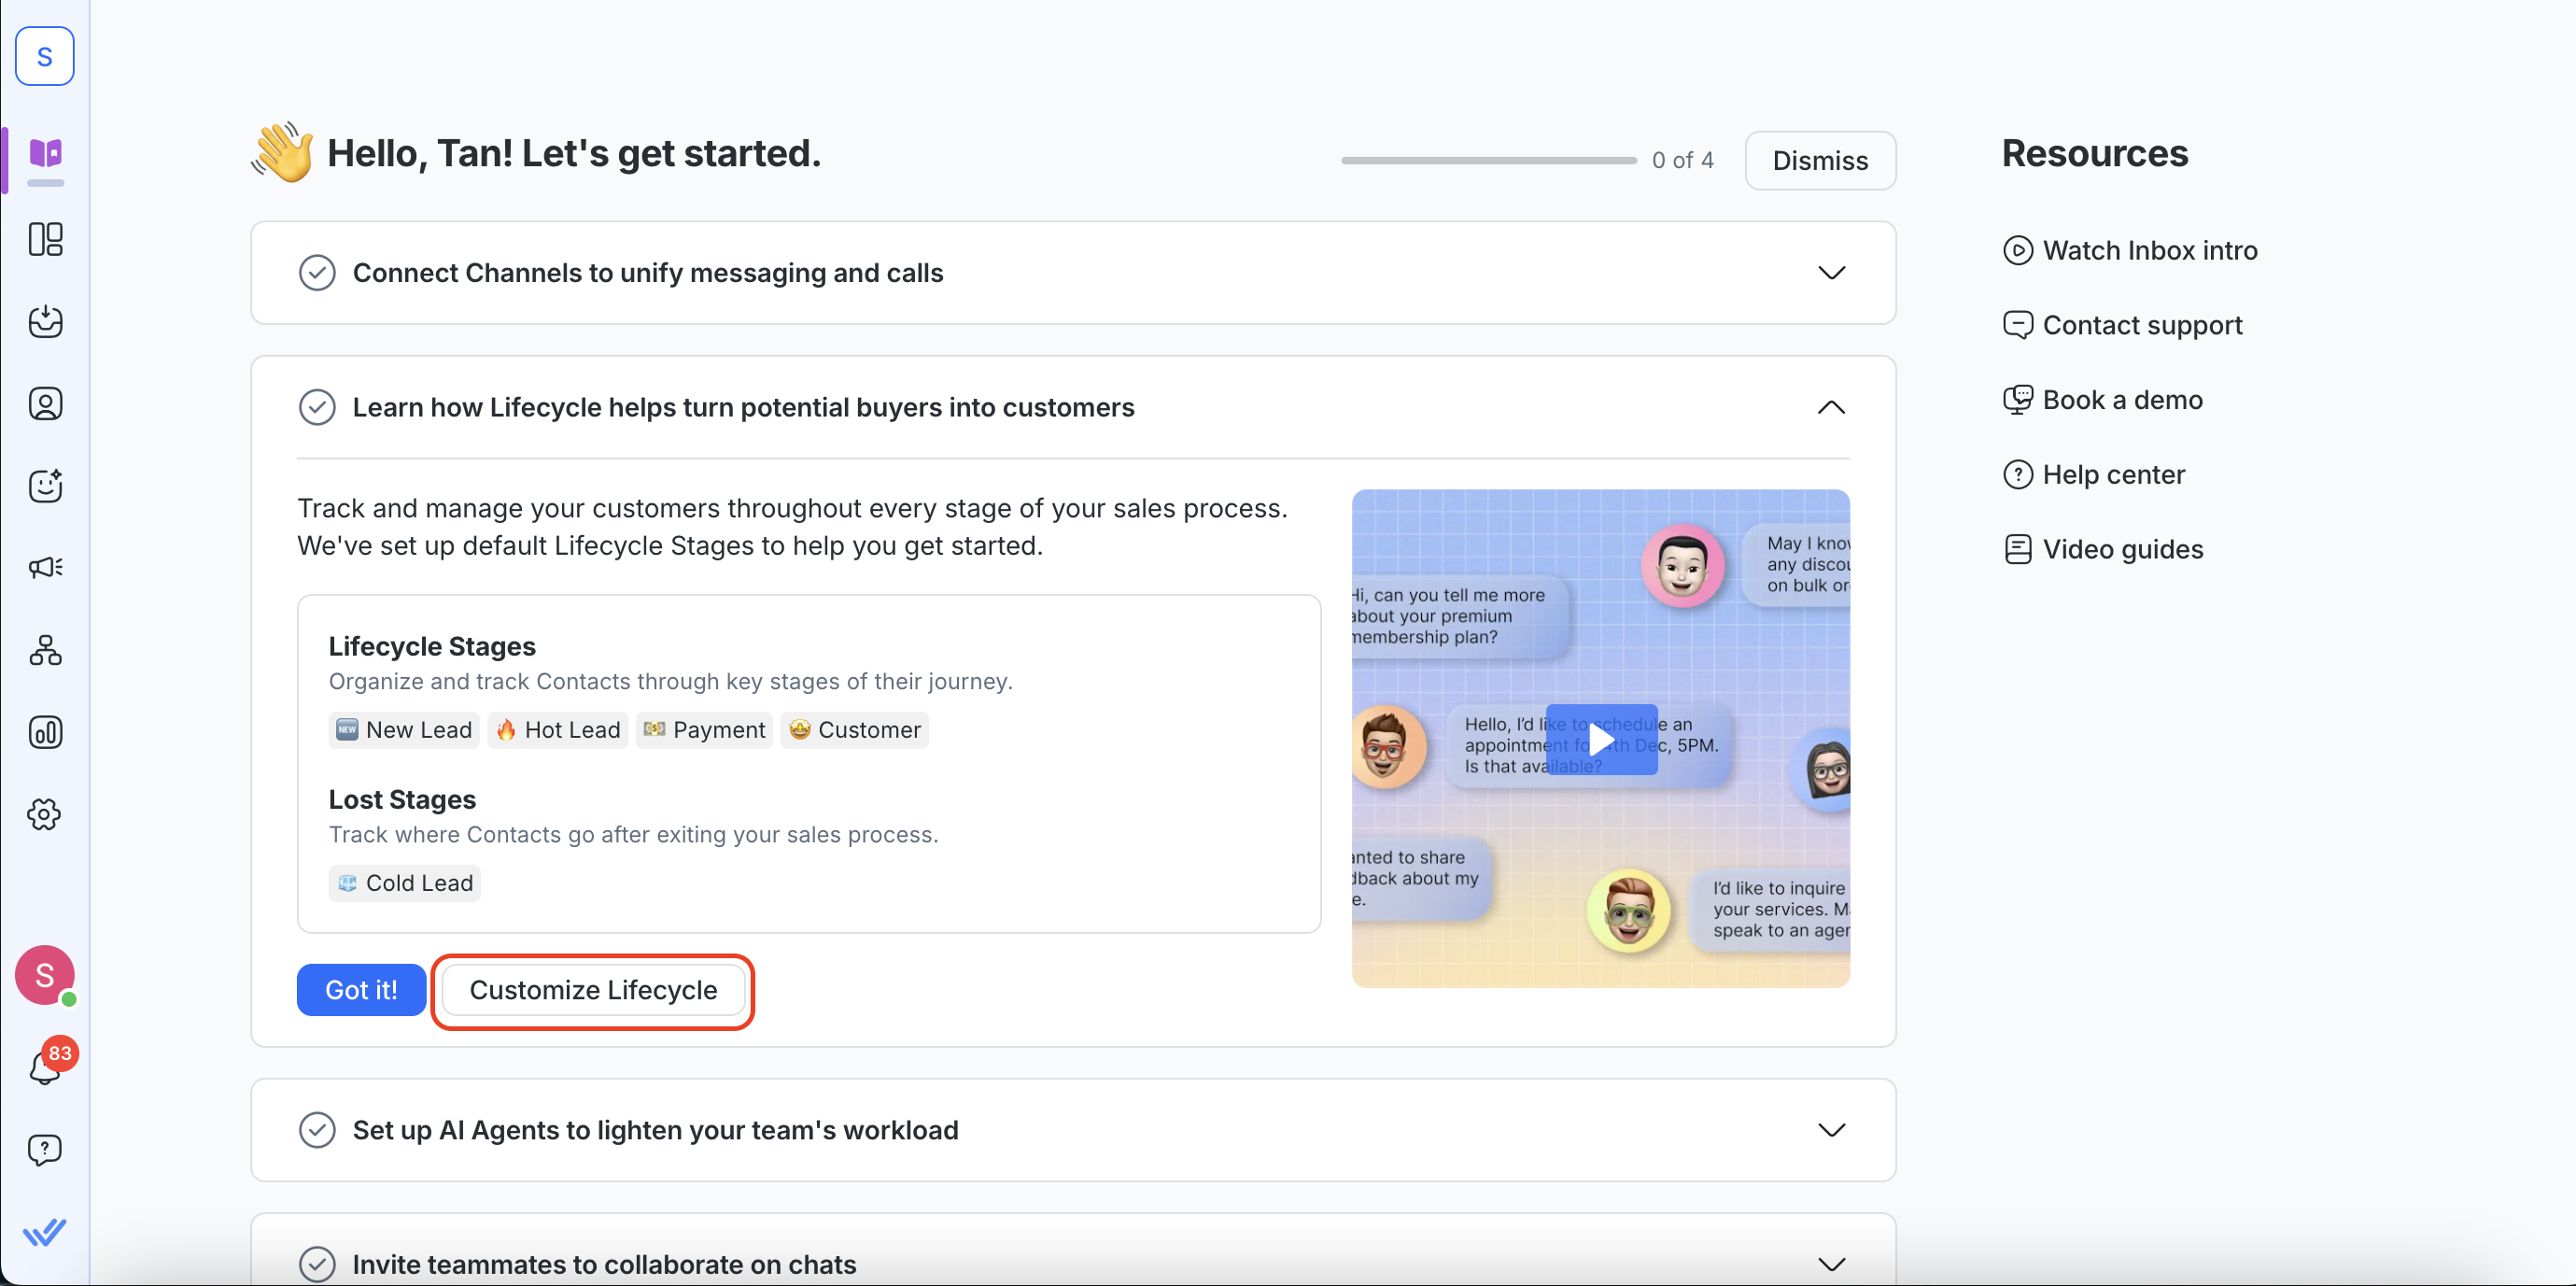
Every Workspace includes default Lifecycle stages. This allows you to immediately start tracking Contacts without additional setup. If your sales process is different, you can customize Lifecycle by adding or removing stages. Click Customize Lifecycle to align Lifecycle with your sales funnel.
Learn more about Lifecycle.
Step 3: Set up AI Agents to lighten your team's workload
Now that you've connected a Channel and set up Lifecycle stages that match your sales funnel, you're ready to introduce an automation to automate conversations.
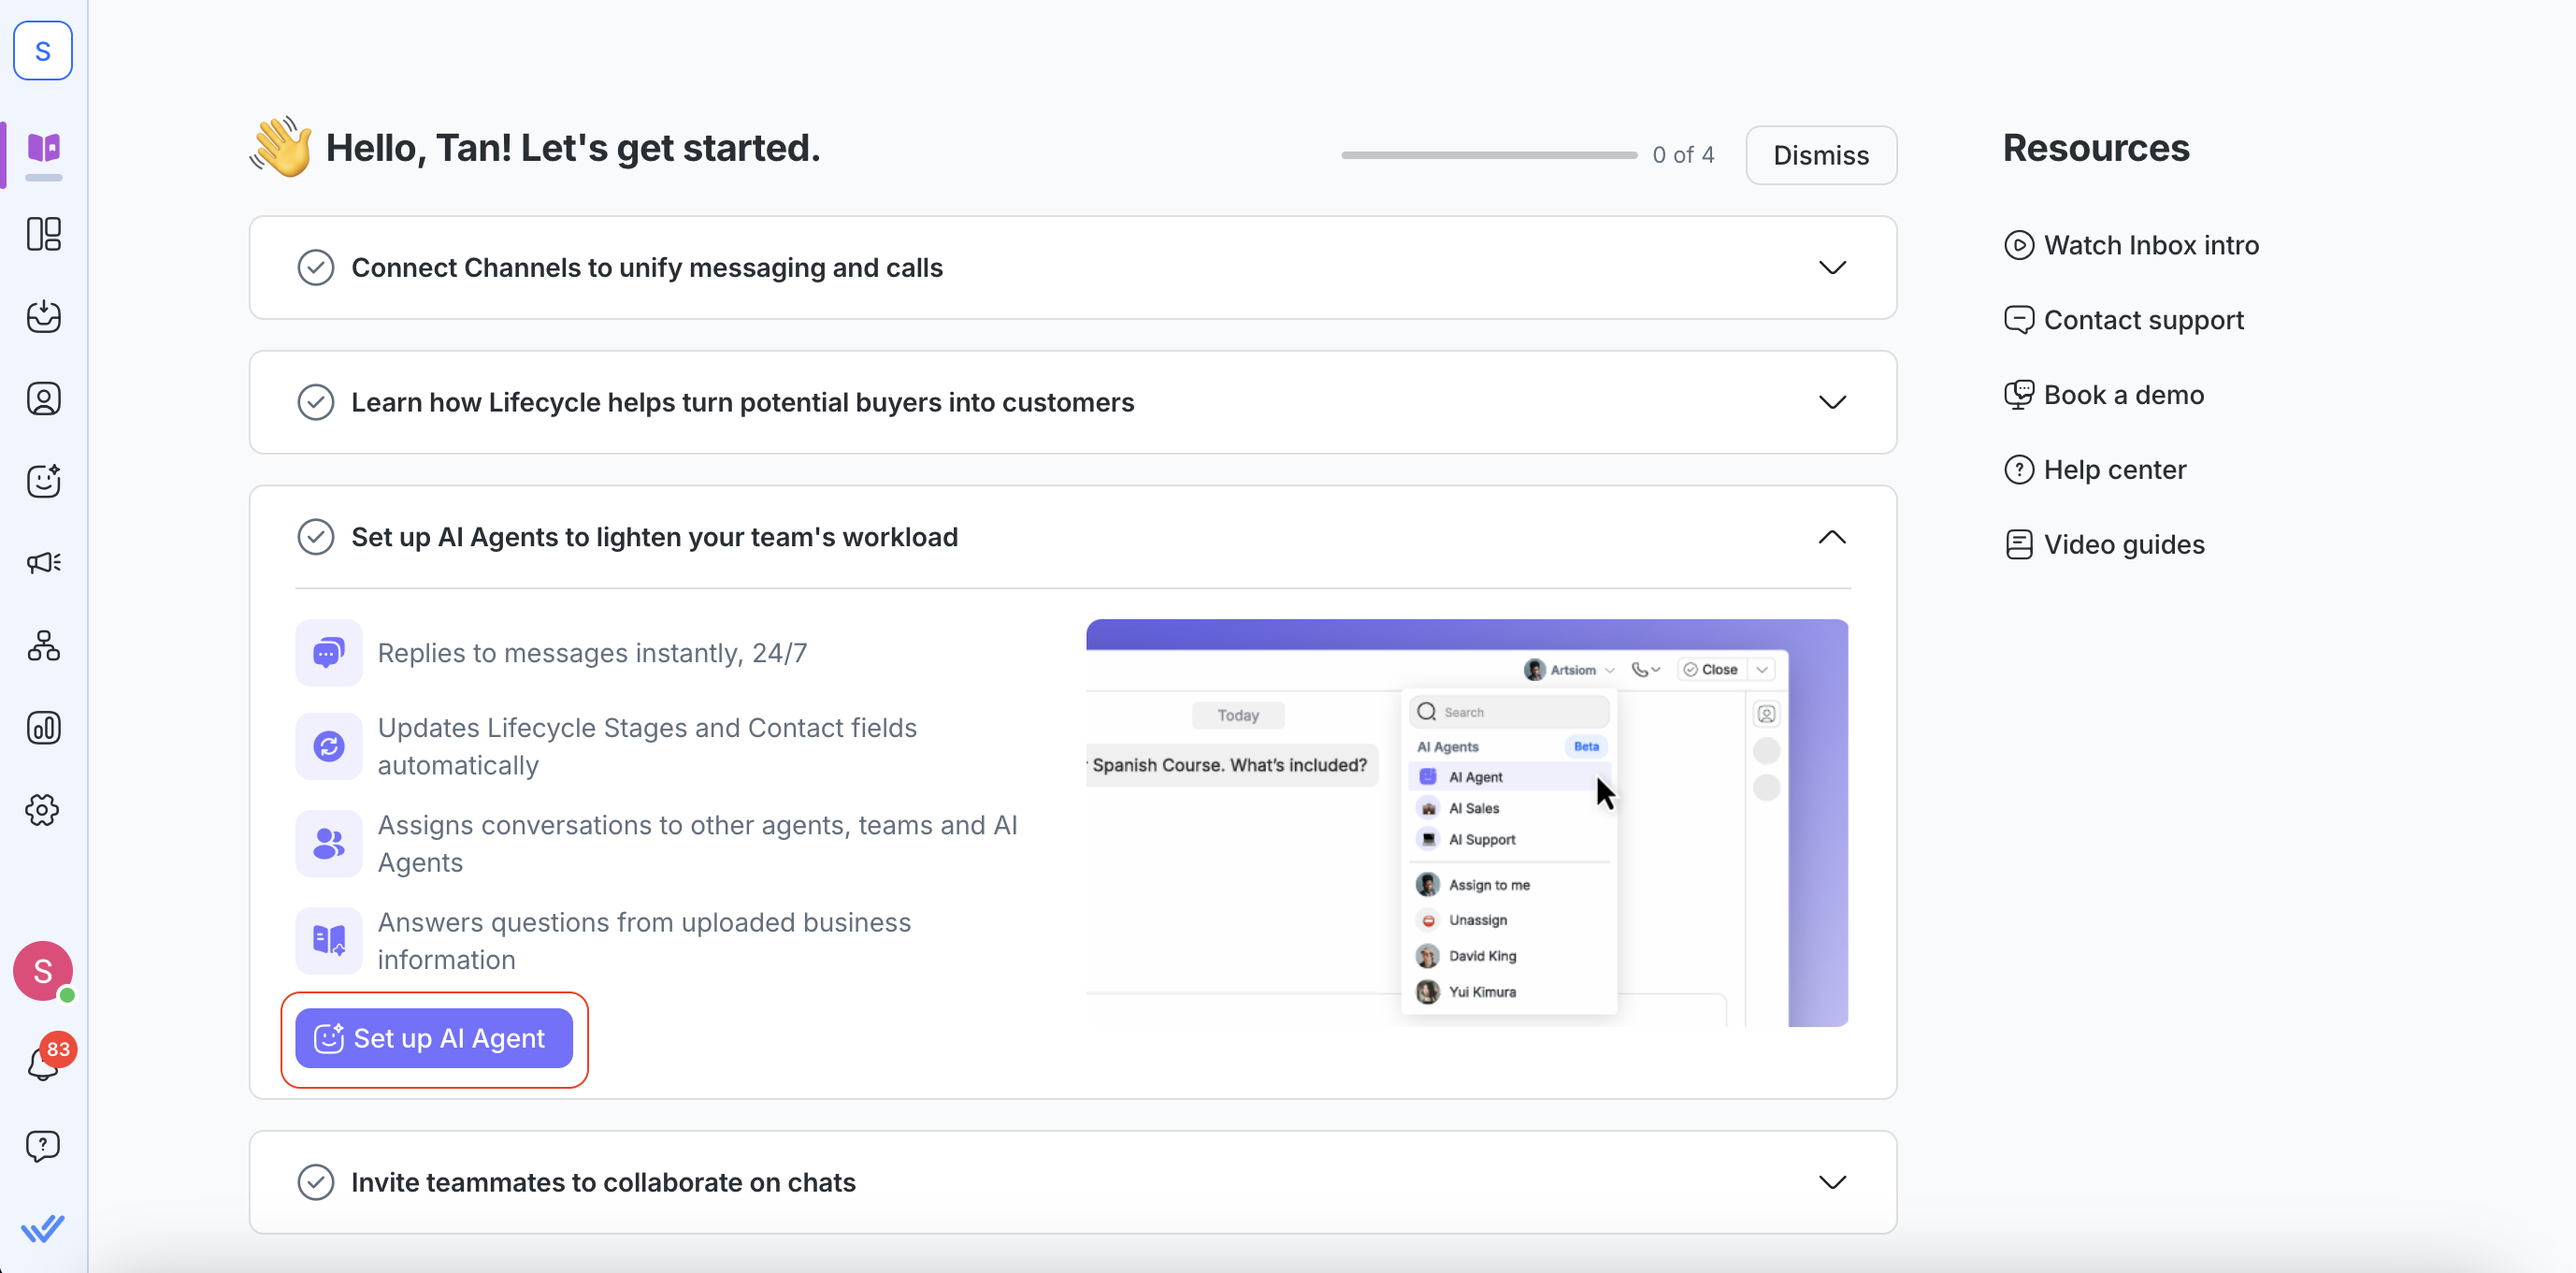
The best automation for this is AI Agents. From replying to customers 24/7, to assigning conversations to other agents or teams, AI Agents can help your team reduce manual workload and improve response times.
Click Set up AI Agent to create your first AI Agent.
Learn more about:
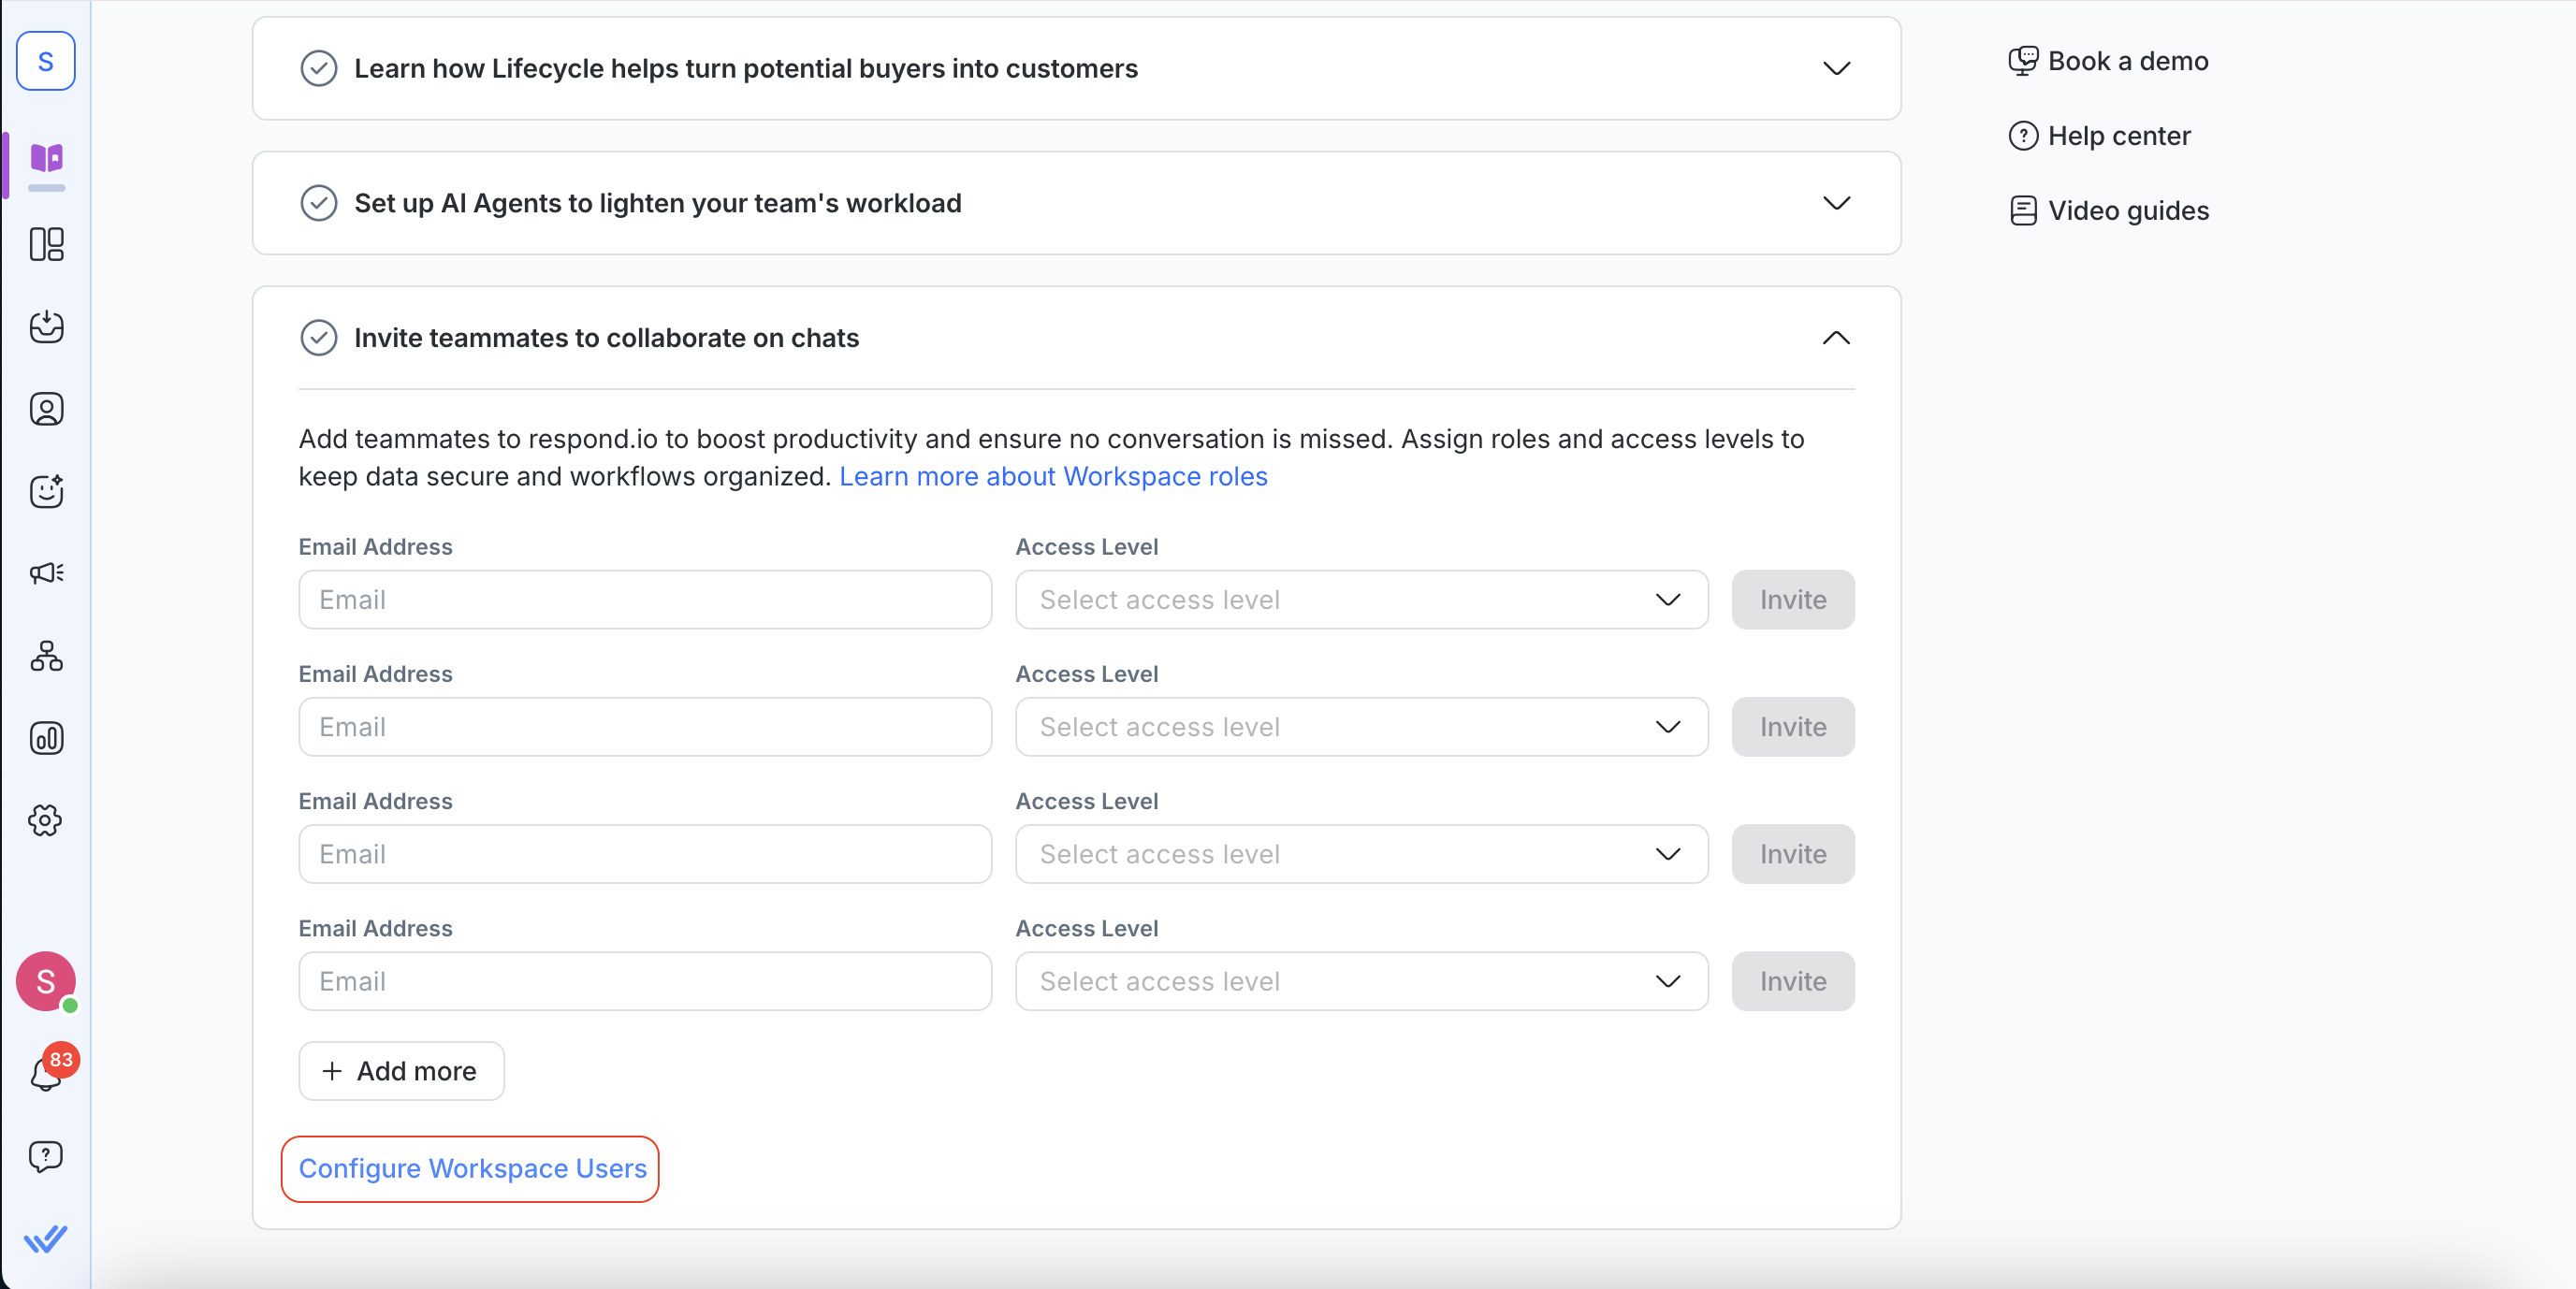
Step 4: Invite teammates to collaborate on chats
With your Channels, Lifecycle, and AI Agent configured, invite the rest of your team so they can share Inbox access, take on conversations, and distribute the workload.
Each teammate is assigned an access level — owner, manager, or agent — that controls what they can see and do in the Workspace.
Learn how to add users and organize them into Teams.
Resources in the Onboarding module
On the right side of the Onboarding module, you'll find a Resources list. This list provides shortcuts for learning and support.
The Resources list includes:
A video walkthrough of the Inbox module
Direct links to contact the Support team
A link to book a demo with the Sales team
Access to the respond.io Help Center
A collection of respond.io tutorial videos
What's next?
Let's move on to connecting your first messaging Channel.


