

When a Contact messages the business, responding immediately sets the right expectations. For Growth plan users and above, an AI Agent is the recommended approach — it handles the first interaction as a real conversation, understands the contact's intent and can route them to the right team. Workflows are the alternative when a simpler, fixed reply is sufficient.
Before you begin
A messaging Channel must be connected to the Workspace.
AI Agents require a Growth plan or higher.
Workflows are available on Growth plan or higher.
Method 1: Use an AI Agent (Recommended)
Plan requirement: Growth plan or higher. See plans here.
An AI Agent does more than send a welcome message — it handles the first interaction as a real conversation. When assigned to a conversation, the Receptionist template greets the contact, understands their intent, asks follow-up questions and routes them to the right team based on context. Unlike a Workflow, the agent does not automatically turn off outside business hours — it continues responding based on the instructions it's been given.
Set up the AI Agent first
Create a Receptionist AI Agent, then configure the instructions below before publishing. See Getting Started with AI Agents for the full setup guide.
Once published, you can set the AI Agent as the default assignee for incoming conversations in your Workspace settings.
Configure a welcome response
The Receptionist template includes pre-filled welcome instructions. Open the Instructions field and review the defaults — the greeting, tone and opening question are already configured. Update any placeholders with your actual team names, user roles or agent persona, and adjust the style to match your business.
Configure an out-of-office response
The AI Agent does not turn off during out-of-office hours — it continues responding and adjusts based on its instructions. It has no automatic awareness of your business hours or timezone, so these must be explicitly stated in the Instructions field:
State the business's office hours and timezone (e.g., Monday to Friday, 9am to 6pm SGT)
Tell the contact when a human will next be available
Let them know the team will follow up when office hours resume
Actions to enable for out-of-office handling:
Assign to agent or team — routes the conversation to the right team or agent based on the AI Agent's instructions (note: assignments happen immediately, not at a scheduled future time)
Close and summarize conversation — closes the chat once the AI Agent has fully resolved the interaction. Use only when no human follow-up is needed; if the contact still requires a human, use Assign to agent or team instead
For a ready-to-use prompt, see the Office hours and SLA awareness example in the Receptionist template section of the Getting Started with AI Agents guide.
Method 2: Use Workflows
Plan requirement: Growth plan or higher. See plans here.
The Welcome Message and Away Message Workflow templates send a fixed text message when a conversation opens. No conversation takes place — the message is sent once and the contact waits for a human to follow up. Use this method when a simple, static reply is sufficient.
Option A: Basic welcome or away message
Use this option to send a greeting immediately when a conversation opens, or to notify Contacts that no agent is available.
Welcome message
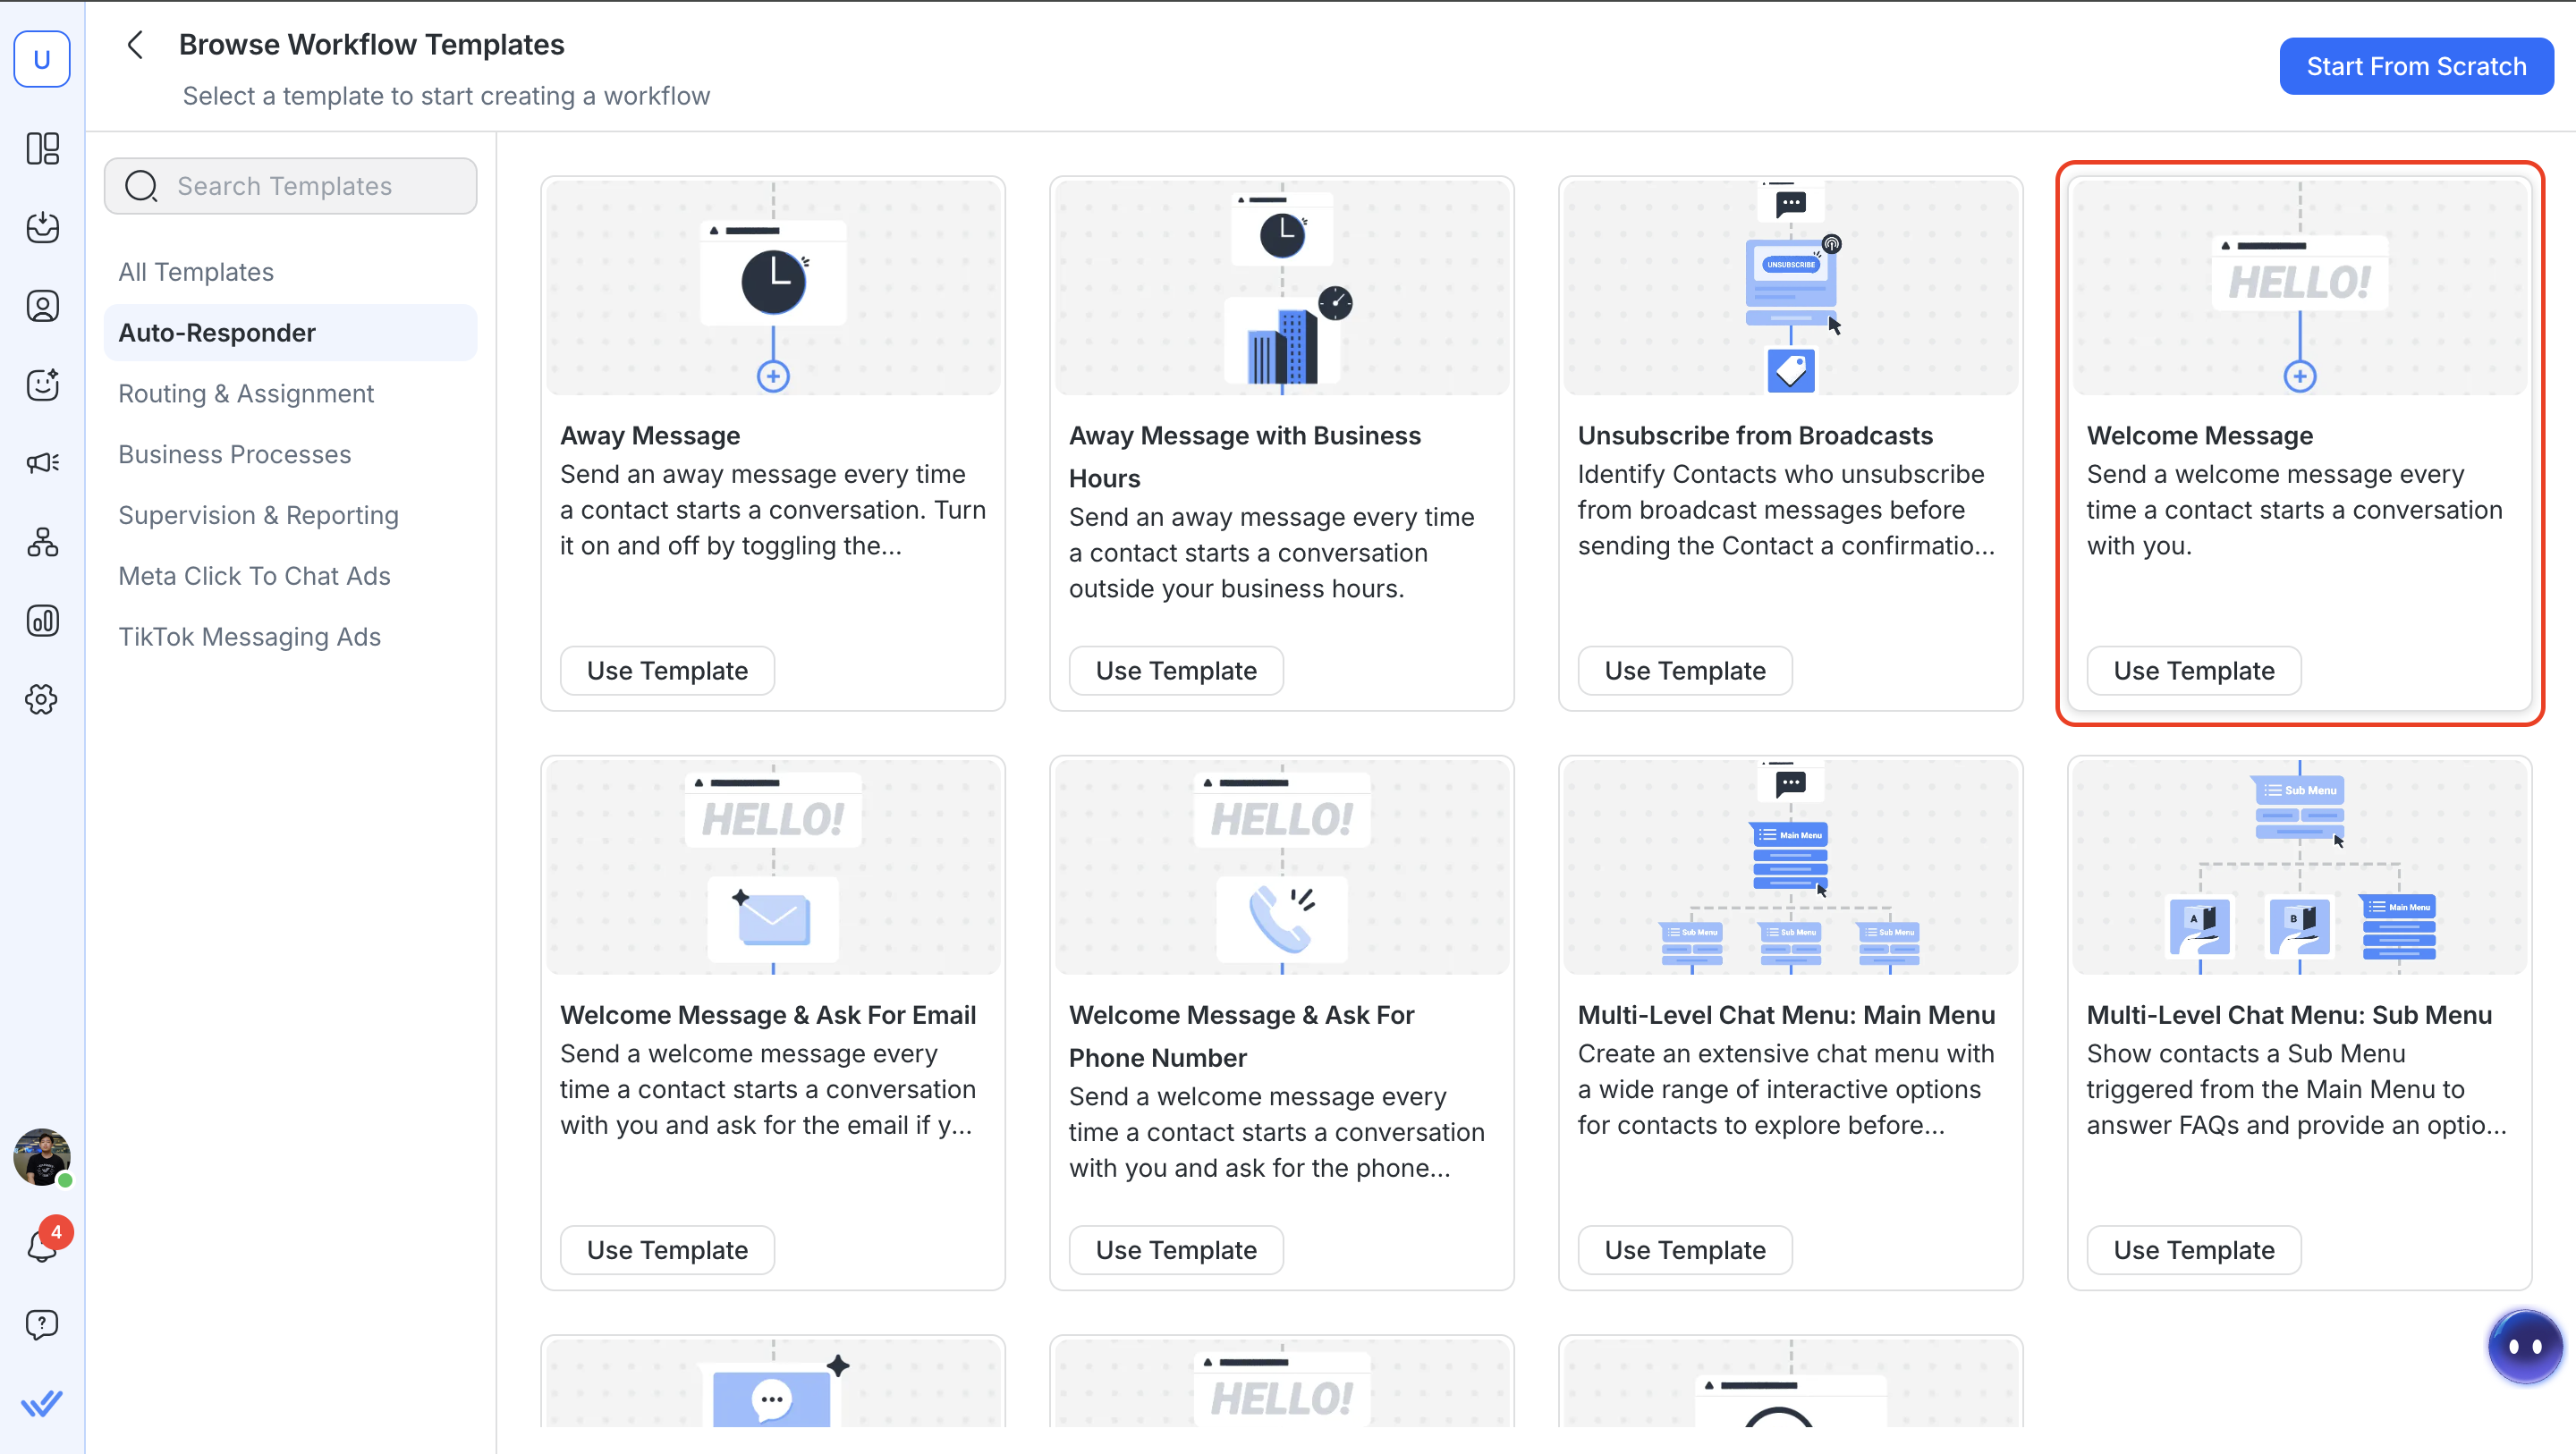
Navigate to Workflows > + Add Workflow.
Select Welcome Message > Use Template.
Click the Welcome Message step and edit the message content.
Keep the Message Type as Text.
Click Save and Publish to activate the Workflow.
Away message
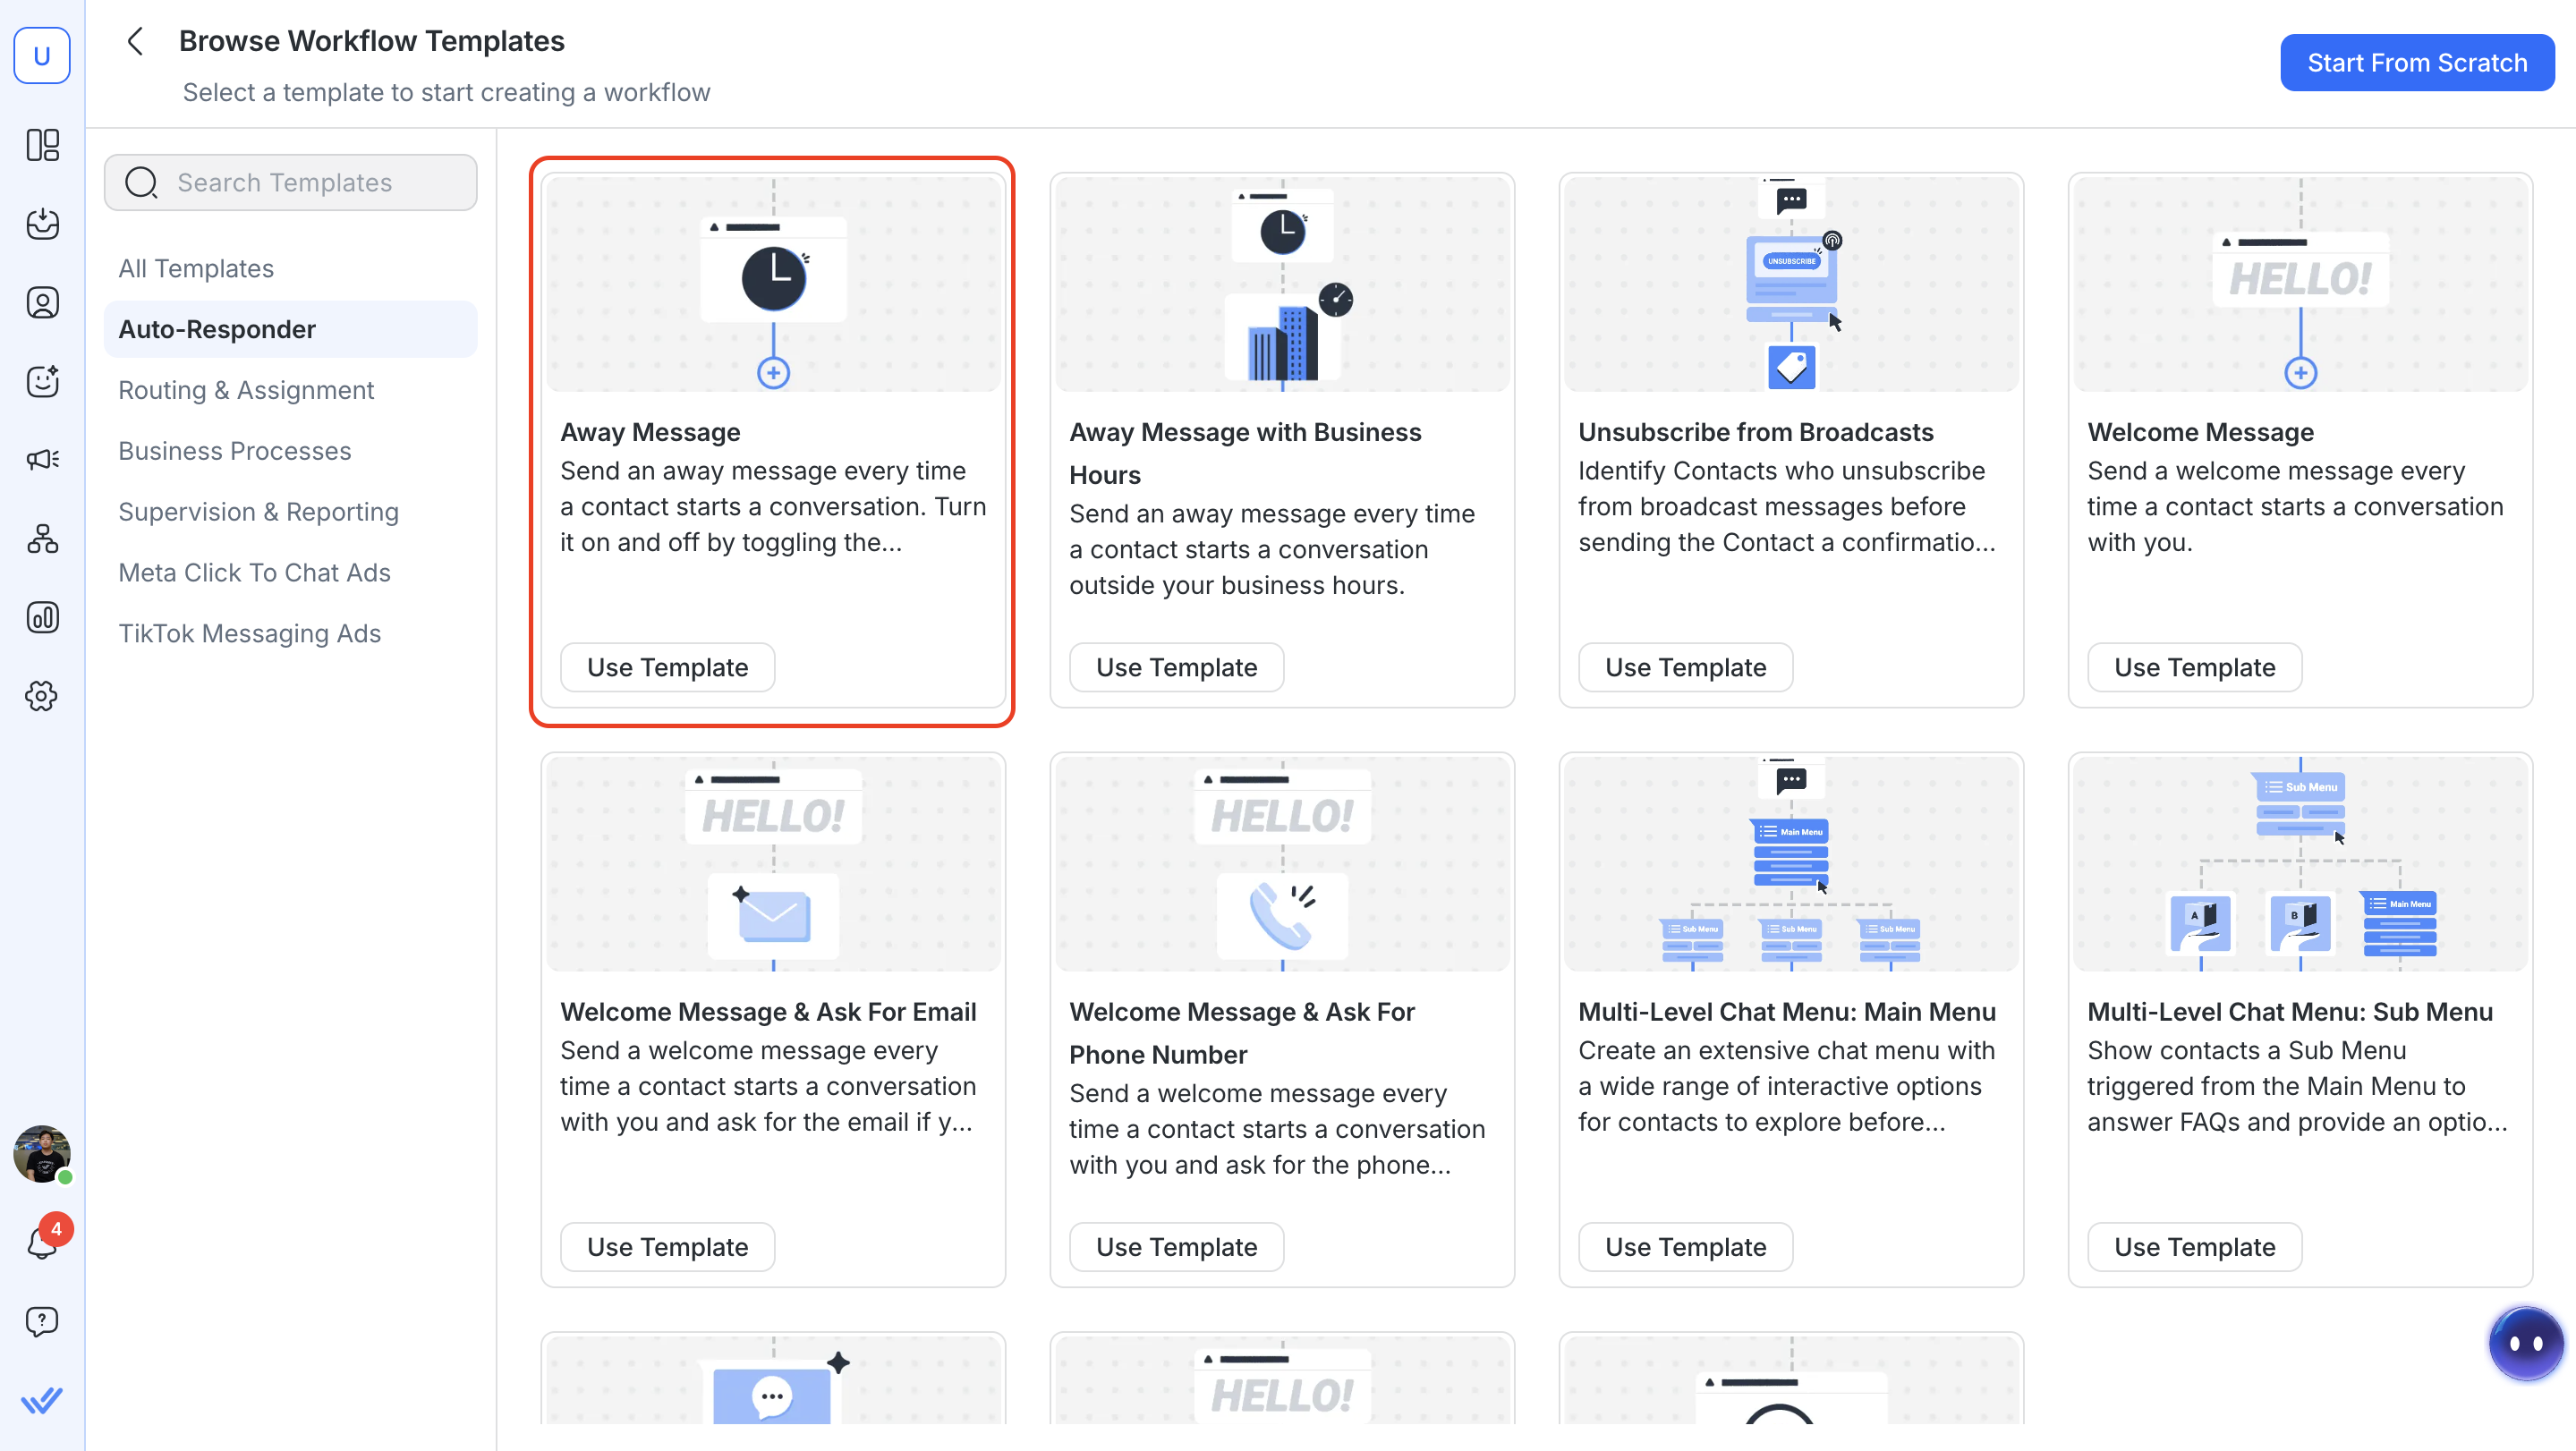
Navigate to Workflows > + Add Workflow.
Select Away Message > Use Template.
Click the Away Message step and edit the message content.
Keep the Message Type as Text.
Click Save and Publish.
Turn the away message Workflow on when agents are unavailable and off when they return.
Learn more about Workflow Templates and the Send a Message step.
Option B: Welcome and away messages based on business hours
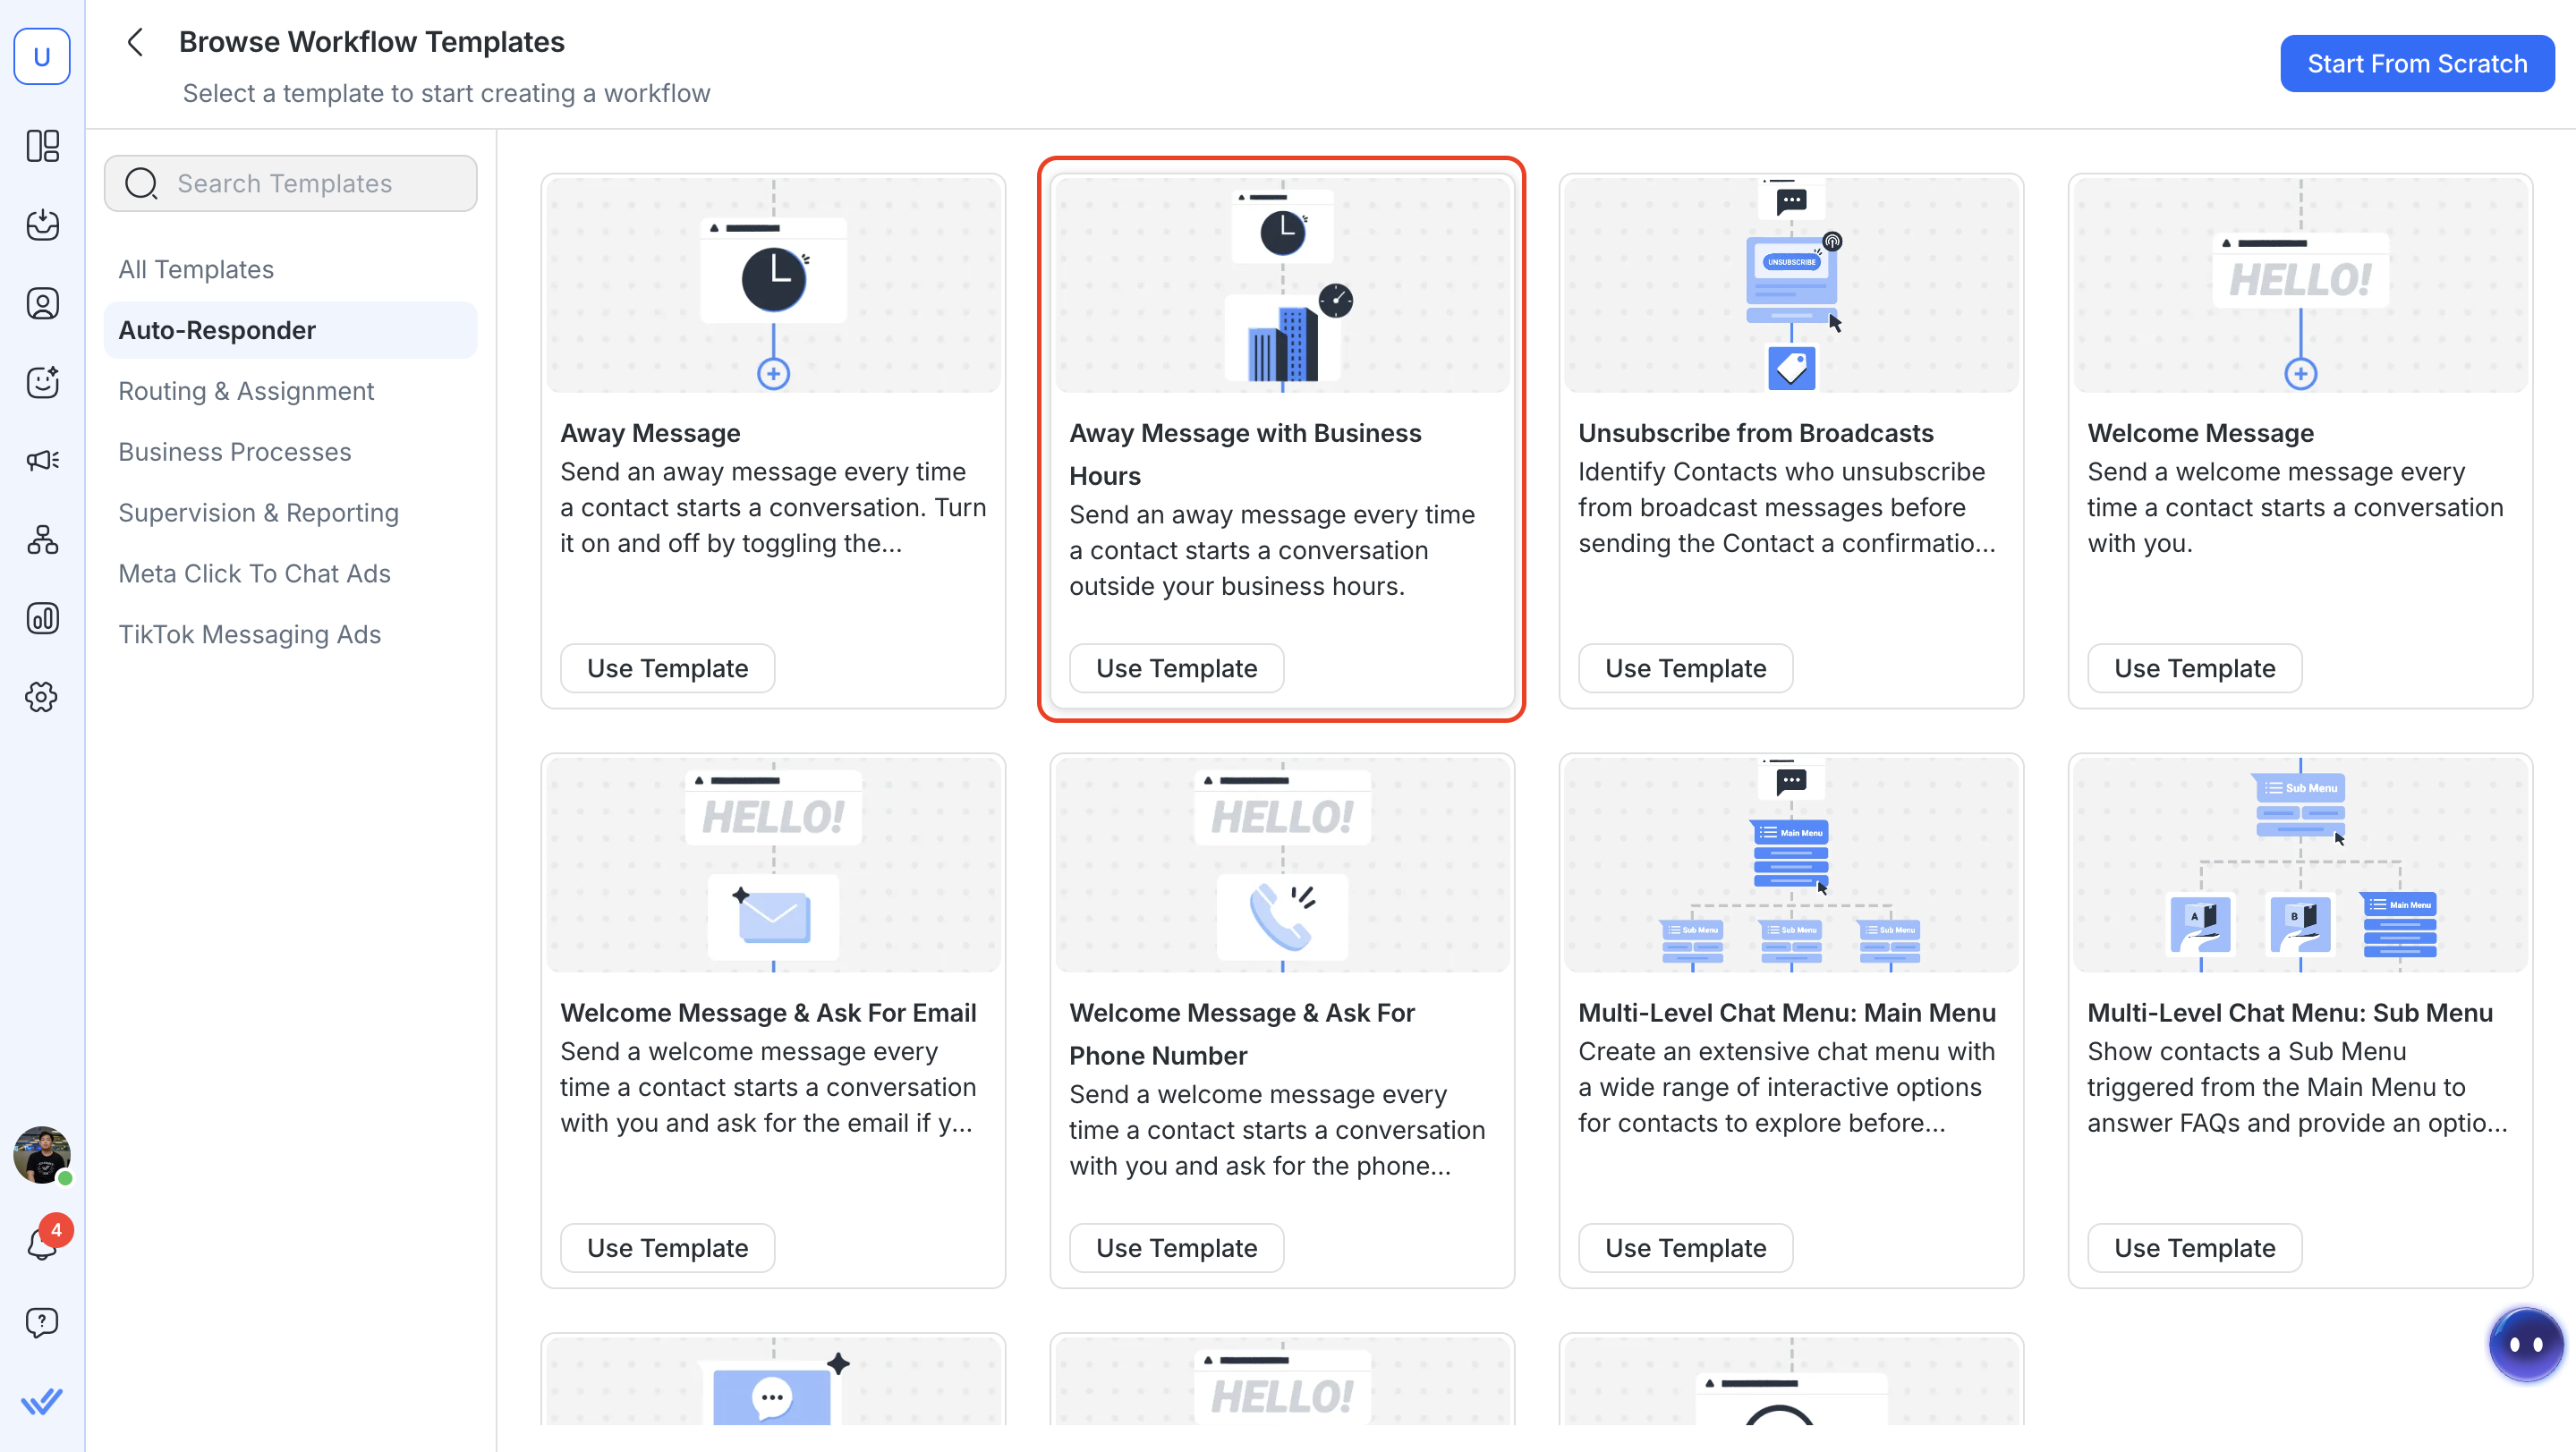
Use this option to send a welcome message during business hours and an away message outside them — automatically, without manual toggling.
Navigate to Workflows > + Add Workflow.
Select Away Message with Business Hours > Use Template.
Click the Date & Time step to configure business hours.
Click the Welcome Message or Away Message step to edit the message content.
Keep the Message Type as Text.
Click Save and Publish to activate the Workflow.
The Workflow branches automatically: Contacts receive the welcome message during business hours and the away message outside them.
Learn more about the Date & Time step.
FAQ and troubleshooting
What's the difference between an AI Agent and a Workflow for first responses?
A Workflow sends one fixed message when a conversation opens and stops. An AI Agent continues the conversation — it can ask questions, route the contact and handle out-of-office scenarios dynamically. AI Agents require a Growth plan or higher.
Does the AI Agent turn off during out-of-office hours?
No. The AI Agent does not automatically turn off outside business hours. If the AI Agent is assigned to a conversation, it continues to respond based on its instructions. For out-of-office handling, include your business hours and timezone in the Instructions field so the agent can communicate availability accurately.
How do I edit an existing welcome or away message?
For Workflows: open the relevant Workflow in the Workflows module, click the message step, update the content, then click Save and Publish.
For AI Agents: open the agent in the AI Agents module, update the Instructions field and click Save.
What's next?
Let's move on to getting Contacts to message the business.


