Connect respond.io to Zapier and unlock the possibilities of 5000+ integrations.
You can integrate your Contact information from the respond.io platform to thousands of CRMs, email providers, CMS, analytics tools, ads, and more. Let's have a quick look at this integration.
Getting Started
In order to get started with the respond.io - Zapier Integration, you will need the following:
A respond.io account
A Zapier account
For most Zaps, you’ll need to use a contact identifier, either email or phone number. If you don't have a record of a Contact’s email or phone number in respond.io, you may not be able to complete a Zap.
Creating Zaps
There are two ways you can create Zaps:
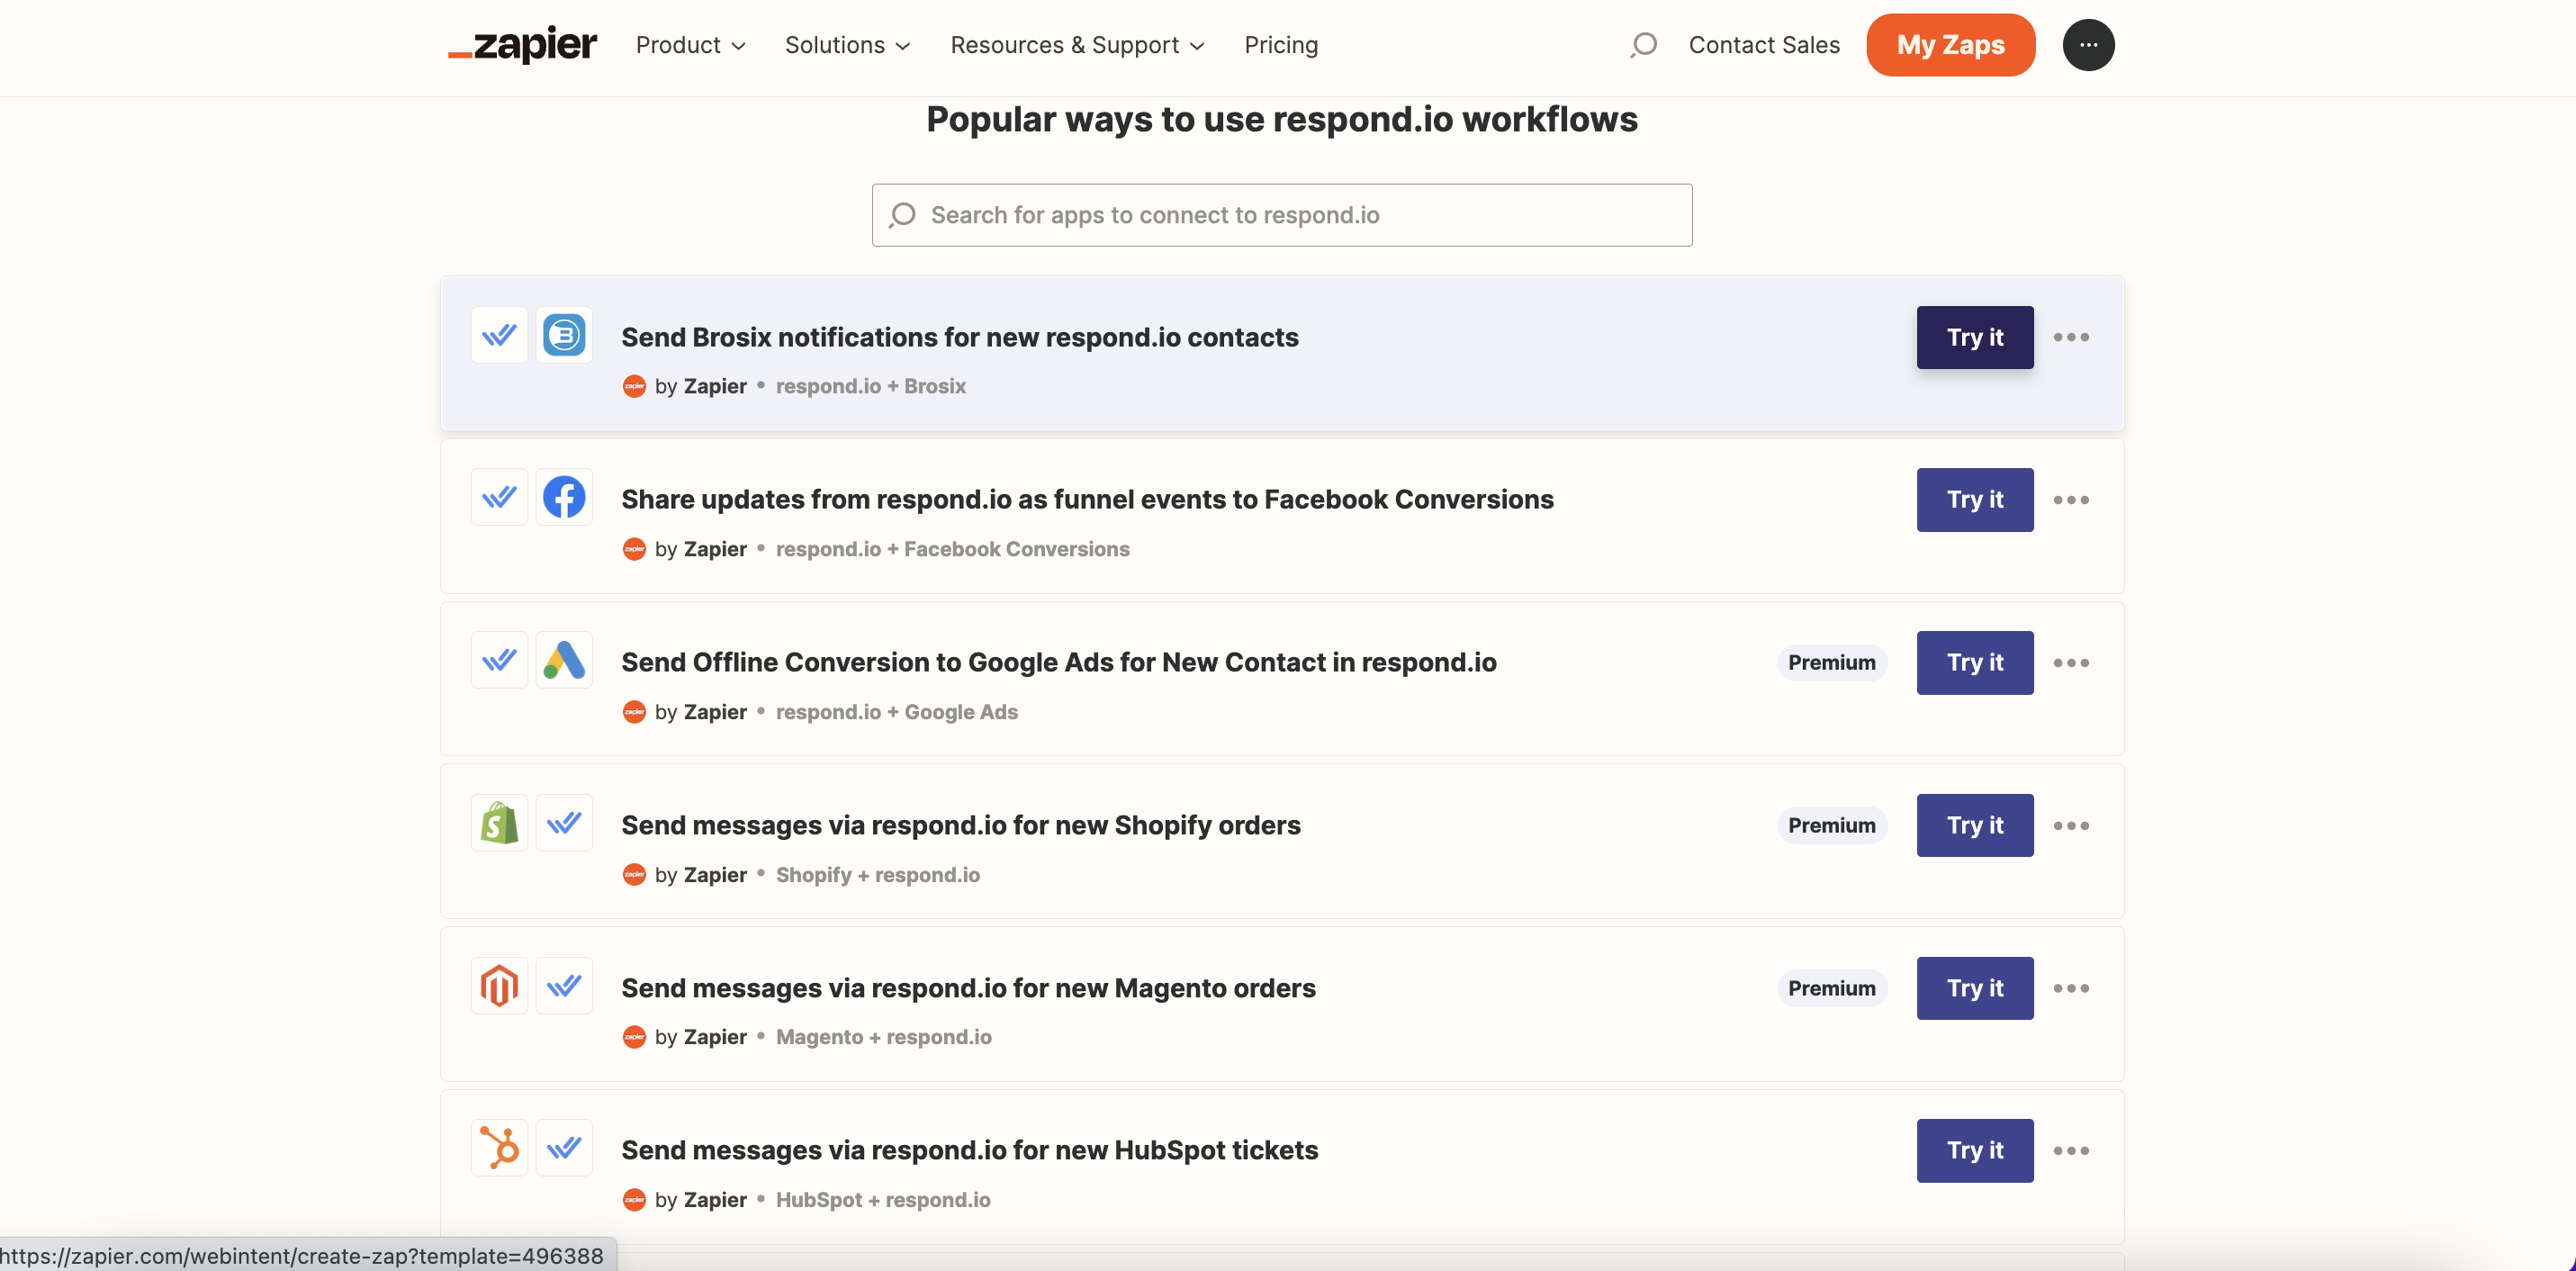
Create a Zap from Template
Templates are pre-built Zaps. We have templates available connecting respond.io to popular CRM and e-commerce platforms. To use a Zap template, choose from the list of respond.io templates here and click Try It.
Create a Zap from Scratch
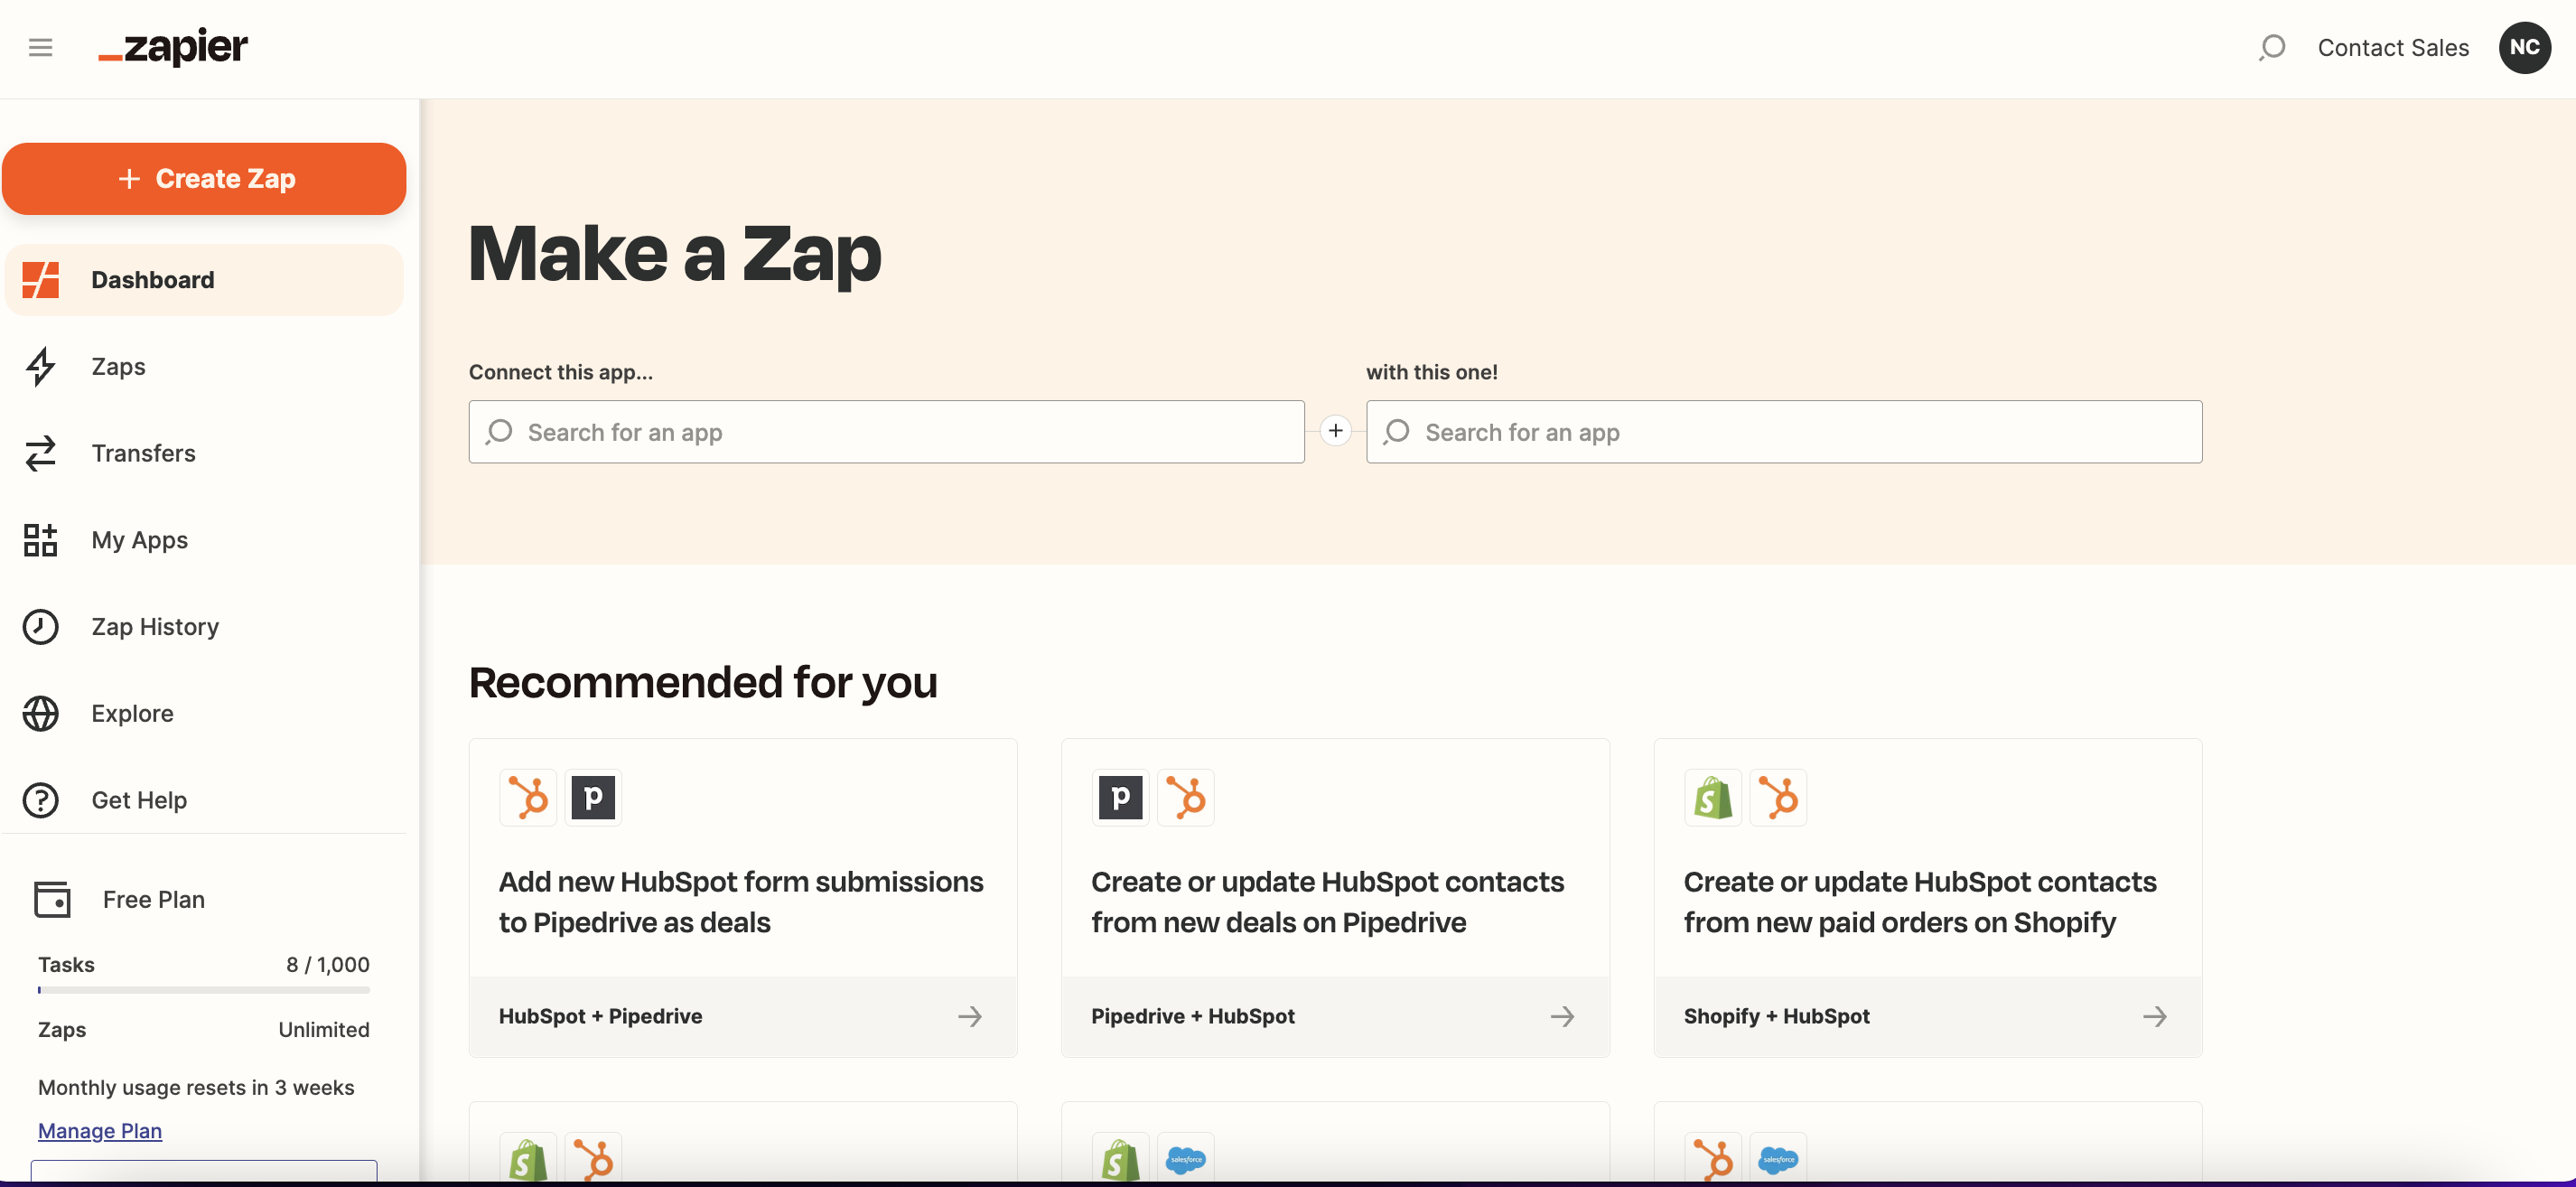
To create a Zap from scratch, follow the steps below:
Step 1: Navigate to Zap editor
In your Zapier Account, hover over the left sidebar menu and click + Create Zap.
Step 2: Add and Set Up a Trigger
Choose your trigger app: The Zap will be triggered by an event that occurs in this app.
Available triggers:Contact Assignee Updated
Contact Tag Updated
Contact Updated
Conversation Closed
Conversation Opened
Contact Lifecycle Updated
New Comment
New Contact
New Incoming Message
New Outgoing Message
If you’re using respond.io as the trigger, search respond.io in the search bar and select respond.io app.
Select your event: This will be the event that occurs in the selected app that triggers the Zap.
View the full list of trigger events available for respond.io here.
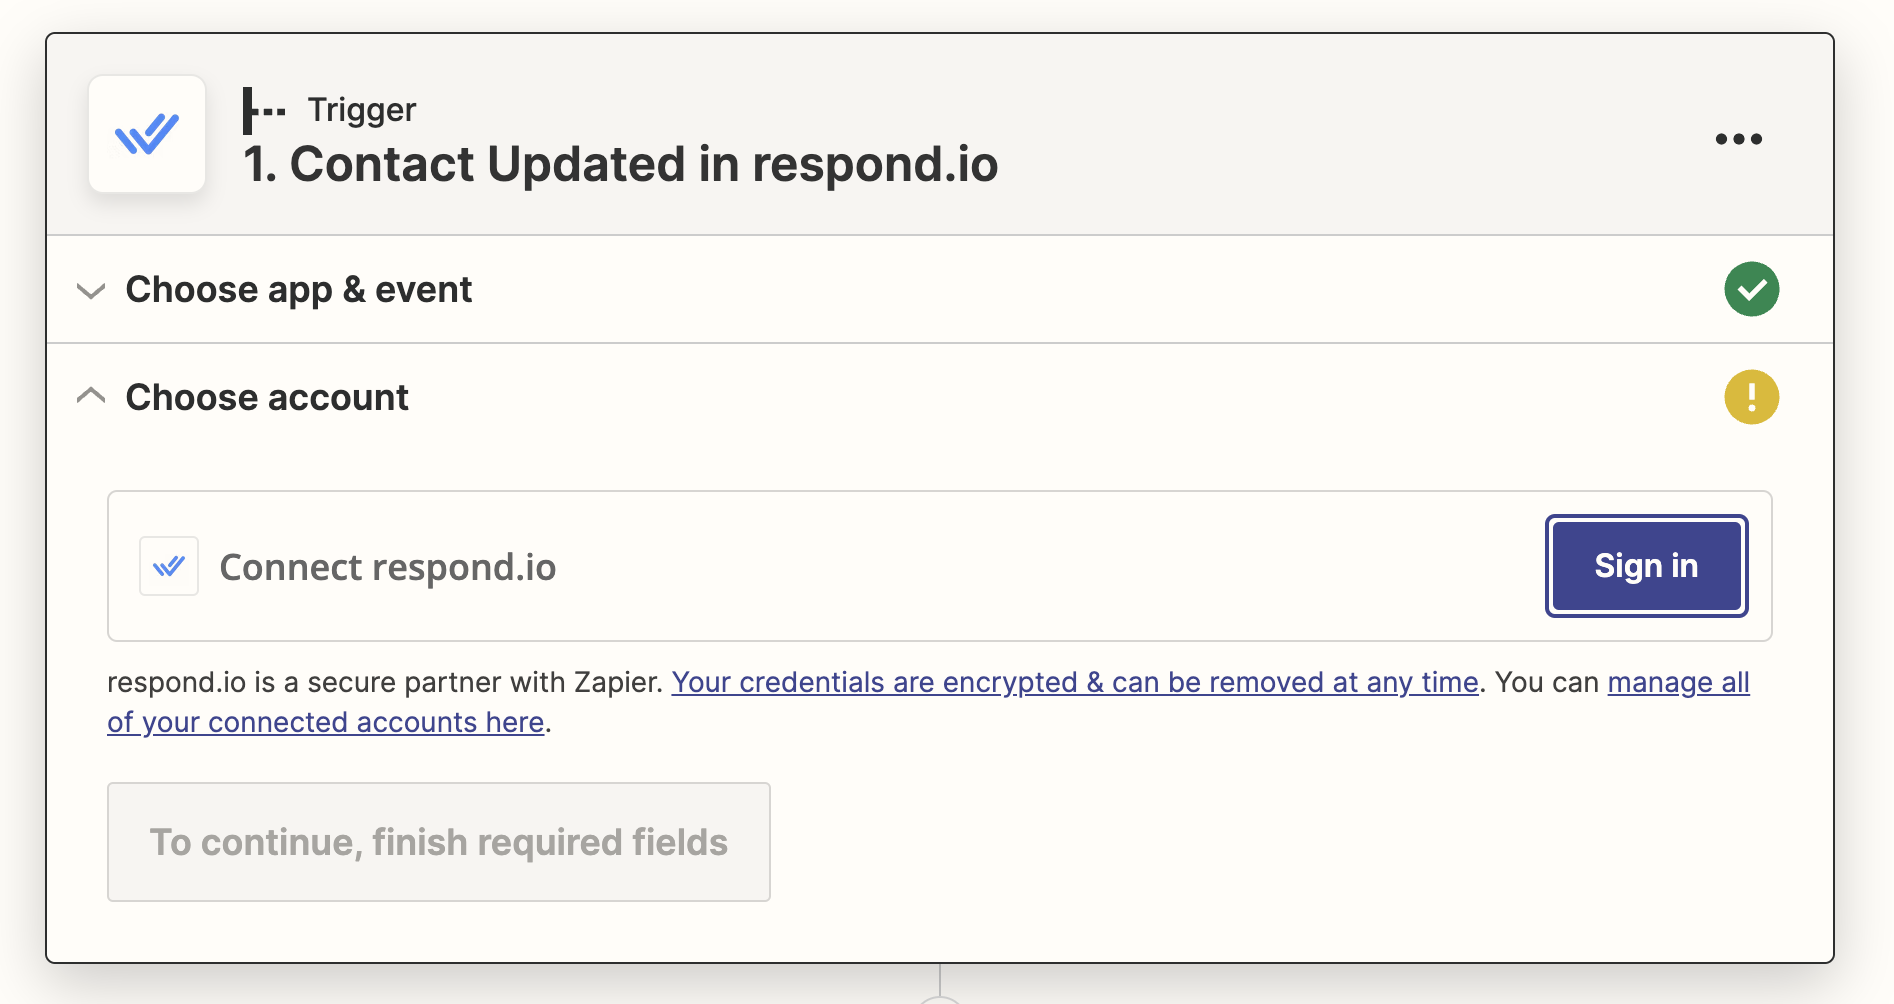
Select or connect your app account: Select or connect the specific app account to use in the Zap trigger.
To connect respond.io in Zapier, follow the instructions here.
Set up and test your trigger: Set up the options to fit your needs and test your trigger to see if it pulls in the right data.
Learn more about setting up your Zap trigger here.
Step 3: Add and Set Up an Action
Choose your action app: The Zap will perform an action in this app when it is triggered.
Available actions:Add Comments
Add Space Tags
Add Tags
Create Contact
Create Custom Field
Create or Update Contact
Delete Contact
Remove Tags
Delete Space Tag
Remove Contact Lifecycle
Send Message
Assign or Unassign Conversation
Update Contact
Update Contact Lifecycle
Open or Close Conversation
Get All Channels
Update Space Tag
Get All Custom Fields
Get All Closing Notes
Find Contact
Get All Users
Find Message
Find Contact Channels
Get Many Contacts
Find Custom field
Find User
If you’re using respond.io for the action, search respond.io in the search bar and select respond.io app.
Select your event: This will be the event that the Zap performs in the selected app when it is triggered.
View the full list of action events available for respond.io here.
Select or connect your app account: Select or connect the specific app account to use in the Zap action.
To connect respond.io in Zapier, follow the instructions here.
Set up and test your trigger: Set up the data that you want to send over to your action app and test to see if it's working as expected.
Learn more about setting up your Zap action here.
Step 4: Name and Publish the Zap
When your Zap is ready, give your Zap a name and click Publish.
Zaps are not limited to a single action, learn how to further customize your Zaps here.
Connect respond.io to Zapier
When connecting respond.io app in Zapier for the first time, you are required to sign in and add an API Key. You can obtain the API Key in respond.io’s platform settings as shown in the steps below.
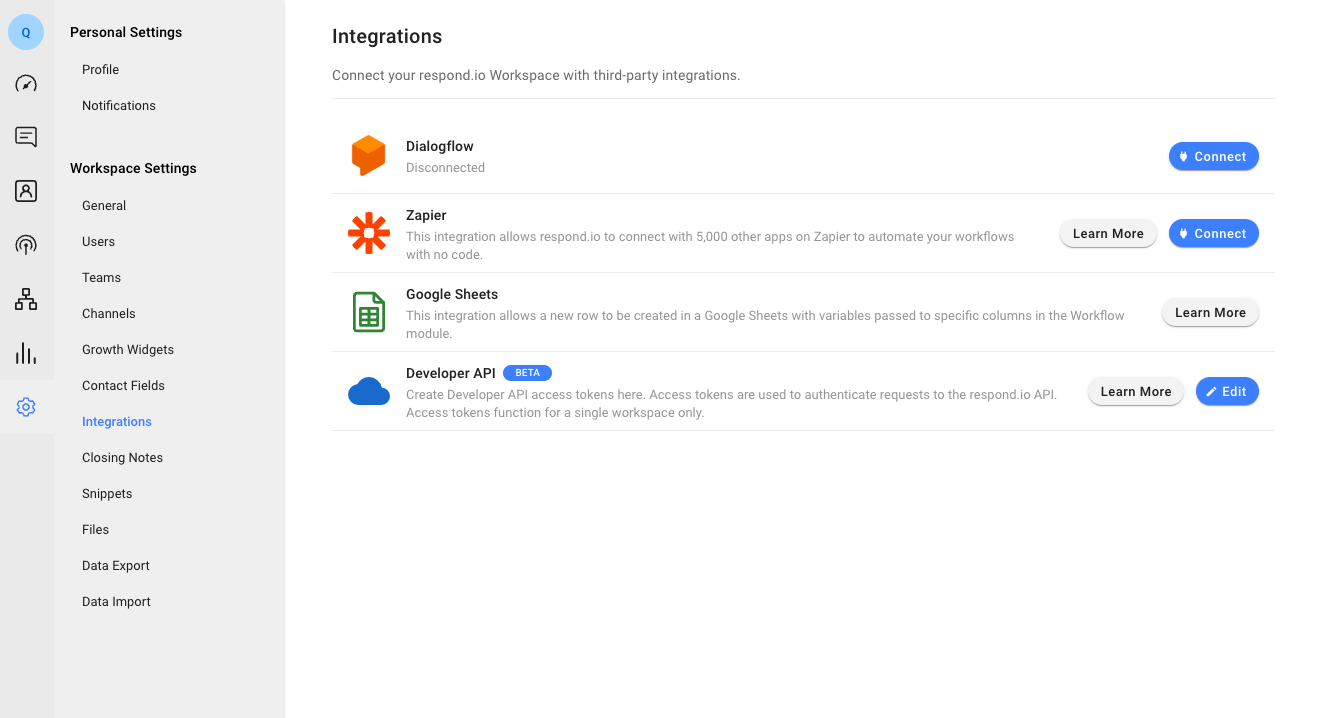
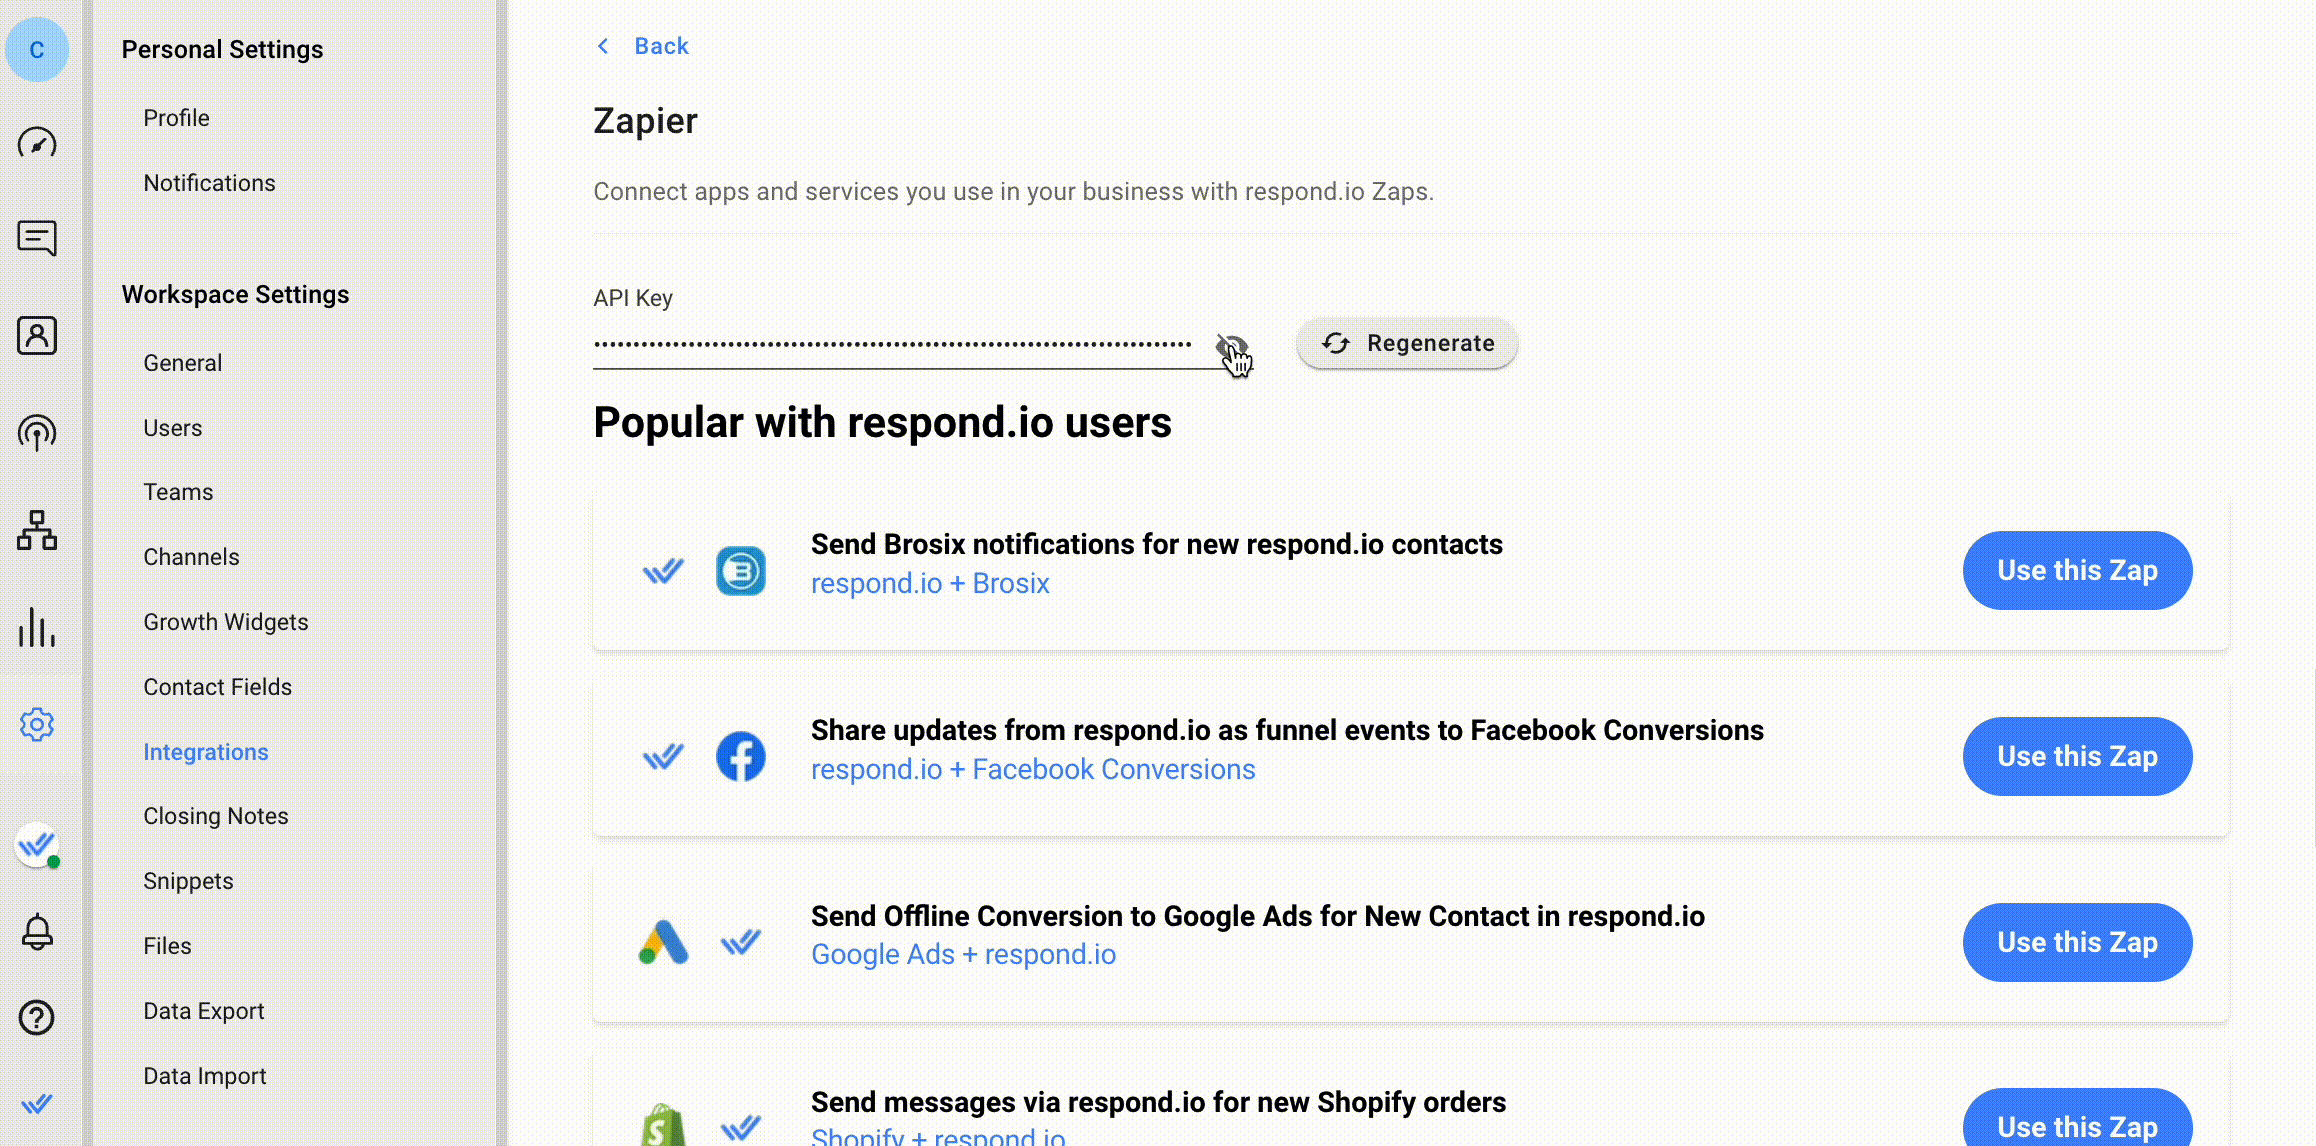
Step 1: Navigate to Integrations Zapier Page
Log in to the respond.io Workspace you wish to connect and navigate to the Settings module > Integrations under the Workspace Settings > Click Connect next to Zapier. You will be navigated to the Zapier page in respond.io.
Step 2: Obtain the API Key
To copy the API Key, unhide and click on the API Key.
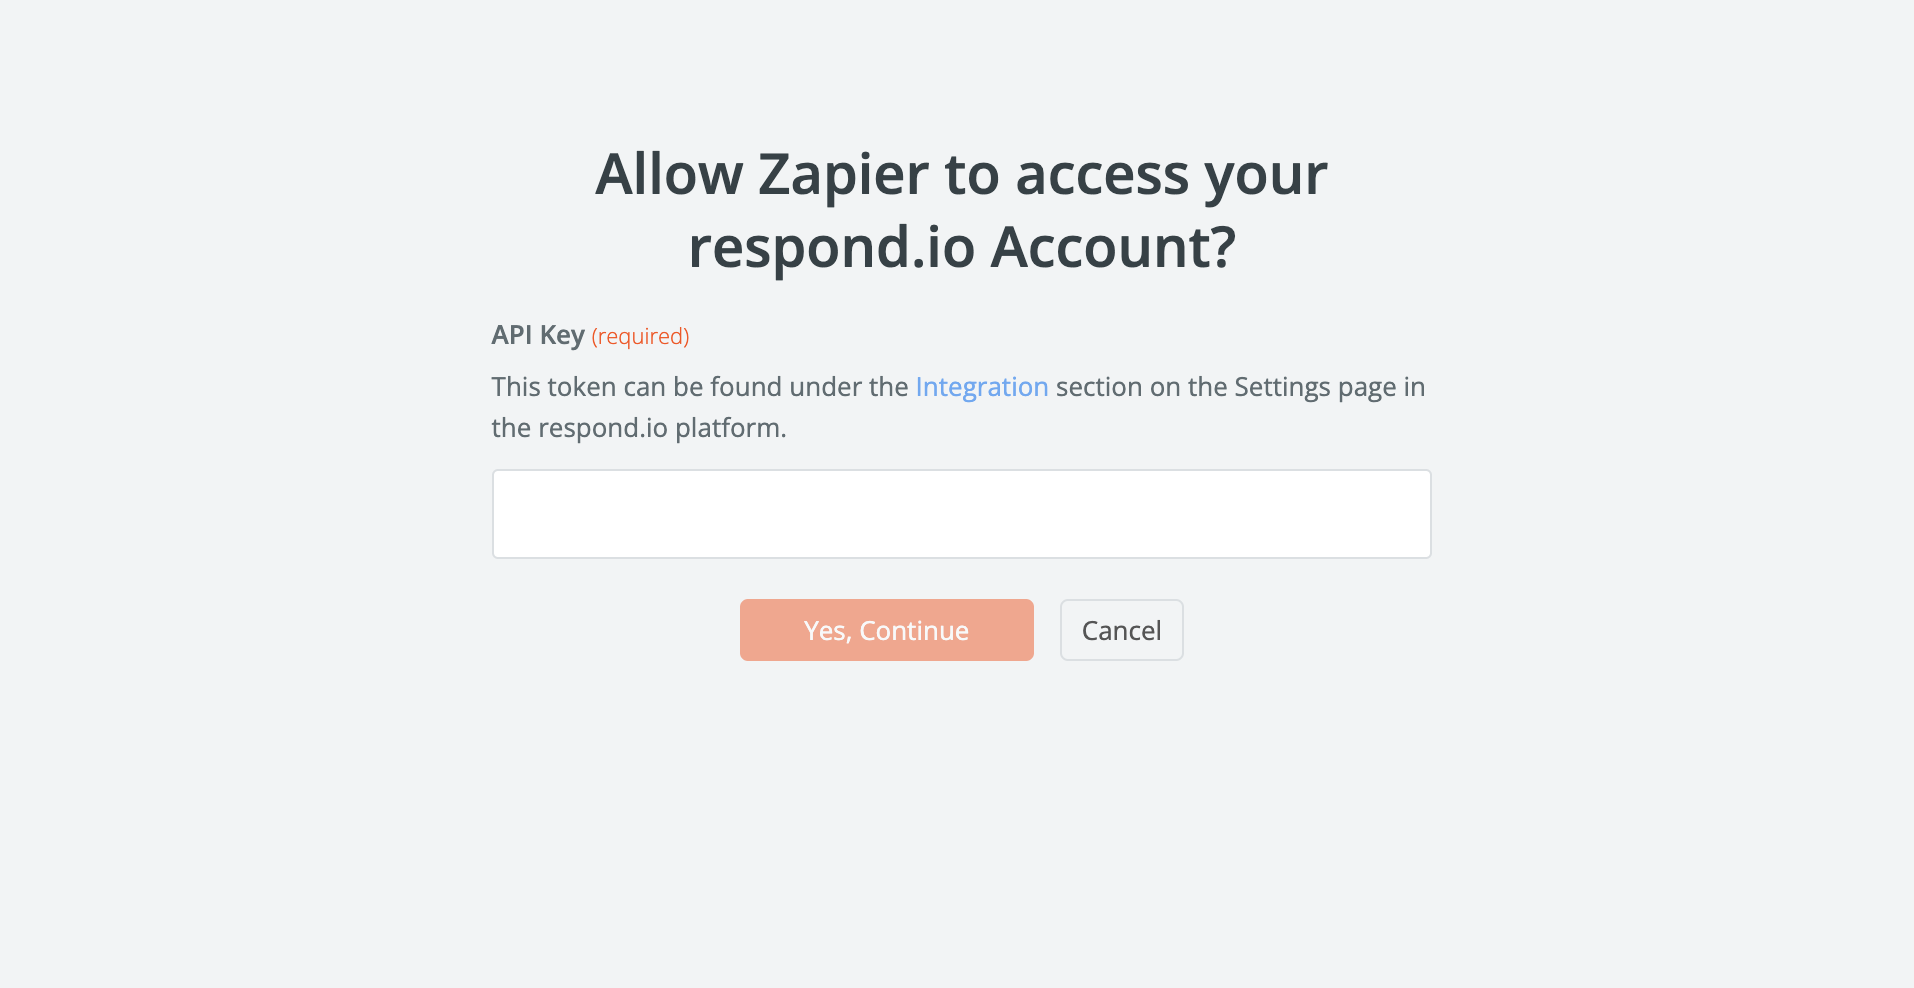
Step 3: Connect your respond.io Account
On Zapier, click Sign in to open a pop up.
Paste the API Key in the pop up and click Yes, Continue to connect respond.io app in Zapier.
You will only need to do this for your first Zap with respond.io. For all following Zaps, you can simply choose your connected account from the dropdown in the Zap setup.
FAQ and Troubleshooting
Why do I get the Too Many Requests (HTTP Status → 429) error?
Your Zap or other integration with the Bearer Token is likely asking for or sending information to the app too frequently within a given timeframe.
Why do I get the Validation (HTTP Status → 400) error?
You will encounter this error if you have provided more than the allowed pagination limit. The limit per page is 100.
What causes a Zap Loop?
A popular use case for integrations is syncing Contacts. However, Zapier does not support syncing by default and attempting to do this may cause an endless loop.
Example:
Zap 1: When a Contact is created in respond.io, create a Contact in X app.
Zap 2: When a Contact is created in X app, create a Contact in respond.io.
Find the solution for this here.
What to do if my Contact Identifiers are Incompatible?
Certain apps that you may want to integrate with (e.g., HubSpot and Shopify) require an email address or phone number to identify a Contact. You may not have these for all your respond.io Contacts if they’re on channels that do not provide them such as Viber, Telegram or Facebook Messenger.
If you do not have the required email address or phone number, the Zap will not work. Set up a filter to avoid getting error messages. Alternatively, consider using Workflows to collect Contacts’ email addresses or phone numbers.
Will Zapier's messages open a Contact's conversation?
All messages that are sent via Zapier will not open a Contact's conversation. These messages are available in the closed Contact filter. Simply adjust the filter in the Messages module to view the messages sent via Zapier.


