Setting up a respond.io account creates an Organization and Workspace for managing customer conversations. The platform supports sign-in on web, mobile, and a desktop web app — giving teams flexibility to work from any device.
How to create a respond.io account
Choose a sign-up method
Open the respond.io sign-up page.
Select a sign-up method:
Continue with Google using Google Sign-in, or
Sign up with email using a work email and password
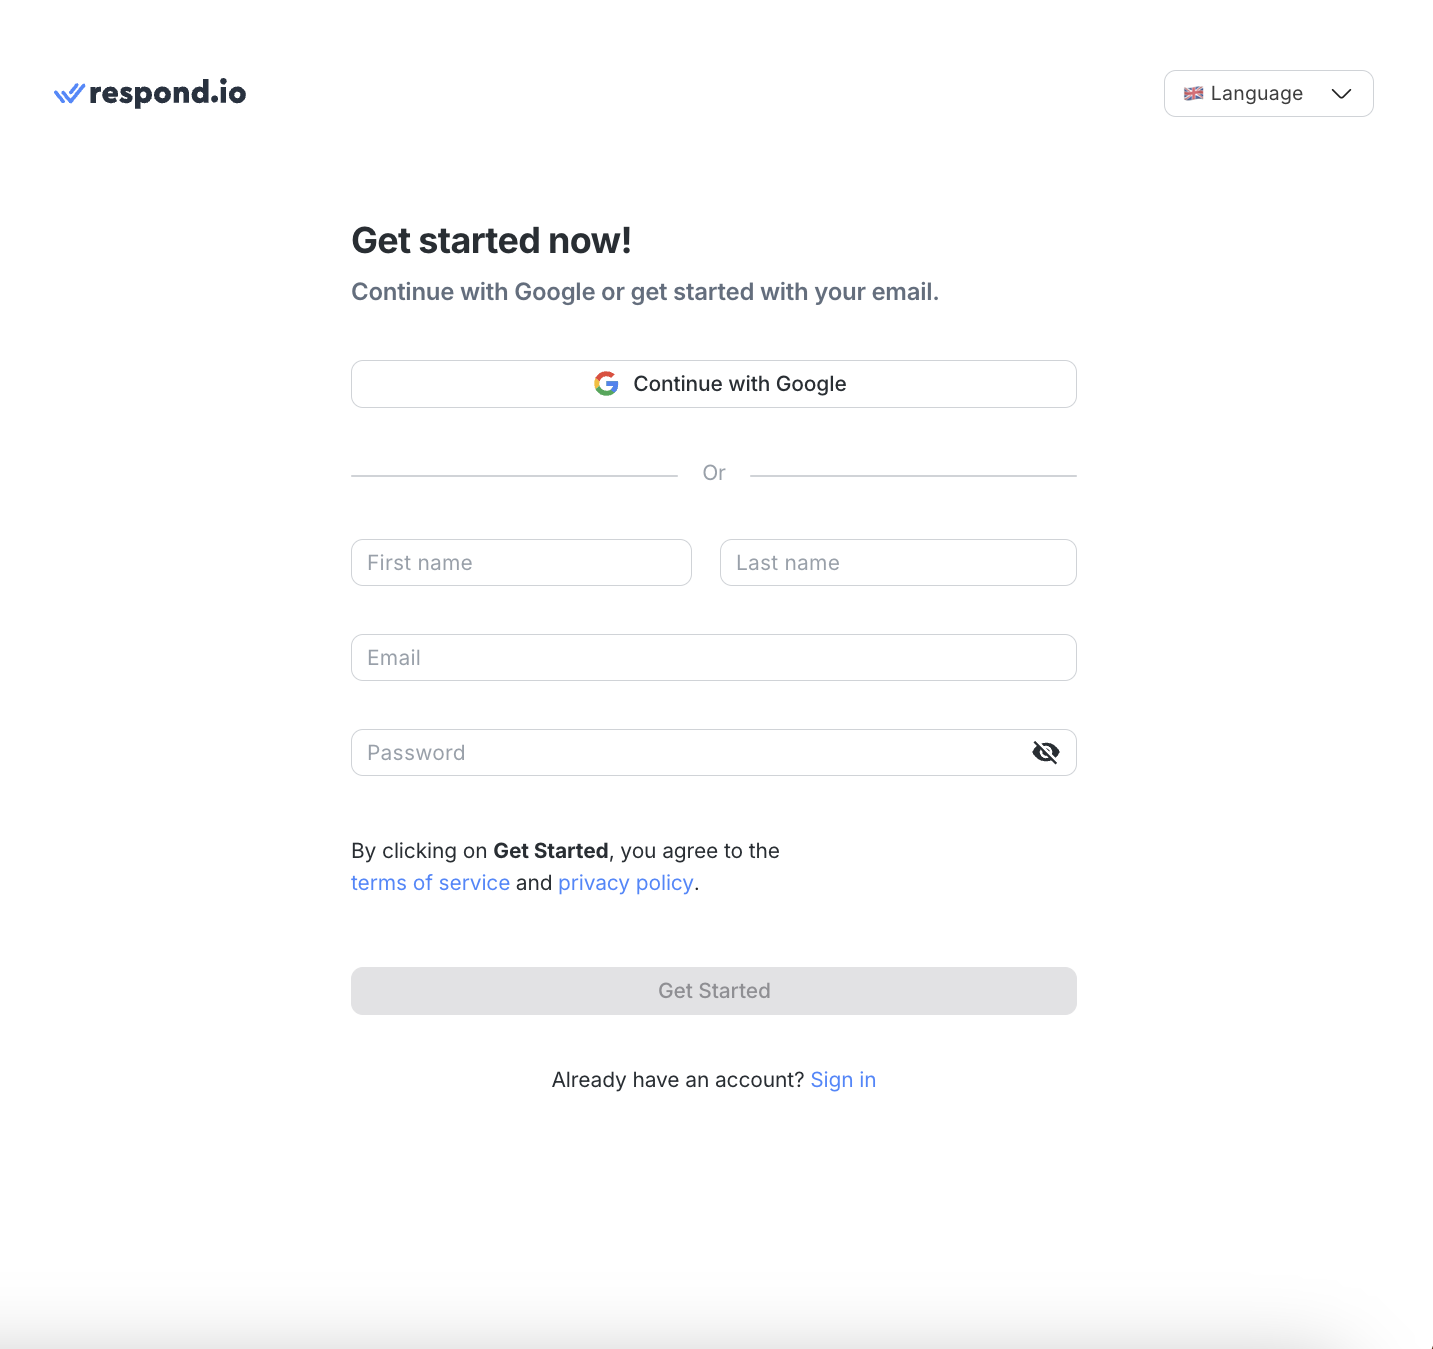
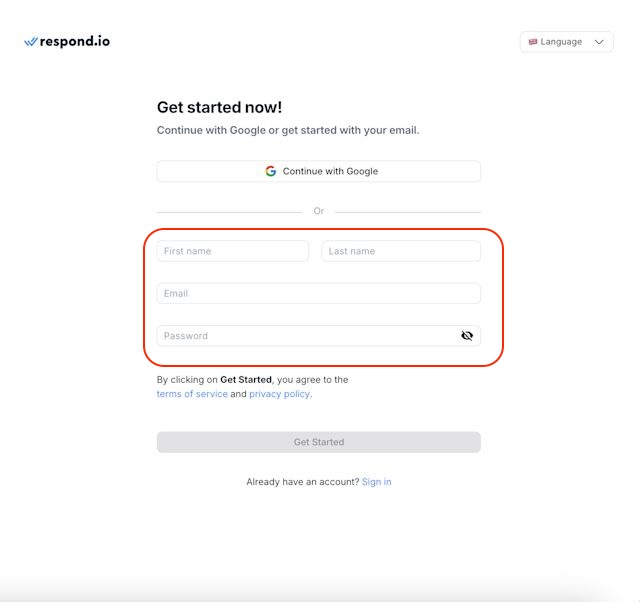
Enter account details
If signing up with email:
Enter first name, last name, email address, and password.
Click Get Started.
The password must be at least 8 characters long with 1 special character, 1 lowercase letter, 1 uppercase letter, and 1 number.
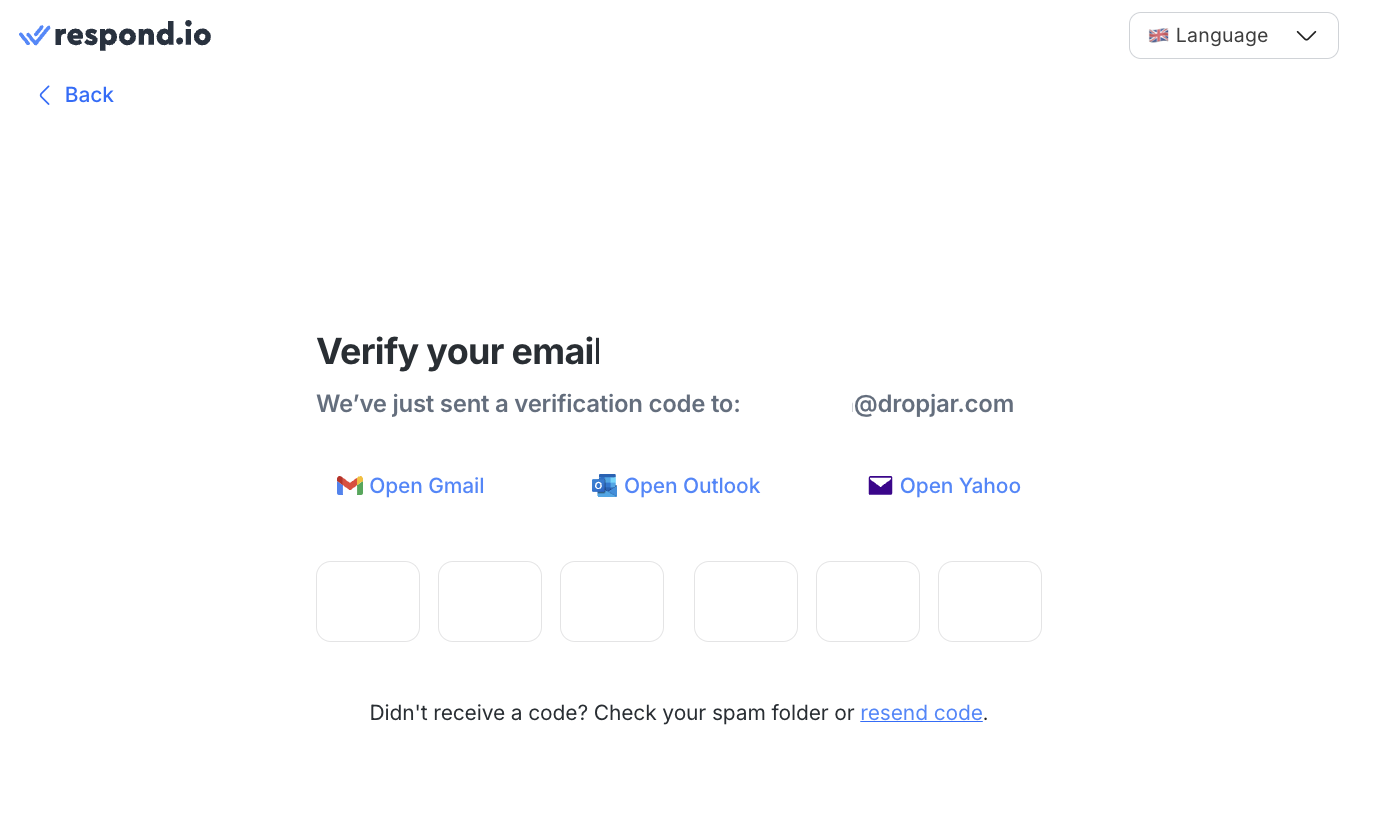
Verify the email address
Check the inbox for a verification code.
Enter the code to complete registration.
If the email does not arrive, check the spam or junk folder. Contact us if the issue persists.
How to set up an Organization and Workspace
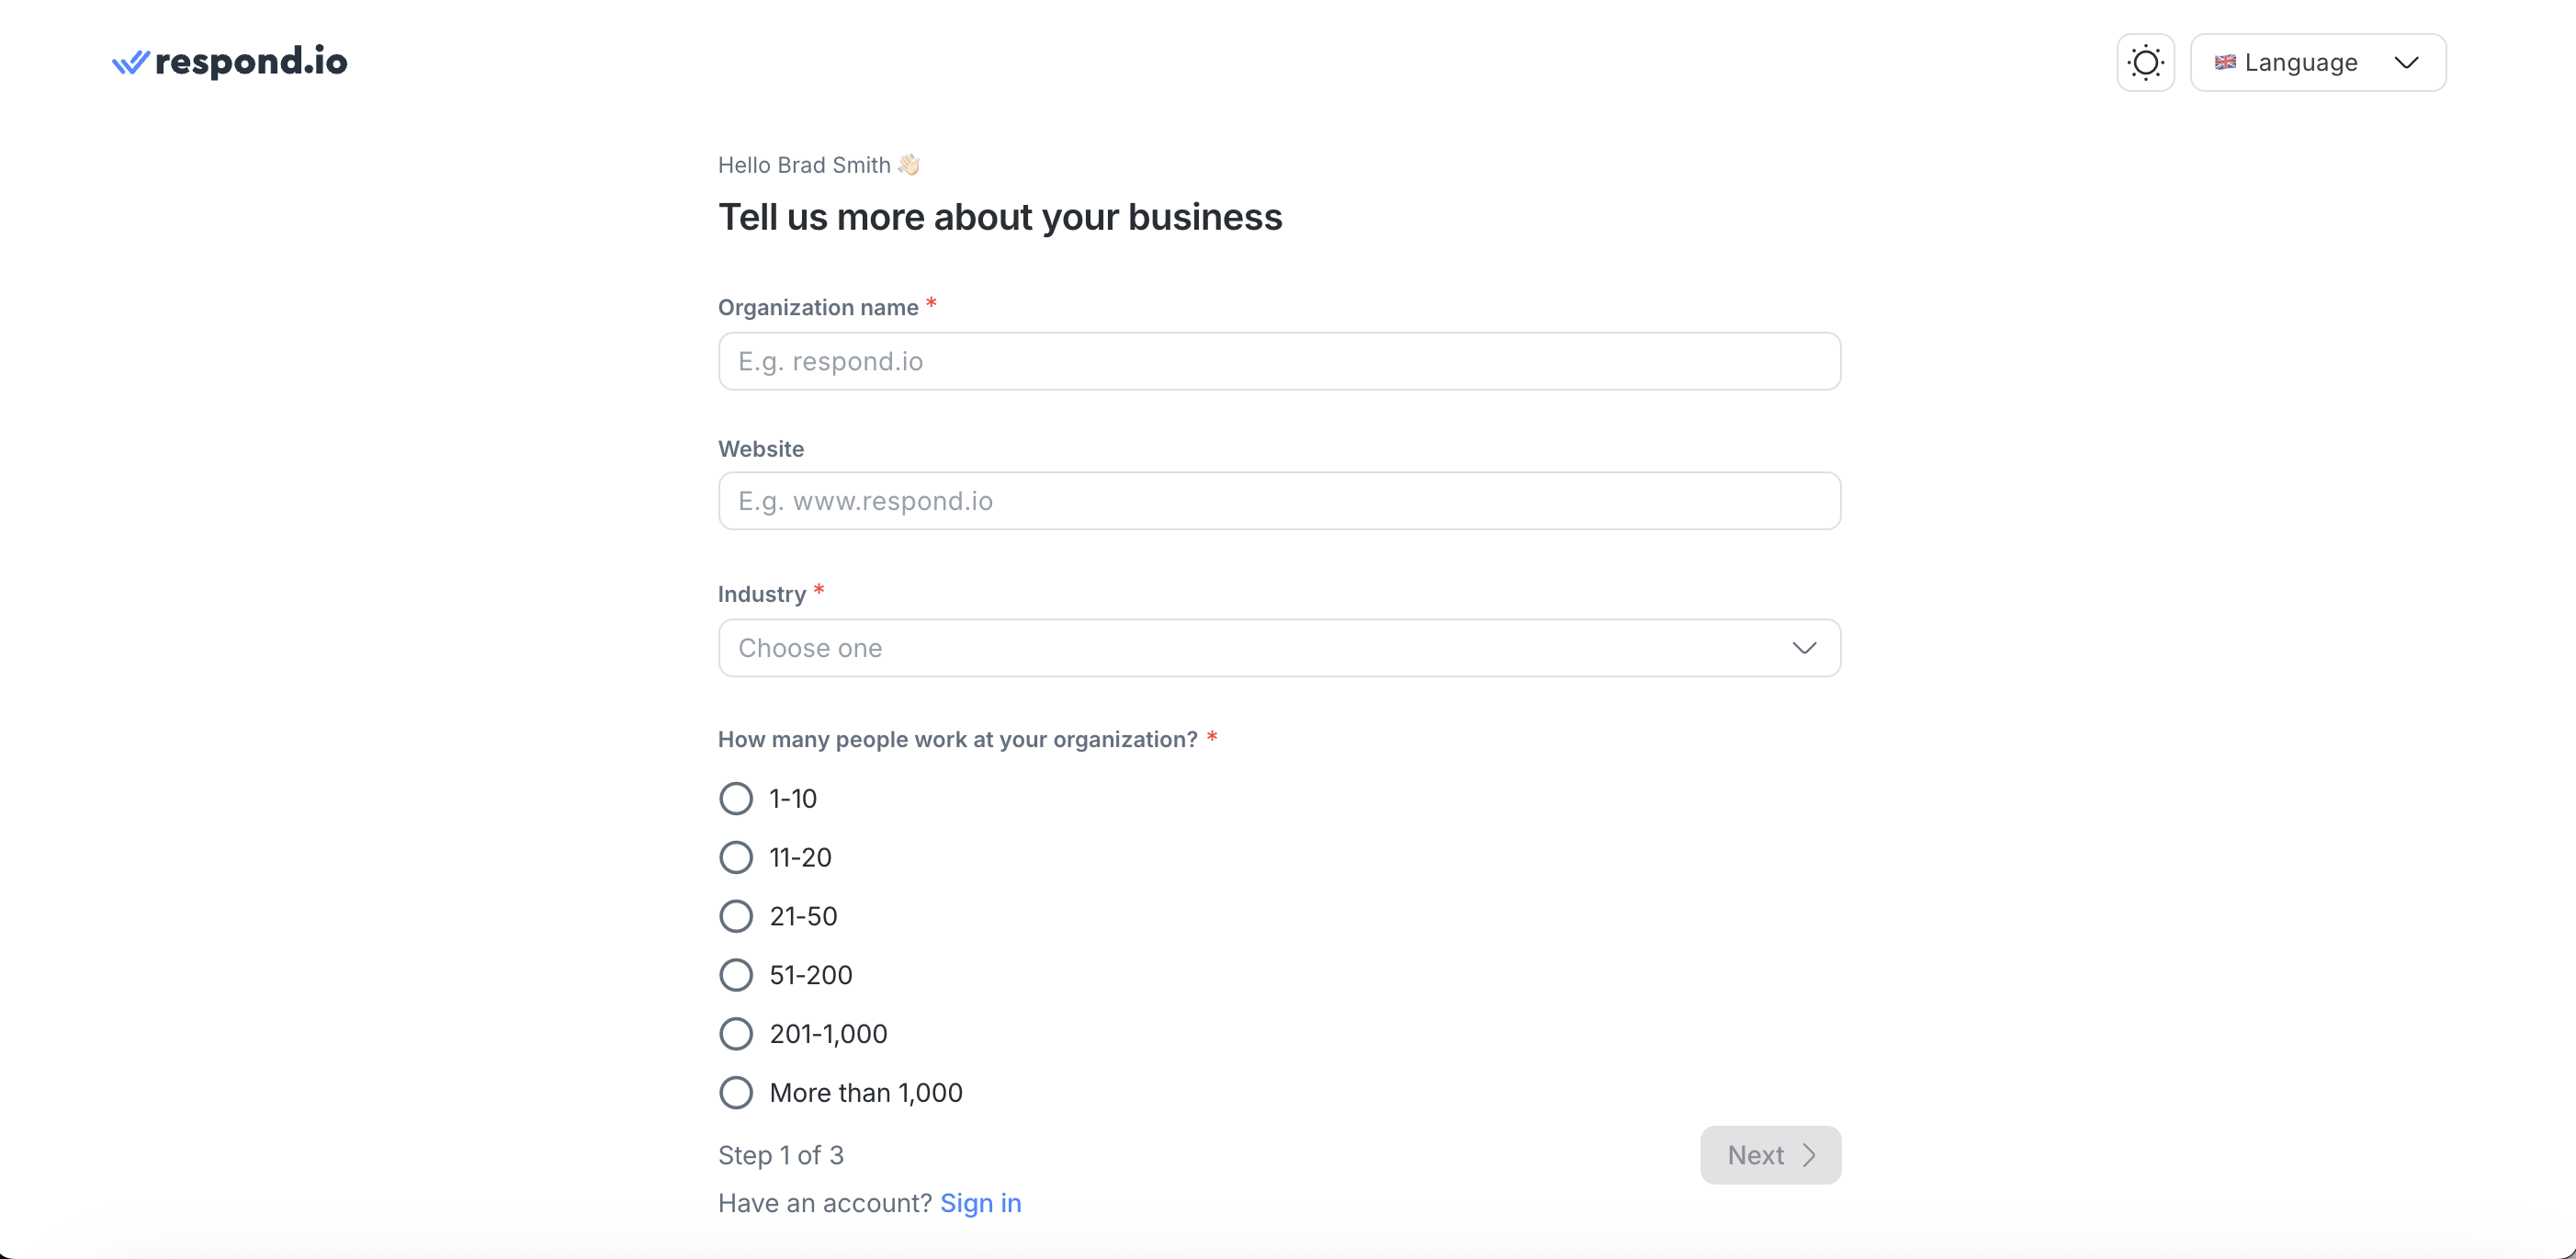
After signing up, the platform prompts Organization creation.
An Organization is the main account that manages:
Billing
Security settings
Account-level preferences
Each Organization contains one or more Workspaces.
About Workspaces
A Workspace is an independent sub-account within an Organization. Each Workspace has its own database, users, Channels, and settings. Changes in one Workspace do not affect other Workspaces in the same Organization.
The first Workspace is created automatically with the Organization.
Provide the required Organization information.
Click Get Started to begin using respond.io.
How to sign in on web
Go to the respond.io platform.
Enter email and password.
If Two-Factor Authentication (2FA) is enabled, enter the 6-digit code from an authenticator app such as Google Authenticator or Authy.
How to sign in using Google Sign-in or SSO
When signing in via Google Sign-in or Single Sign-On (SSO), respond.io 2FA may not be required. Authentication is handled by the Google account or Identity Provider (IDP).
For stronger security, enable 2FA directly on the Google account or IDP.
How to sign in on mobile
Install the respond.io mobile app.
Sign in using existing account credentials.
Learn how to install and log in to the mobile app.
How to install the web app
The respond.io web app provides a desktop app experience directly from the browser.
Open respond.io in the browser.
Click the Open Web App icon in the address bar.
Click Install.
Once installed, the web app is saved to the desktop and can be pinned to the taskbar or dock.
FAQ and troubleshooting
Why is Two-Factor Authentication (2FA) verification not required when I sign in using Google Sign-in or SSO?
If you sign in using Google Sign-in or Single Sign-On (SSO), respond.io may not prompt you for Two-Factor Authentication (2FA).
This happens because authentication is managed by your Google account or Identity Provider (IDP).
To ensure your account remains secure, enable Two-Factor Authentication (2FA) directly on your Google account or Identity Provider (IDP).
What's next?
Learn how to set up respond.io.
Let's move on to completing the Onboarding module.


