Working together in the Inbox helps your team stay aligned and handle customer conversations efficiently. This article explains how to assign and close conversations, what are conversation events, how to add internal comments, tag teammates, and use AI tools to summarize or enhance your comments.
Contact assignment and closing a conversation
Assigning Contacts and closing conversations work together to keep your team organized, especially during periods of high conversation volume.
Contact assignment
To assign a Contact, you can either click the Unassigned button at the top or use the quick actions menu to Assign.
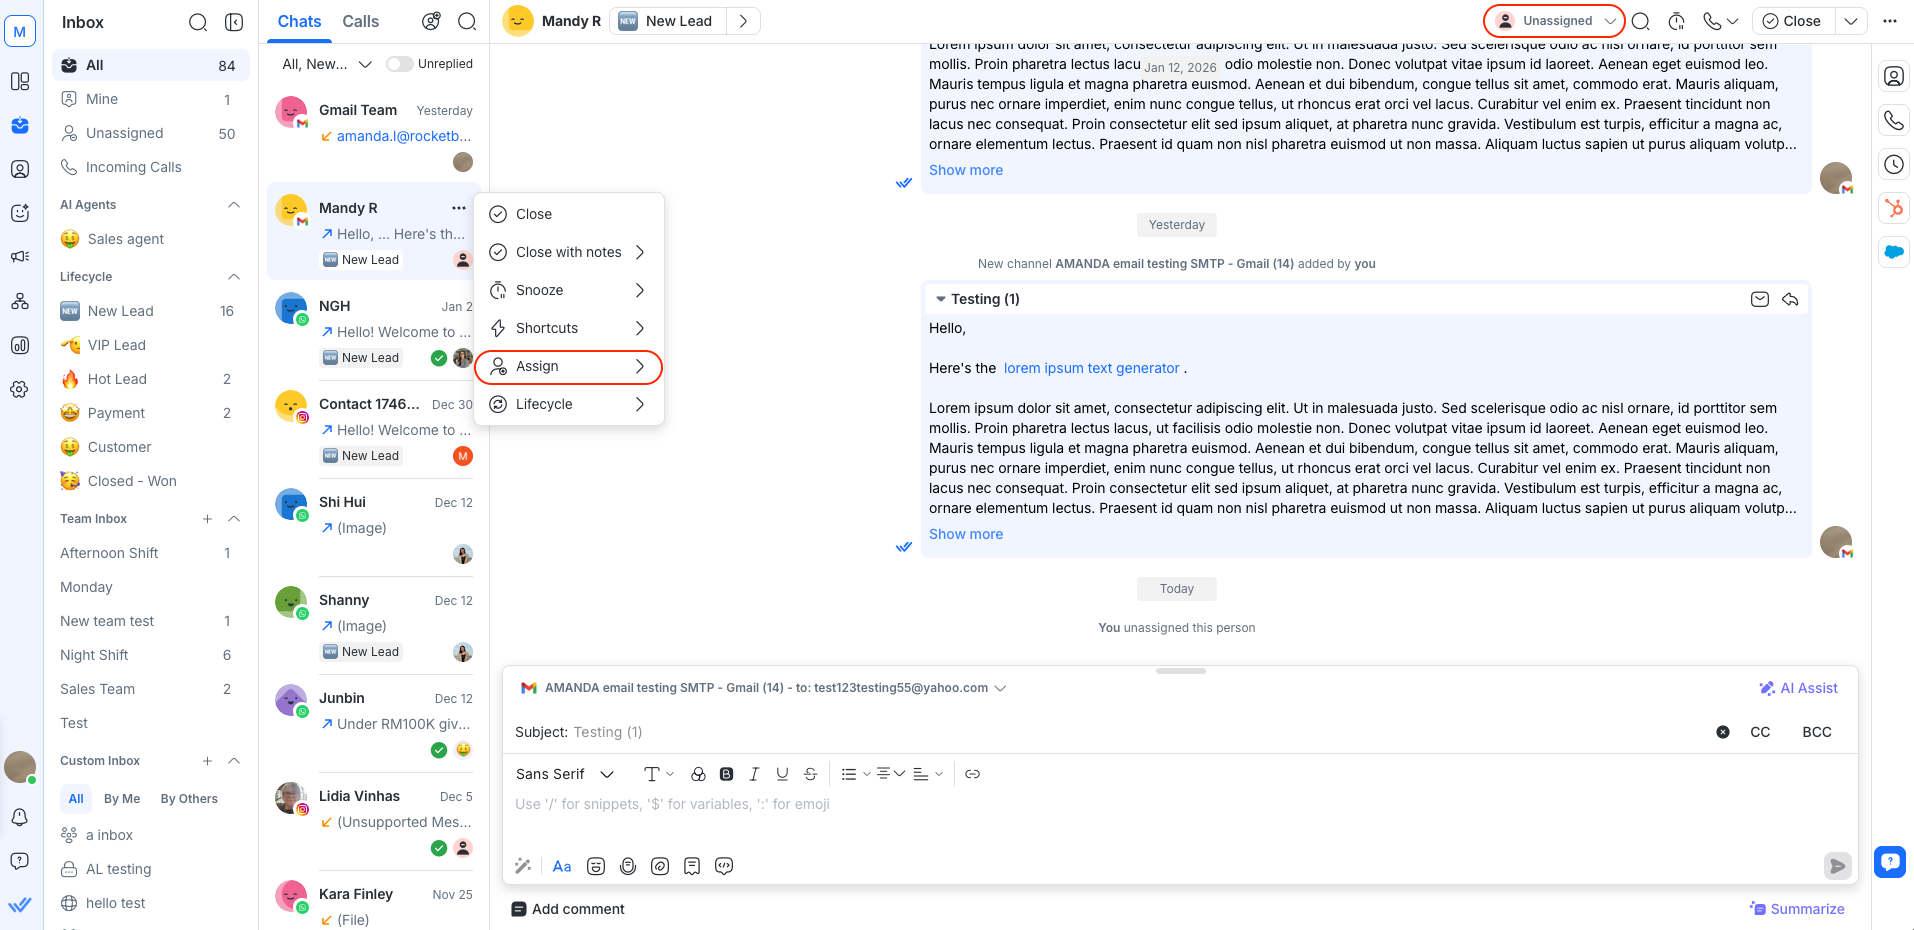
This ensures conversations are clearly owned and handled by the right agent. The agent will remain assigned to the Contact after the conversation is closed.
When a Contact sends a message without an existing open conversation:
A new conversation is created automatically and remains unassigned.
The first agent who replies is automatically assigned to the Contact.
Closing a conversation
To close a conversation, you can either click the Close button at the top or use the quick actions menu to Close with notes.
Learn more about assignment and closing a conversation.
Conversation events
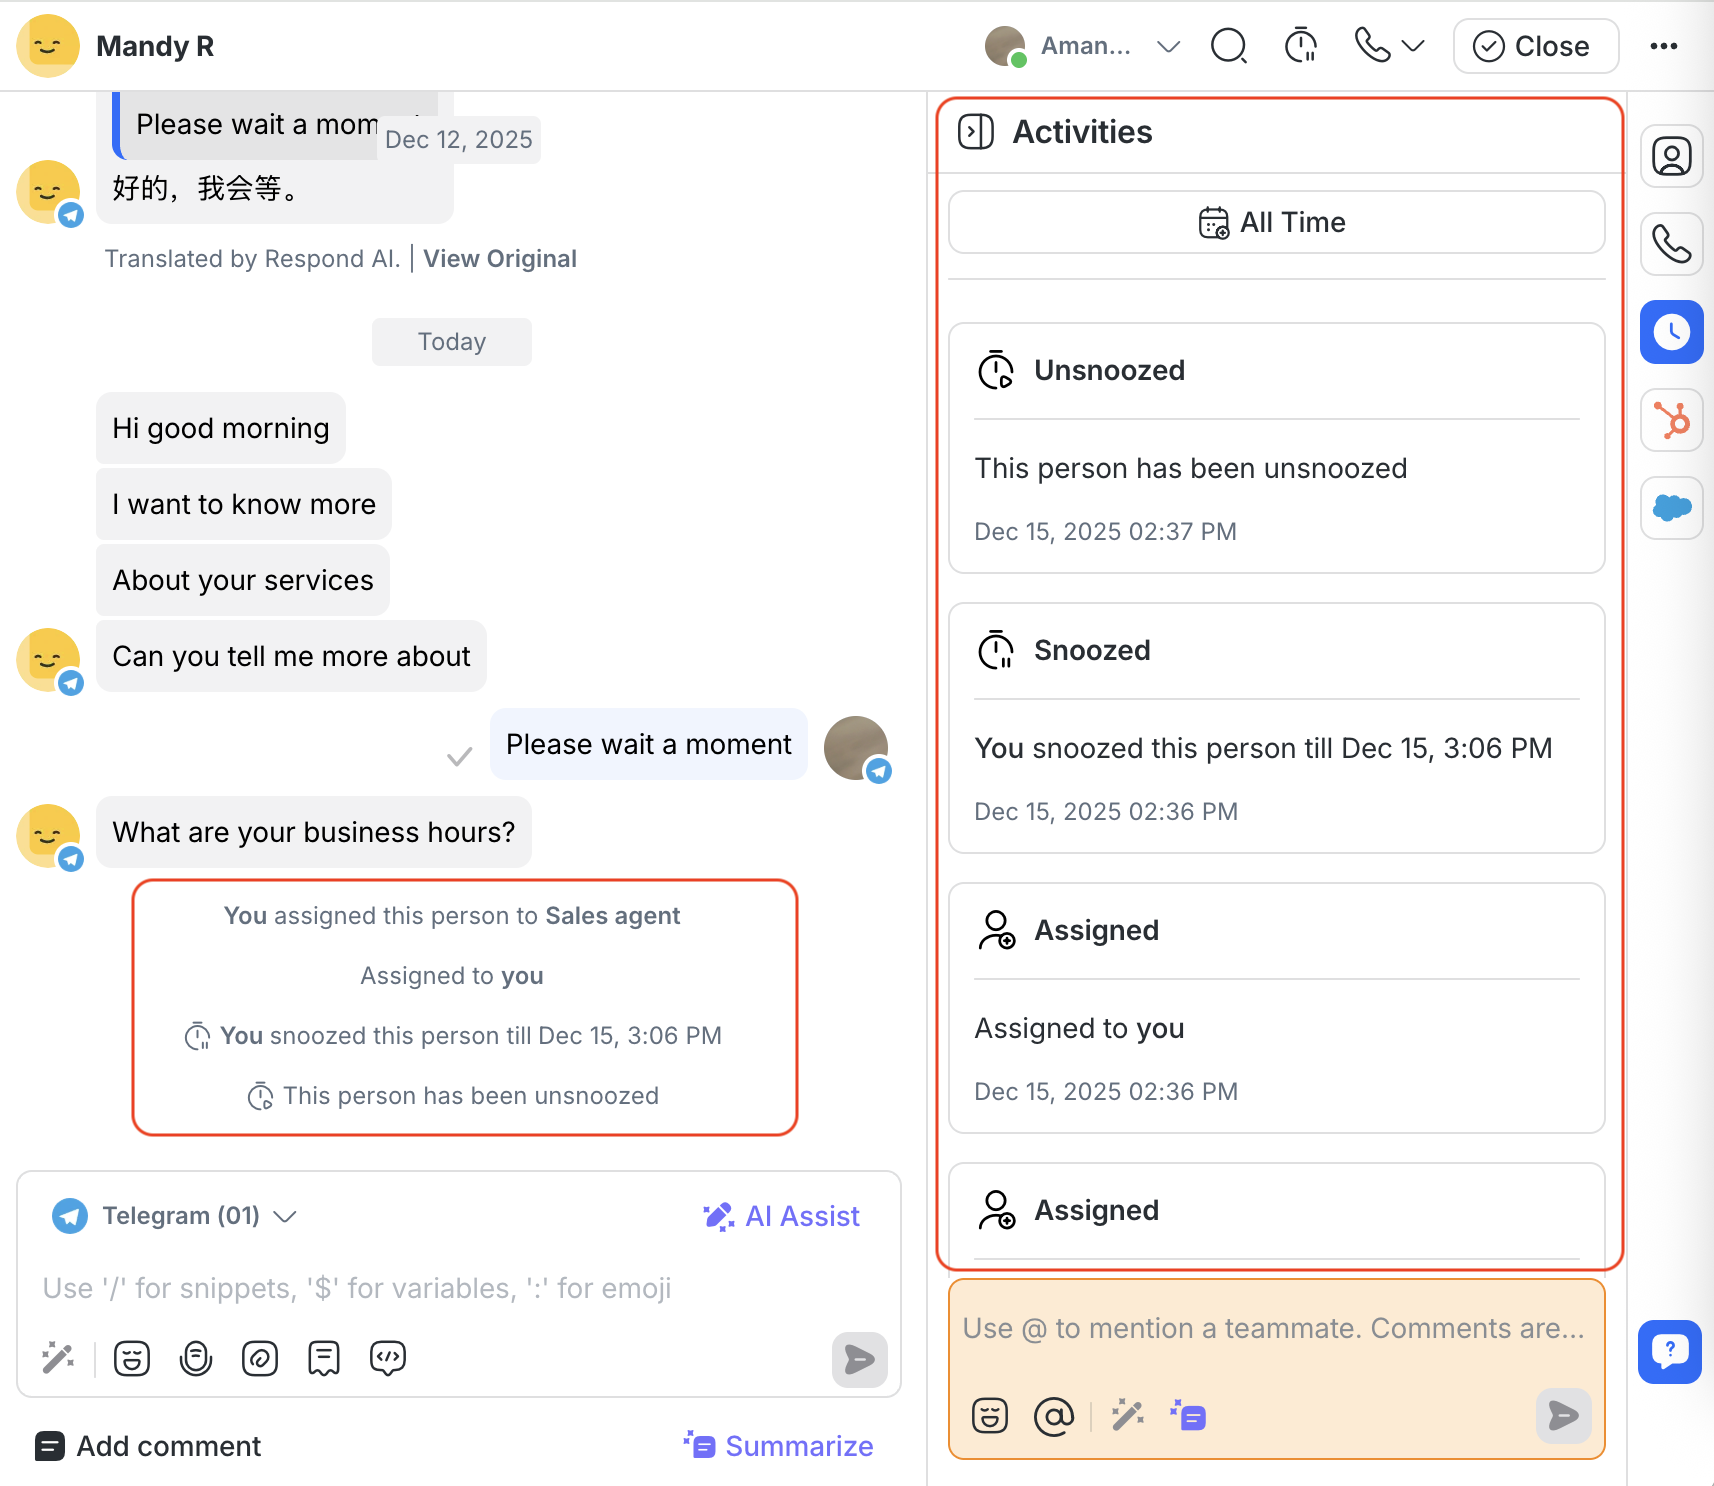
Conversation events provide a clear history of actions and changes within a conversation. They can help your team understand what has happened and when.
These events appear inline in the conversation window, displayed alongside messages in chronological order. They are also listed in Activities, which shows all events sorted from newest to oldest.
The conversation events shown in the conversation window are only visible to you and your team. They are not visible to the Contact.
This table shows the event category and its events:
Event Category | Event |
|---|---|
Assignment | User Assigned |
Unassignment | User Unassigned by Close Conversation (Legacy) |
Conversation Closed | Conversation Closed (User) |
Conversation Opened | Conversation Opened (User) |
Snooze | User Snoozed the Contact |
Broadcasts | Broadcasts Sent |
Workflows | Automation Workflow started |
Lifecycle | Lifecycle Stage added by User |
Bot Status Update | Bot Status Off |
Channel | Event coming from Channel |
Page Change | Event when a visitor navigates to a different page (Web Chat) |
Contact | Contact Merged |
Conversation events with reference
On supported Channels such as Facebook and WhatsApp, it’s possible to trigger an event with a reference.
A reference is used to track how a Contact enters a conversation, for example through different links across Channels or by linking a Channel user to a session or account in an external app.
When a Conversation Opened event or a Channel event is triggered with a reference, the reference code is stored with the event. If the event includes a URL as its source, the URL is also stored and displayed in the Inbox module.
Events belong to a conversation only if they are triggered while the conversation is open.
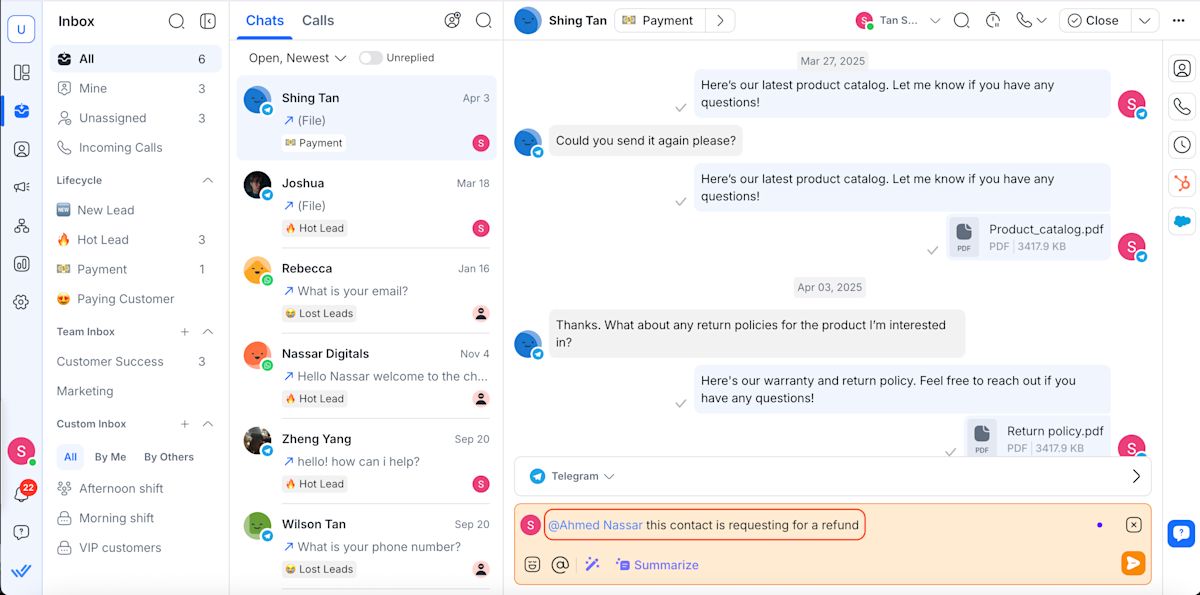
Adding internal comments
The comments feature helps your team collaborate directly within a conversation by sharing internal notes that are visible only to Workspace users and never to Contacts.
In addition to text, you can attach supporting files—such as images, documents, audio, or videos—to provide clearer context, evidence, or references. This keeps all discussion and supporting materials in one place, making collaboration more efficient and traceable.
Use comments to:
Share insights, observations, or internal context
Request feedback or input from teammates
Attach supporting files (e.g. screenshots, documents, recordings)
Leave instructions or notes when handing over a conversation
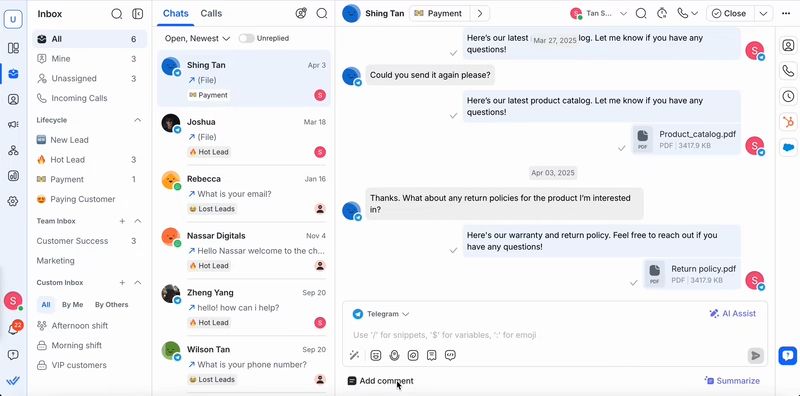
How to add a comment
Select to the Contact you want to comment on and open the conversation in the Inbox.
Click Add comment below the message composer.
Type your comment in the comment composer.
Type @ and select a teammate to tag them.

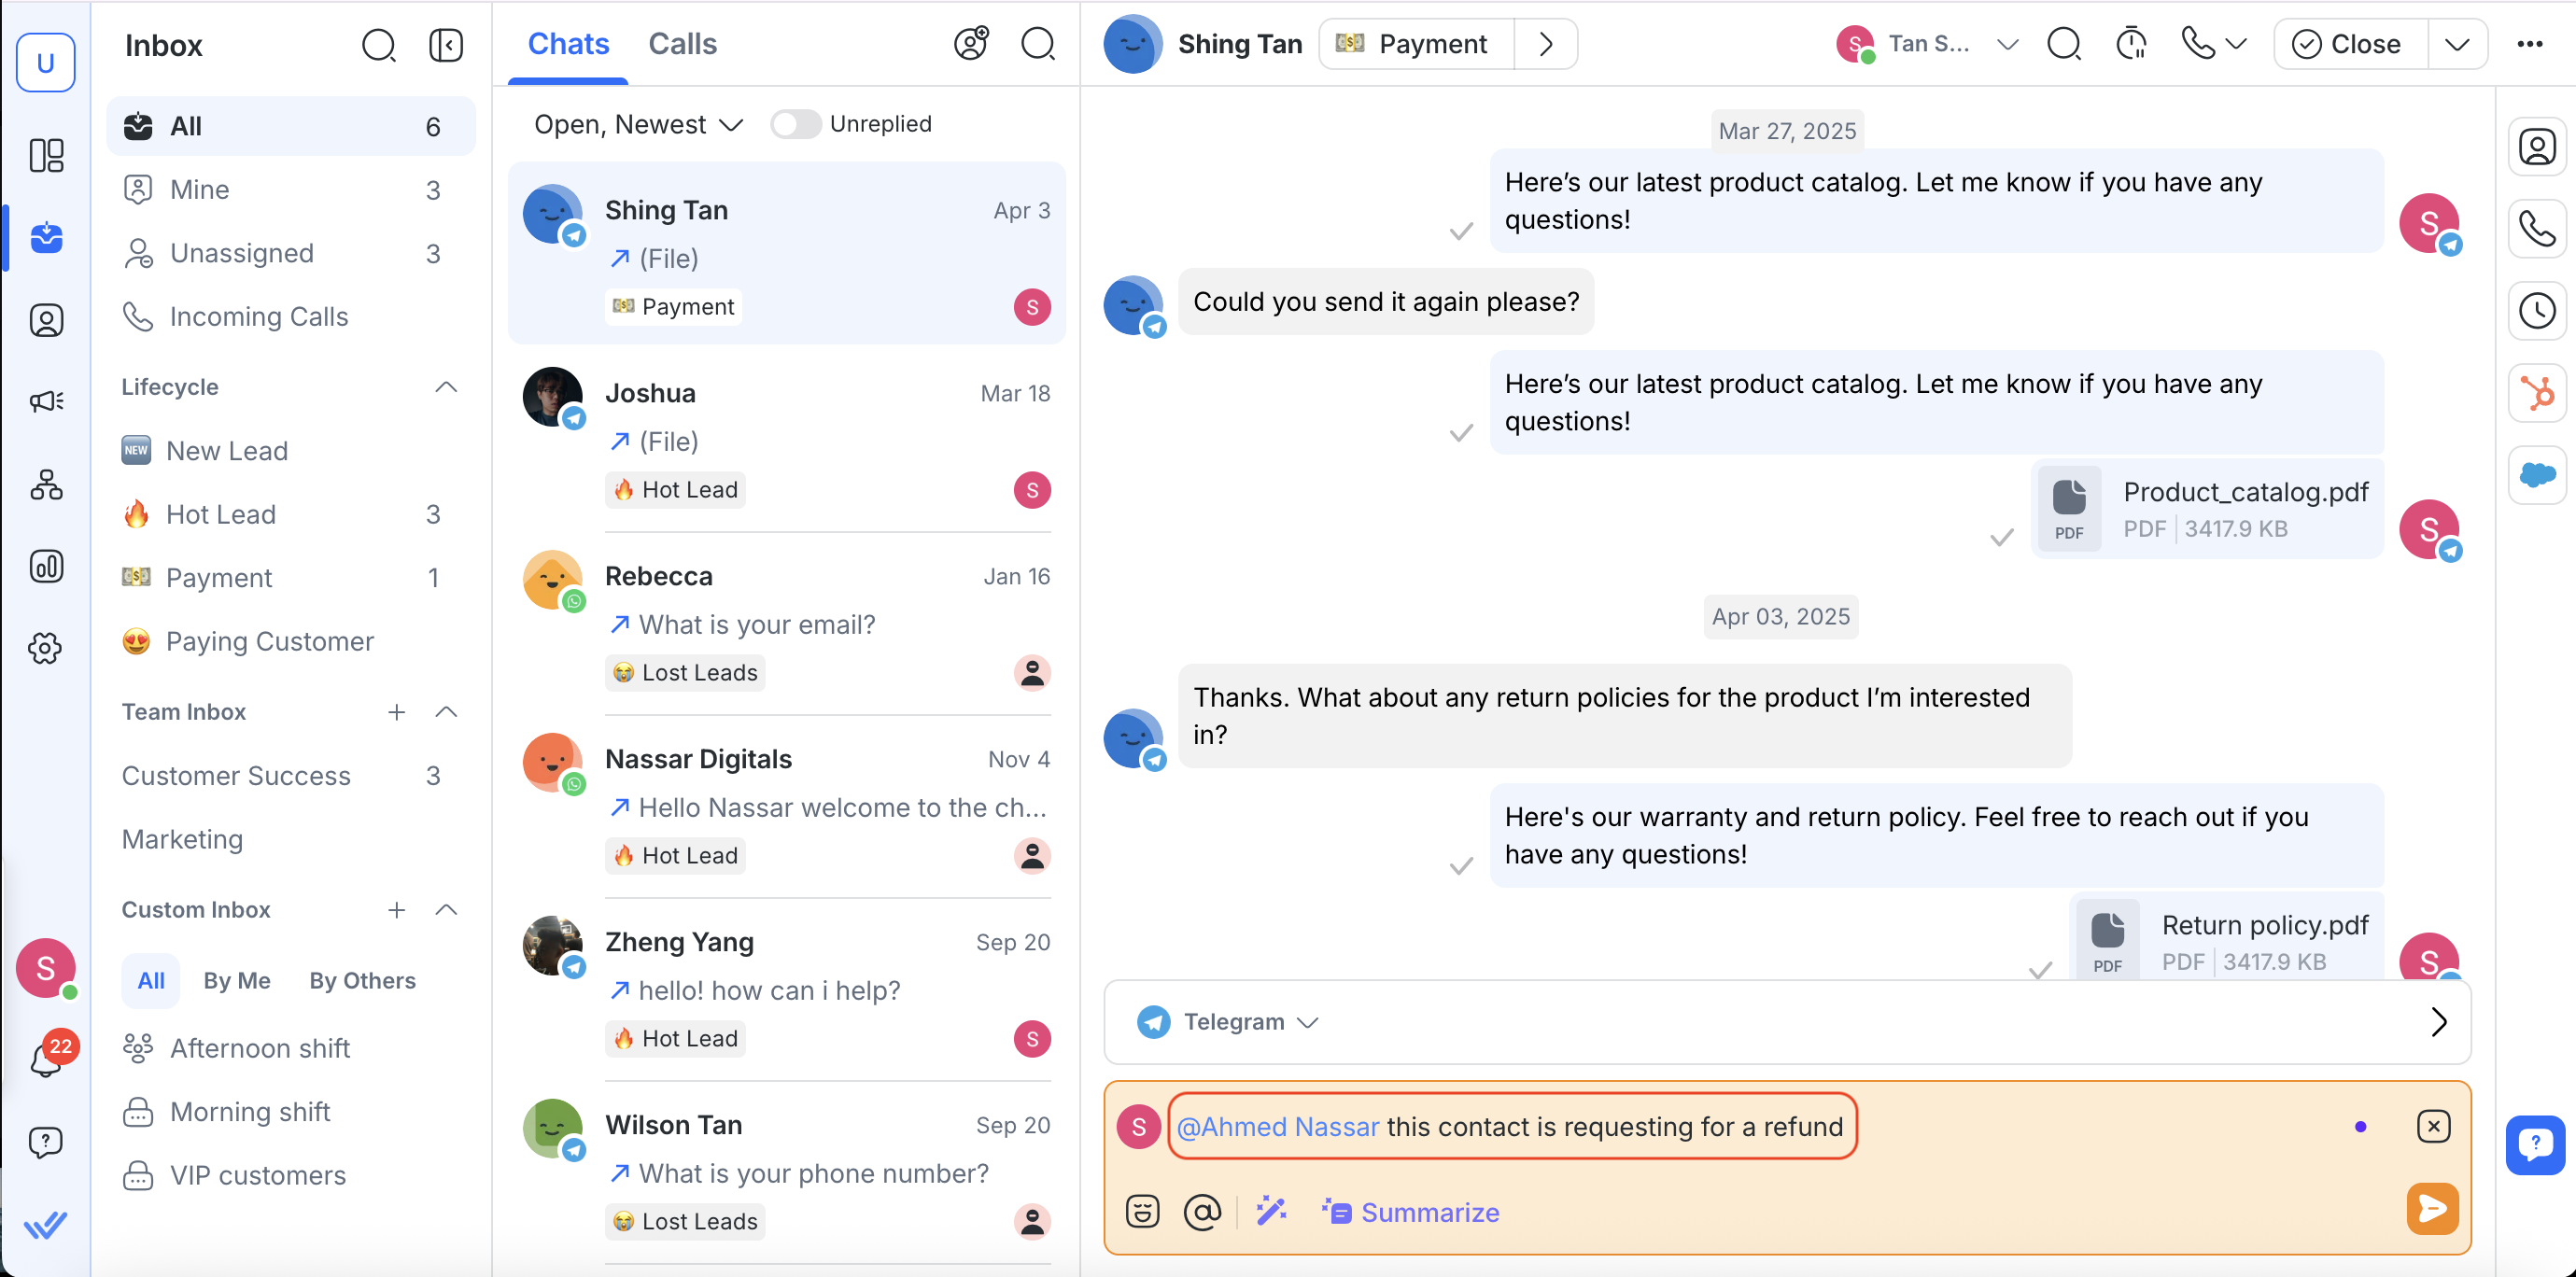
5. (optional) Click the attachments icon to upload files from your device or file library.
Attach files to internal comments
You can attach up to 50 files per comment.
Files and text are sent together as a single internal comment.
Learn more about supported file types and size limits.
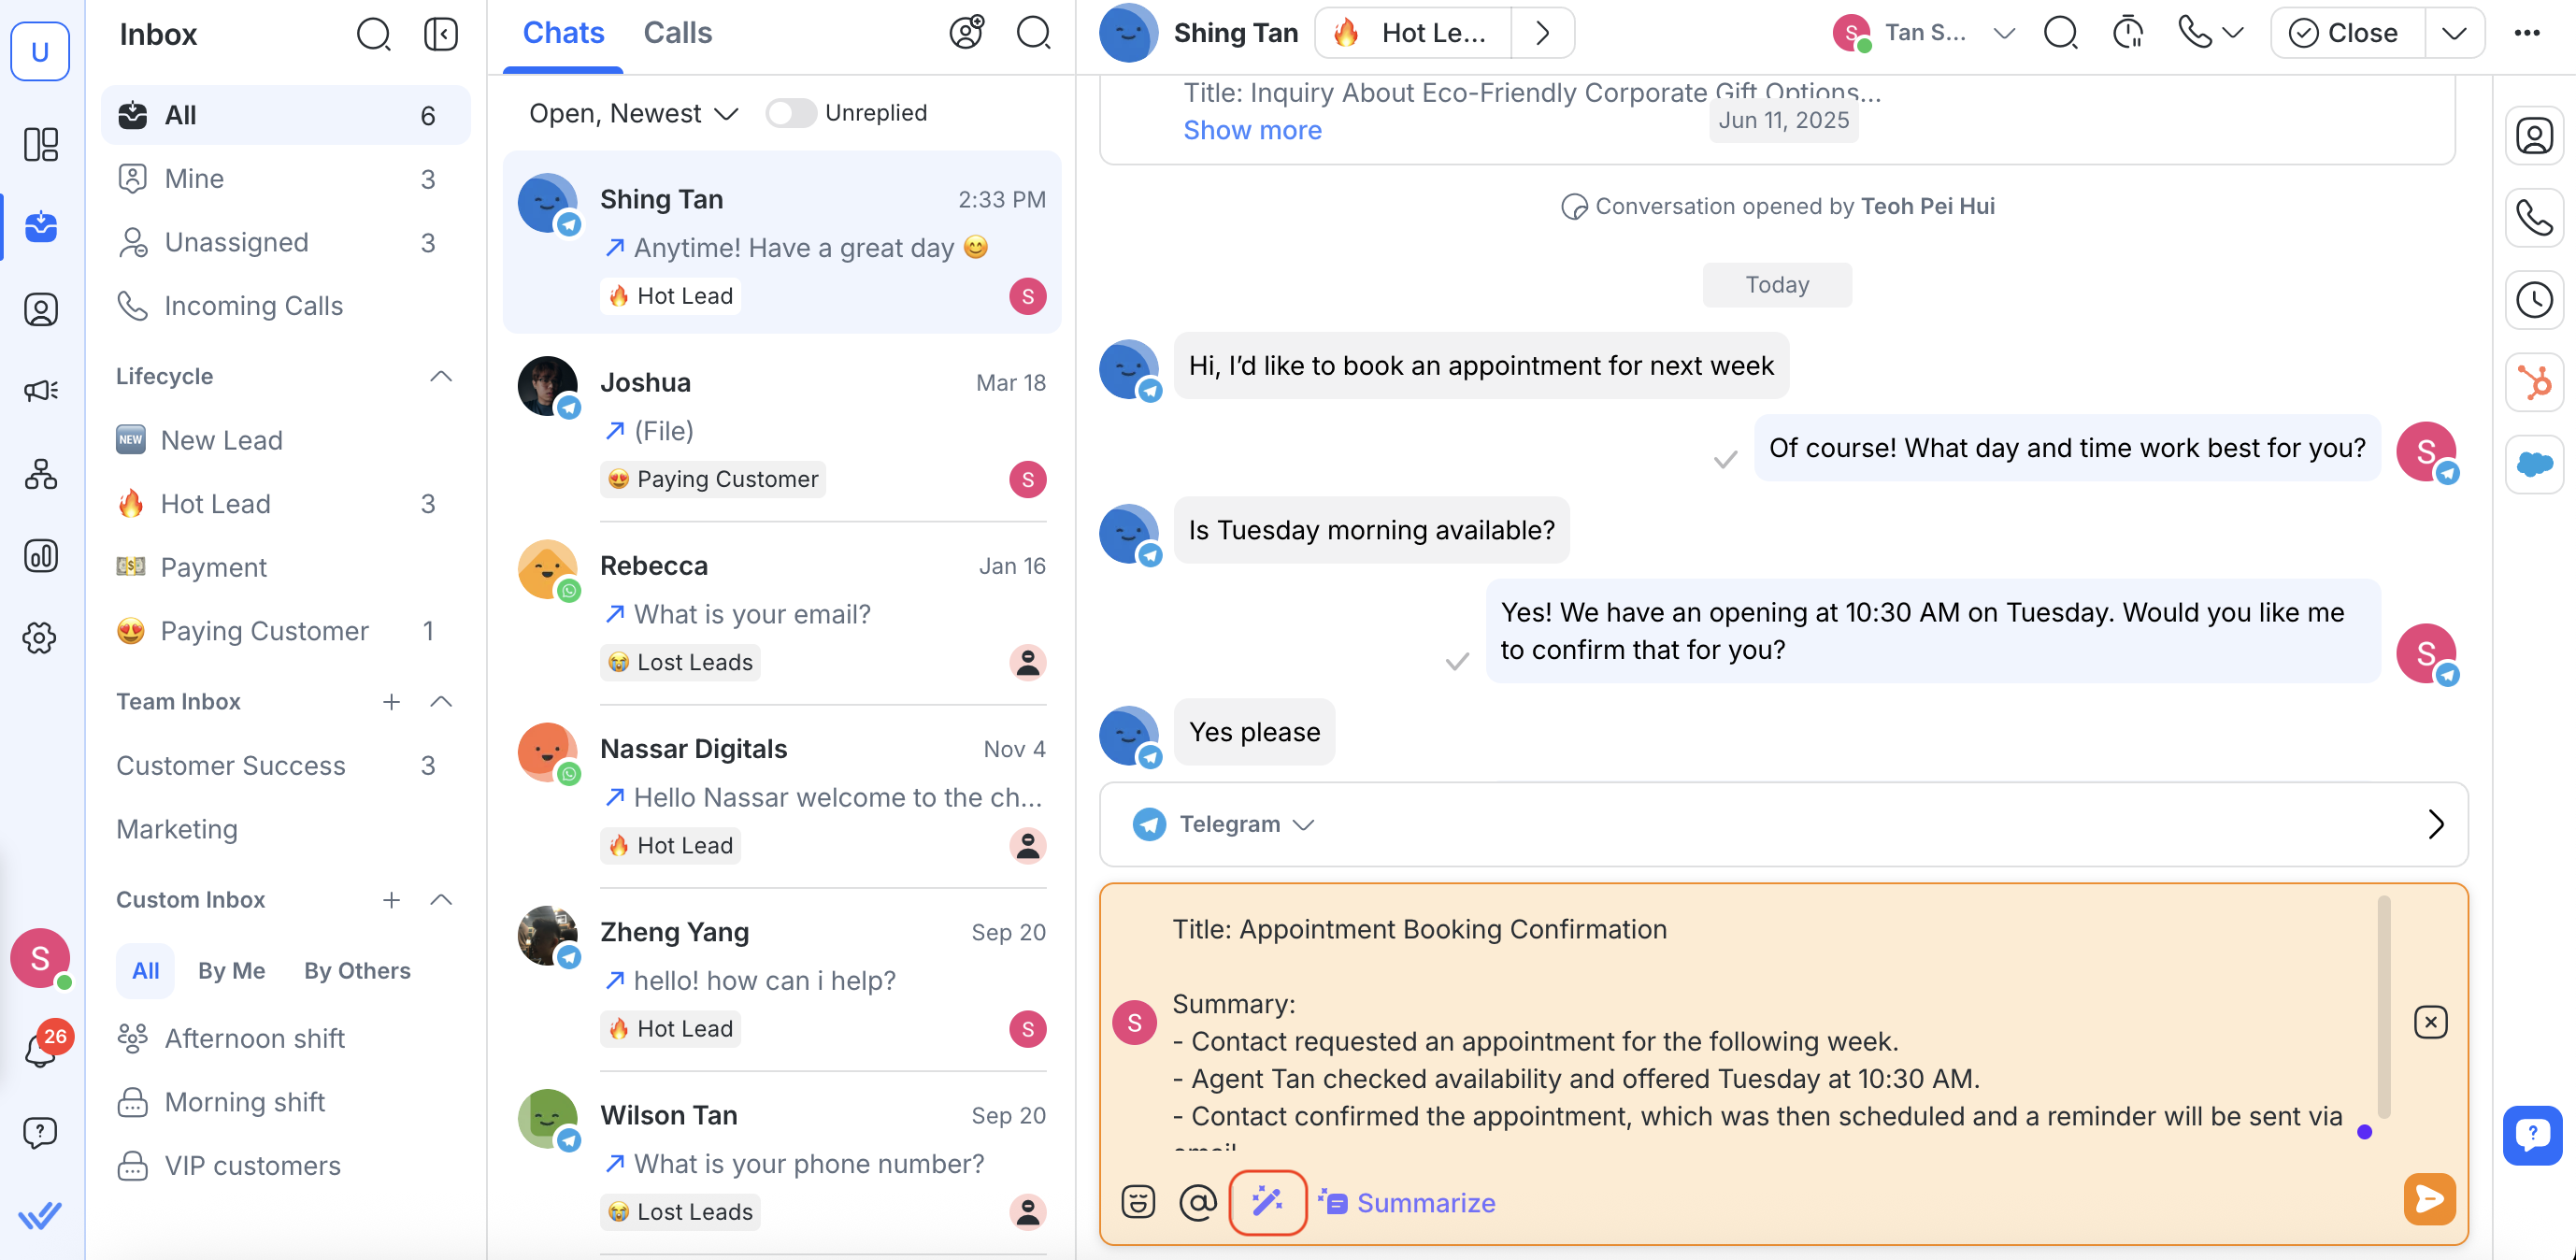
Enhance your comment with AI Prompts
If you need help writing a comment, click the AI Prompts button in the comment composer.
Learn more about adding internal comments with AI Prompts.
Use AI to summarize the conversation
Instead of writing a summary manually, save time by letting AI do it for you.
The summary is generated as an internal comment draft.
To summarize a conversation:
Click the Summarize button at the bottom right of the message composer.
Review and edit the summary (optional).
Send and post the summary as an internal comment.


