The Meta Business account integration with respond.io offers powerful tools like the Meta Conversions API and Meta click-to-chat ads to enhance your marketing efforts. The Meta Conversions API connects your marketing data directly to Meta, helping you optimize your ads, improve your ROI and track performance more accurately across WhatsApp, Messenger and Instagram.
Additionally, Meta click-to-chat ads allow potential customers to start a conversation directly from ads on Meta platforms like Facebook and Instagram. With respond.io, you can seamlessly track engagement, leverage Workflows, and personalize interactions based on the customer’s journey from the moment they click on your ad.
Learn more about Meta Conversions API here.
Learn more about Meta click-to-chat ads here.
Key Features and Benefits of this Integration
Trace Conversion Source: Identify the Meta ad that initiated a conversation to enhance conversion tracking and target sales efforts effectively.
Workflow Triggers: Create specific Workflows in respond.io for Contacts engaging with Meta ads, enabling personalized customer interactions based on their ad engagement.
Ad Performance Tracking & Optimization: Send conversion event data back to Meta to gain insights into ad performance and effectiveness.
How to connect your Meta Business Manager account to respond.io
In your Workspace, go to Settings > Integrations
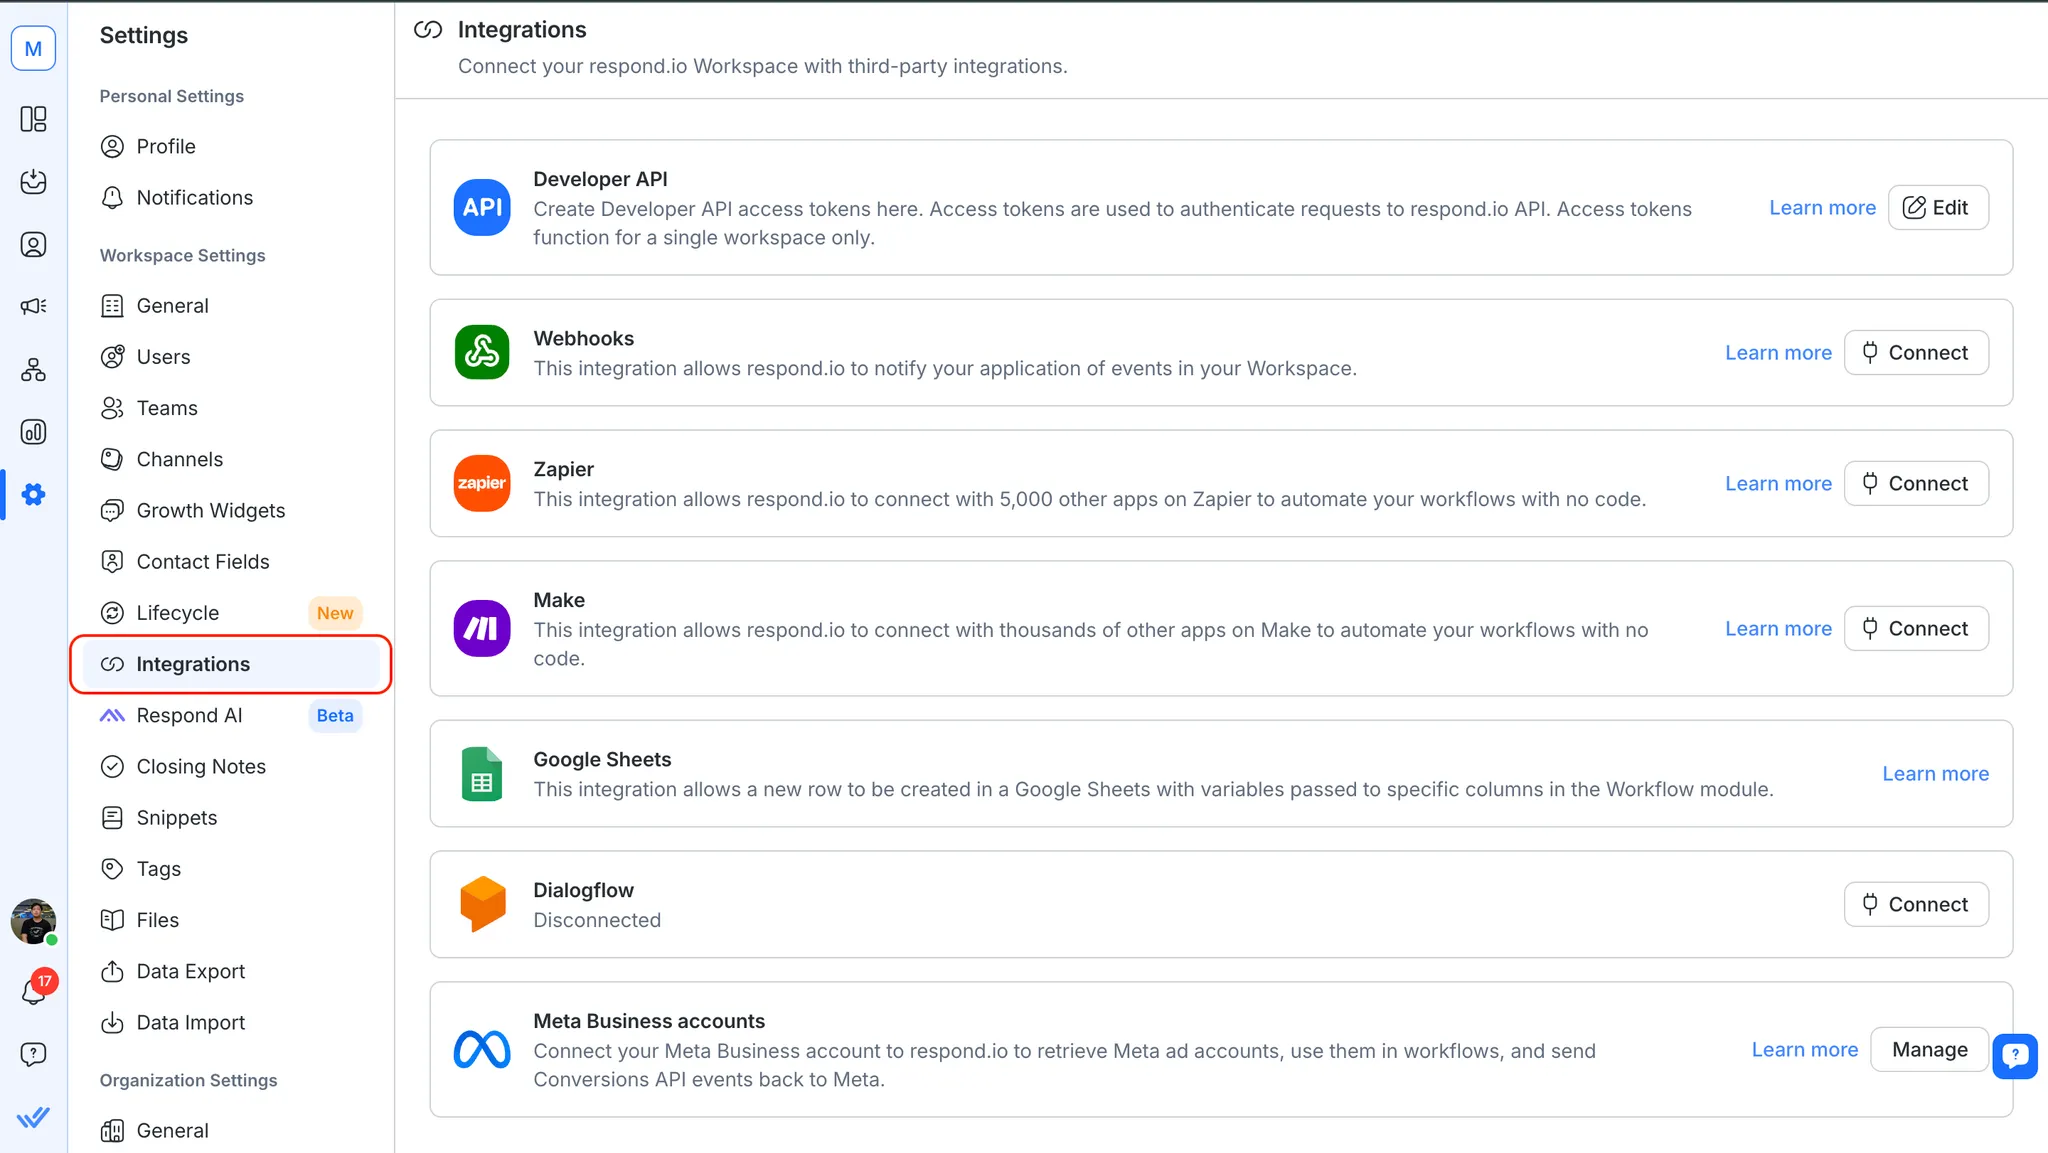
2. Navigate to Meta Business accounts, click Manage
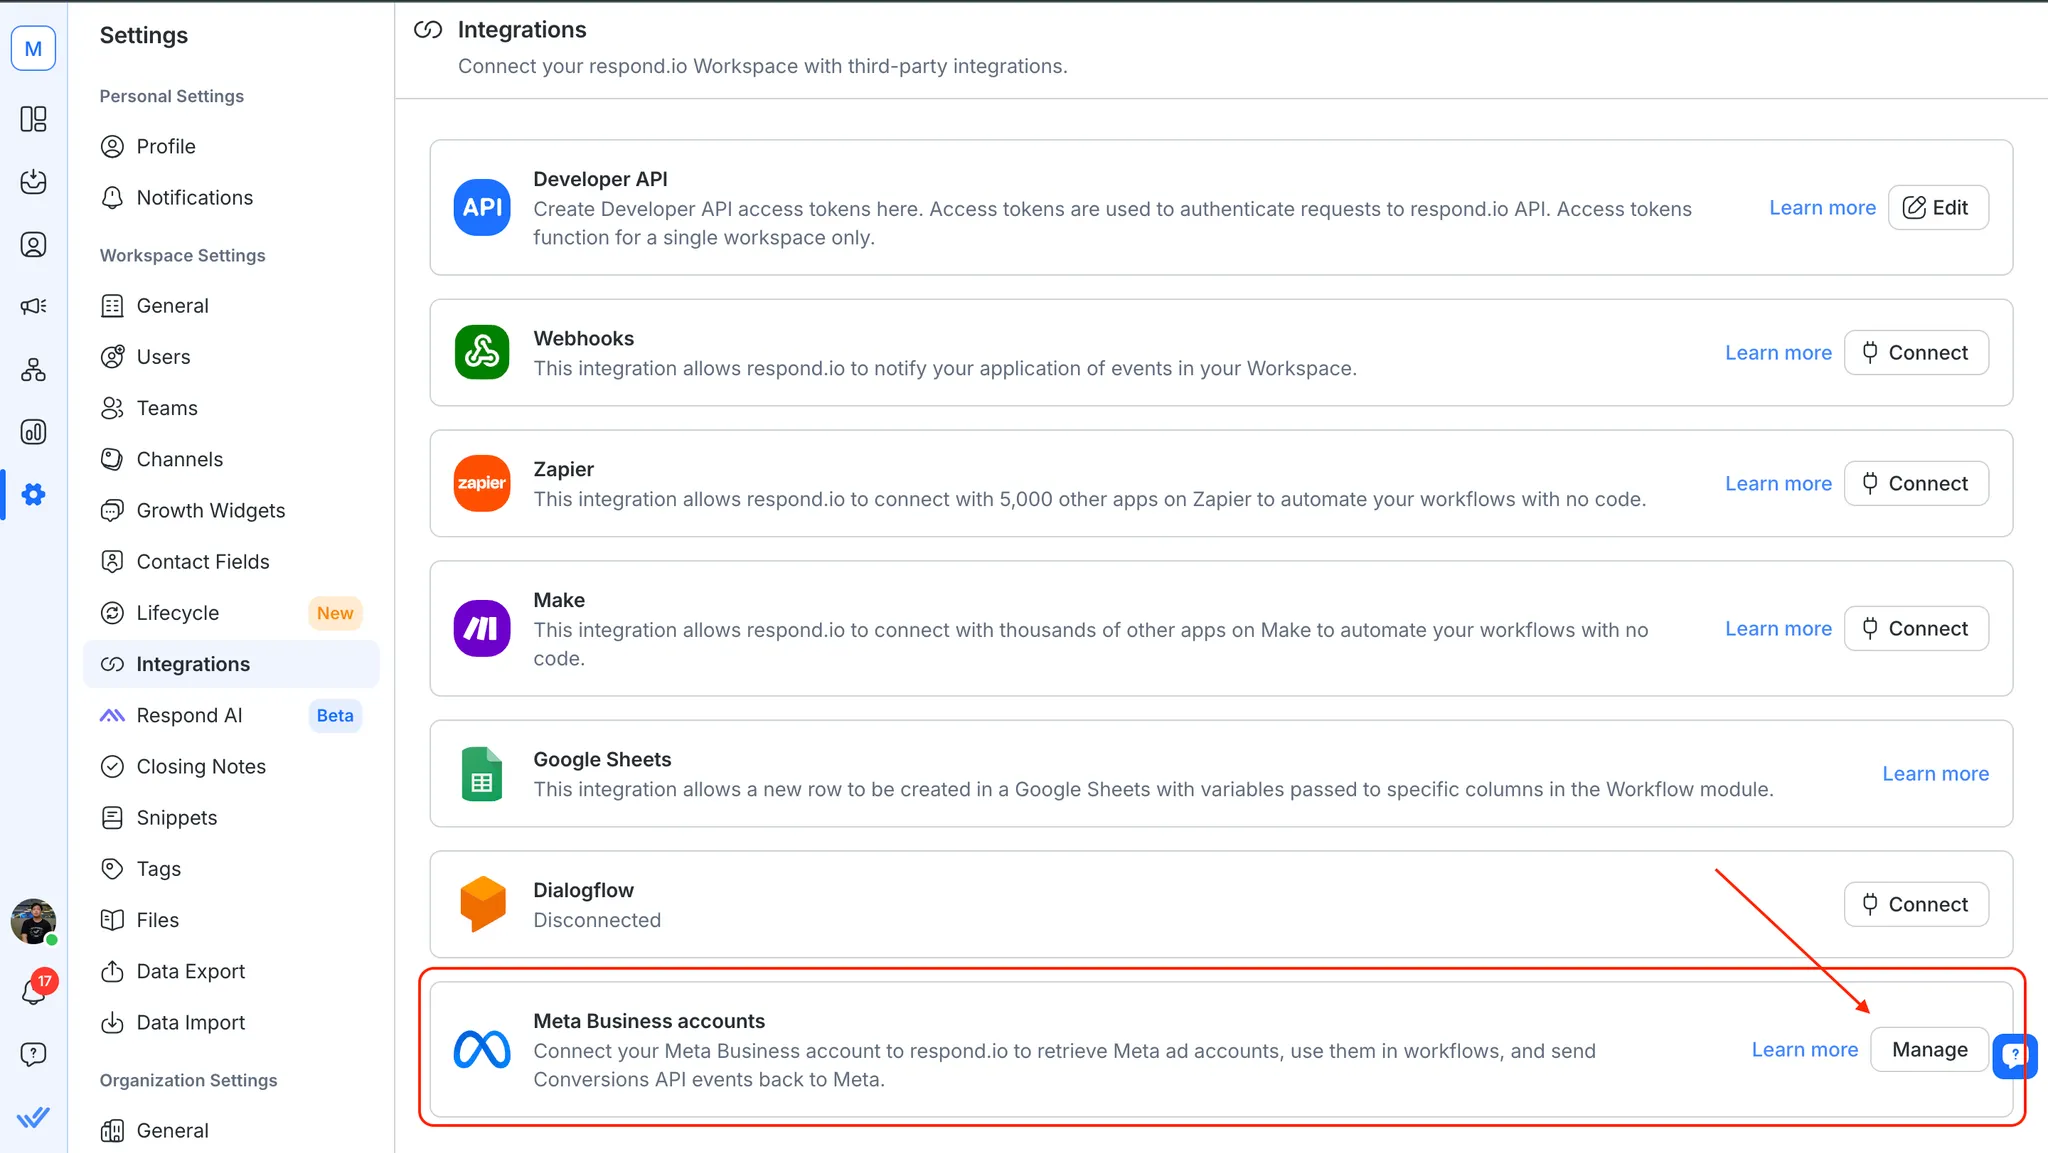
3. Click on the Add account button
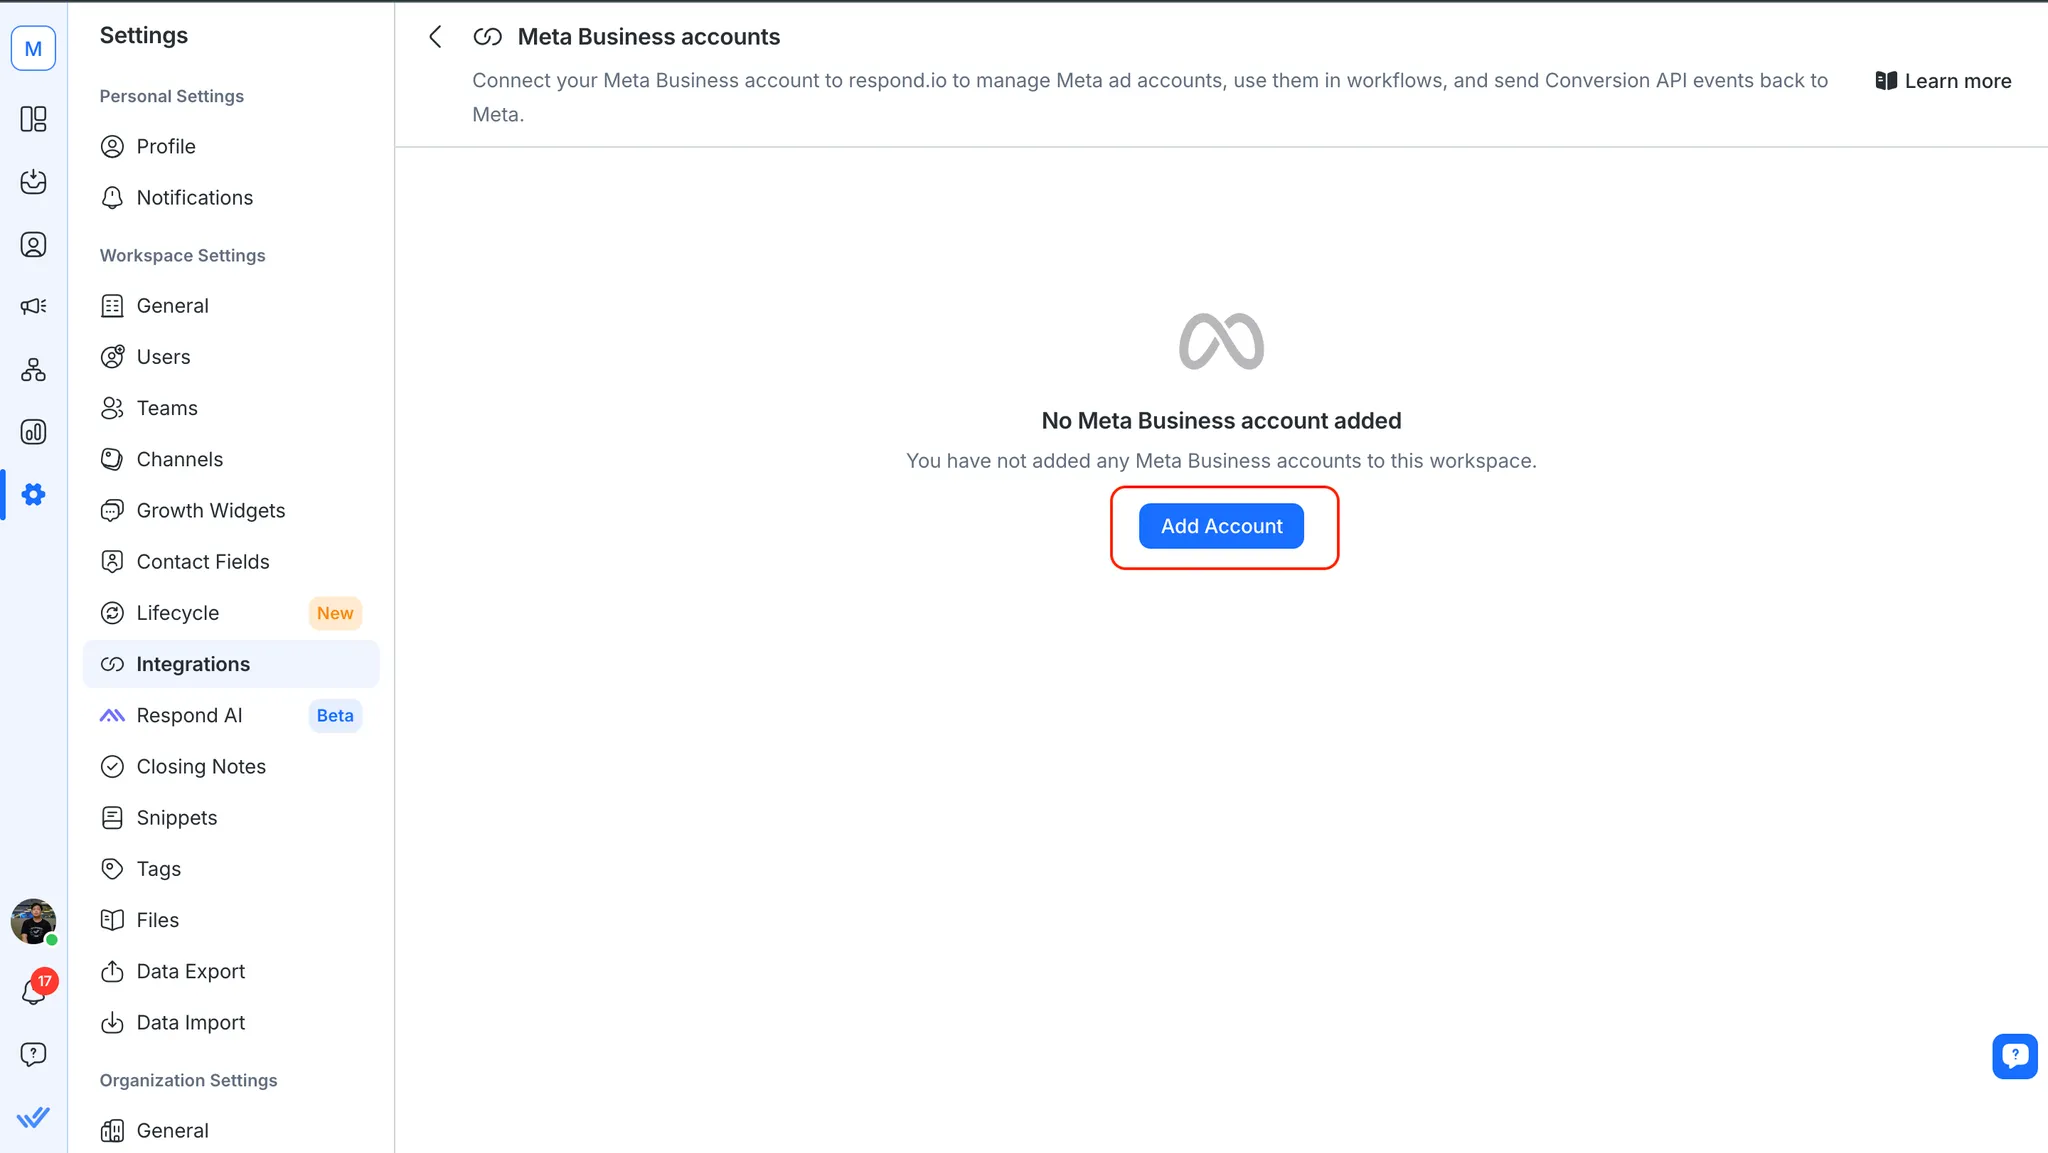
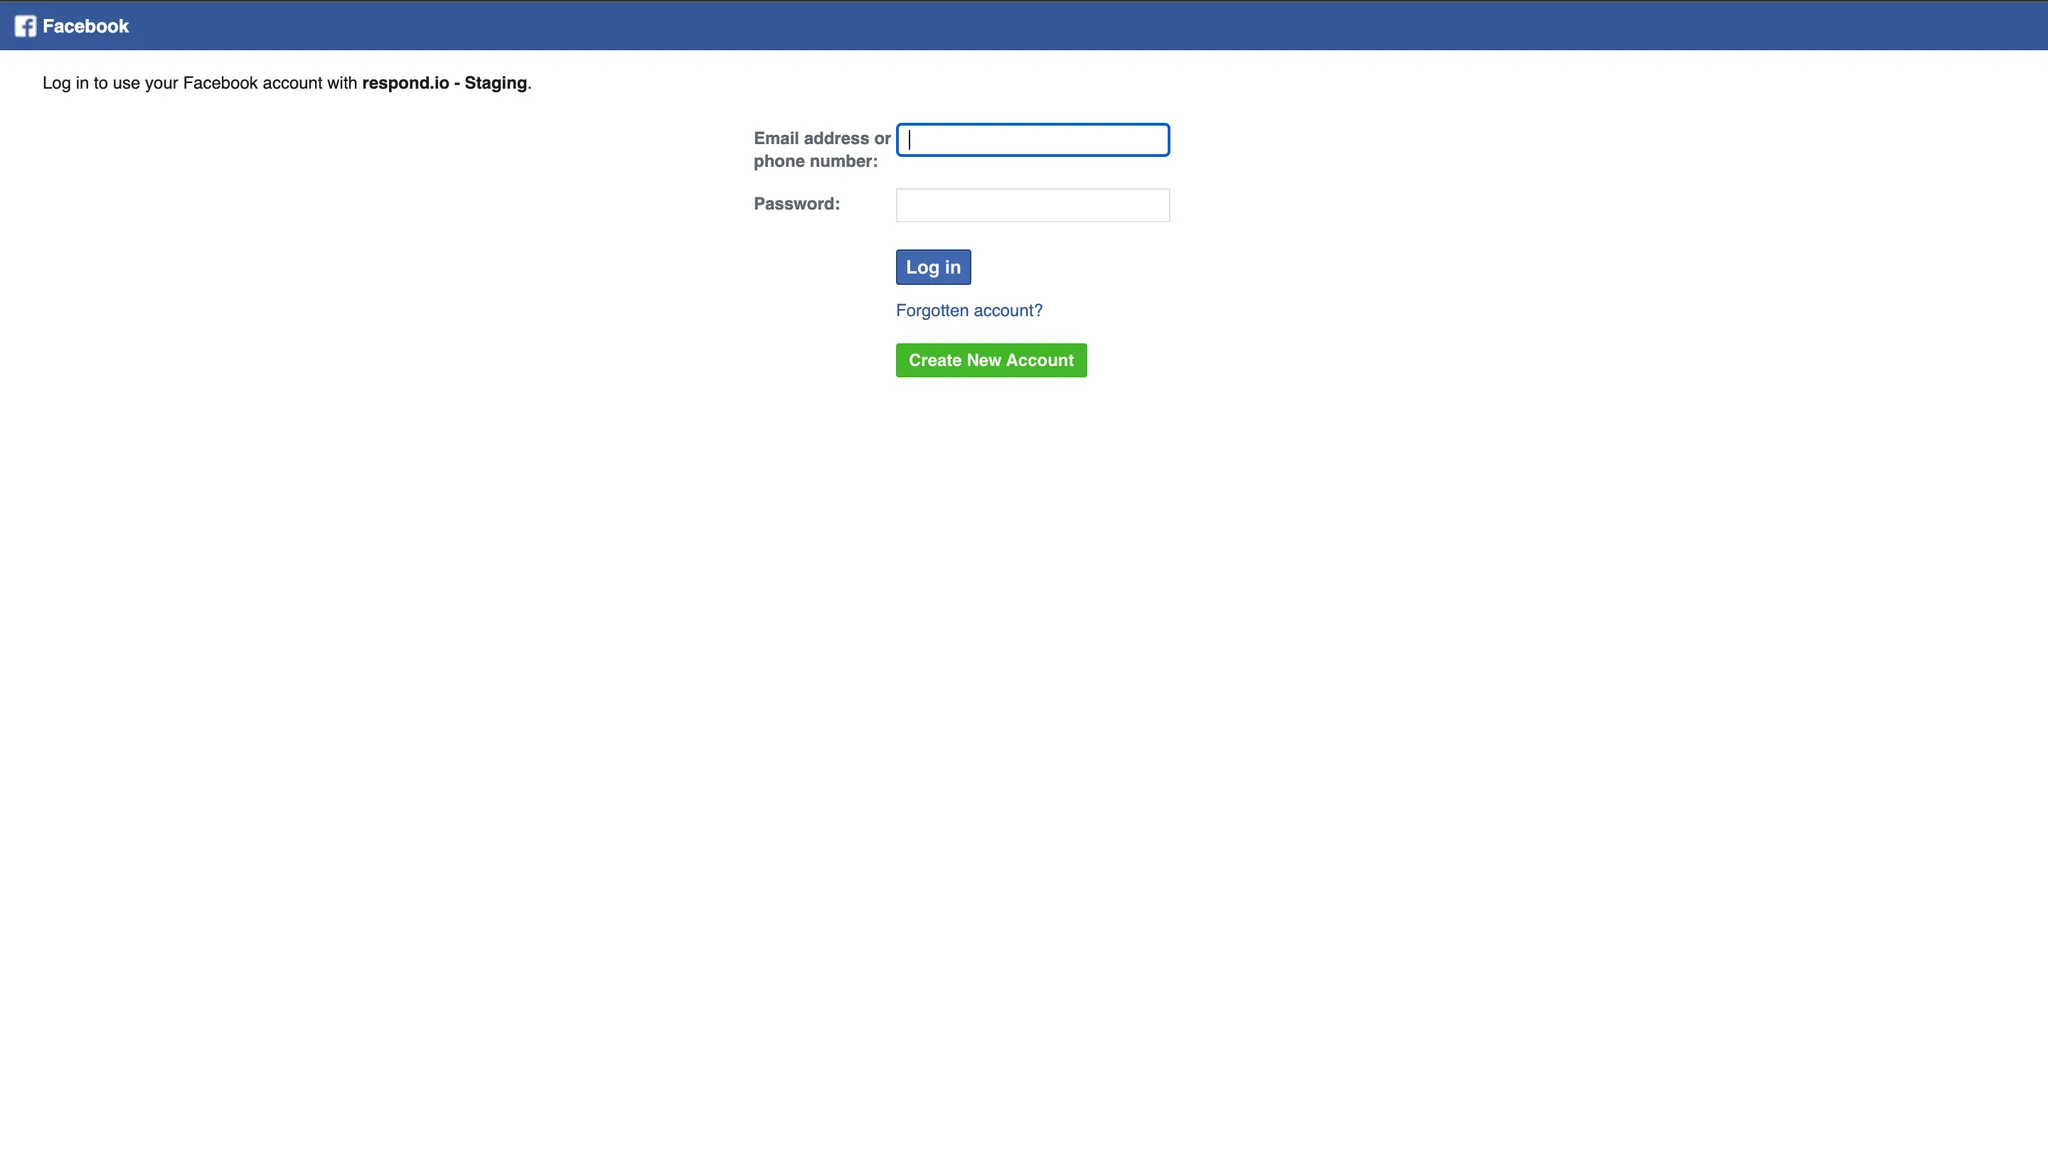
4. A new tab will be opened for you to sign in with your Facebook account. Follow along the steps to connect your Meta Business account.
Congratulations! You’ve successfully connected your Meta Business Manager account to respond.io.
Using Meta Conversions API in respond.io
Using Meta Conversions API in the Workflows Module
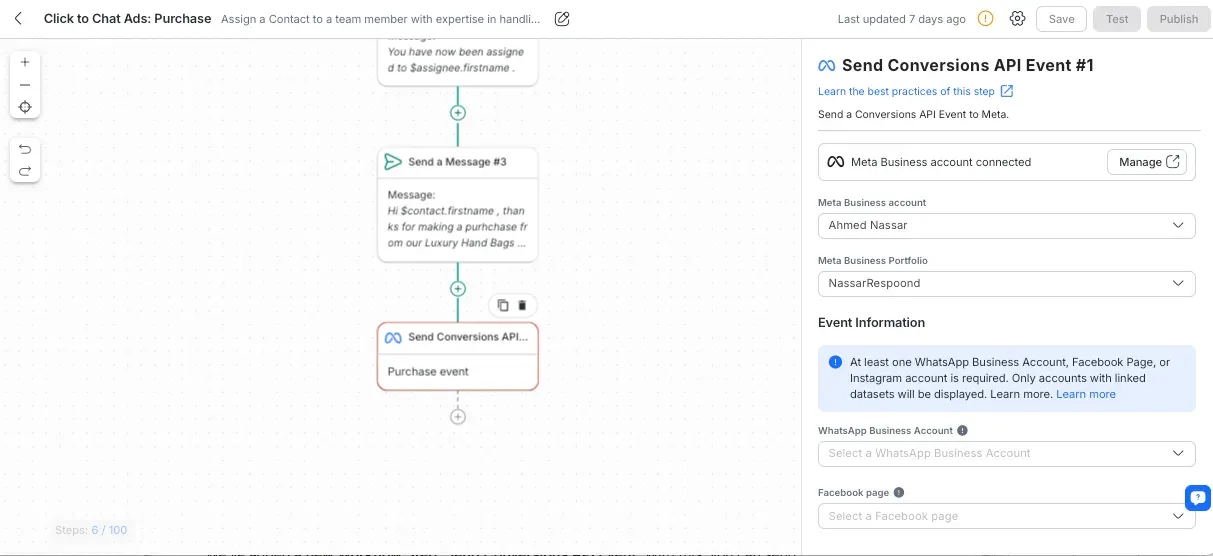
In the Workflows module, you can create automated Workflows that send conversion events to Meta. By adding the Send Conversions API Event workflow step, you can track conversions triggered by customer interactions on WhatsApp, Messenger, or Instagram.
Trigger personalized events: When customers interact with your Meta ads, you can automatically trigger events like Lead submitted or Purchase made, sending this data to Meta for performance tracking.
Event customization: Choose the conversion type (Lead or Purchase), and customize the data to be sent, such as customer information, event time, and custom fields.
This integration allows you to automate ad performance tracking and optimize your campaigns based on real-time conversion data.
Learn how to configure and set up the Send Conversions API Event Workflow step here.
Using Meta Conversions API in the Inbox module
New Contact event
When a Meta Conversion API event is triggered, a new Contact event will appear in the Inbox module. This event allows you to track when a Lead or Purchase conversion is sent to Meta.
For a Lead conversion: The Contact event will display “Meta Conversion API Lead Event sent” along with the date and time of the event.
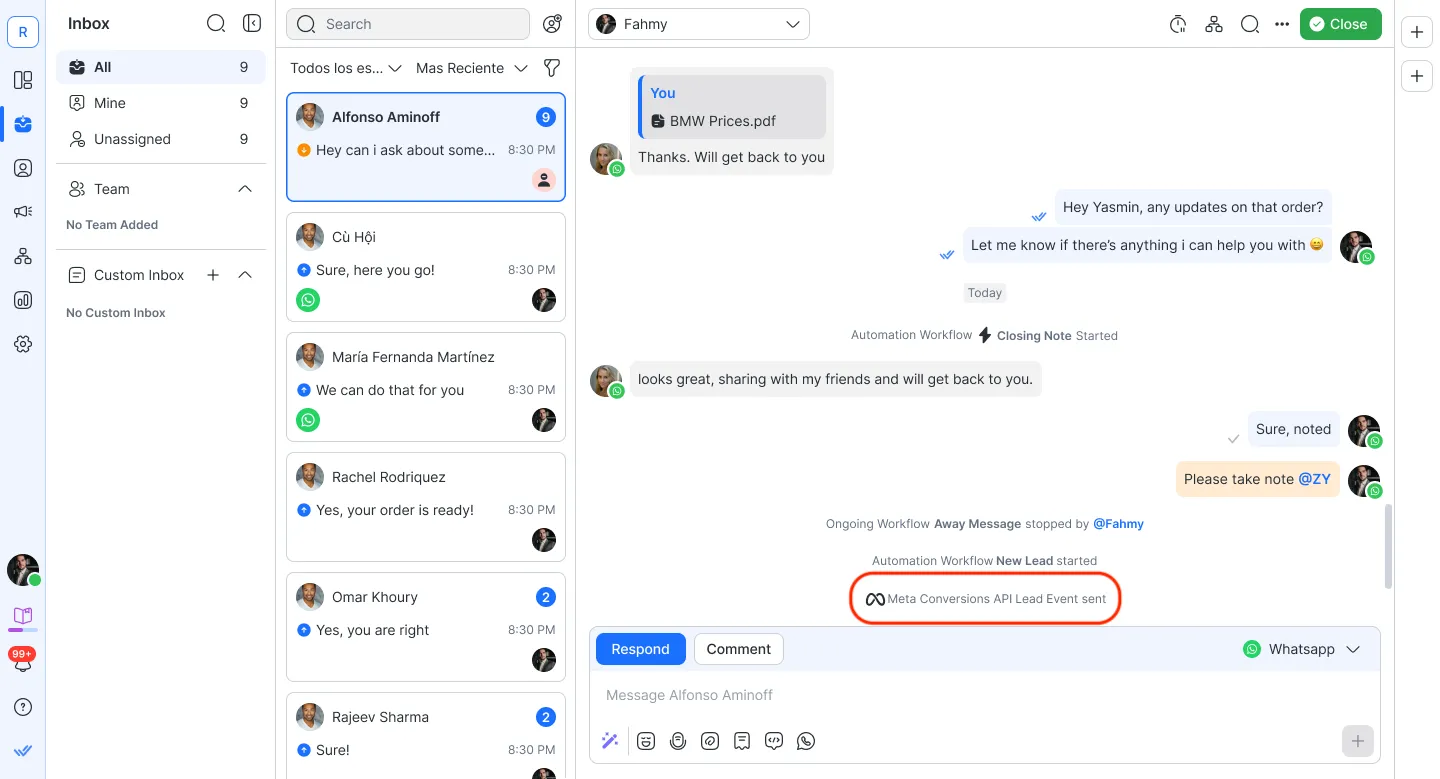
For a Purchase conversion: The Contact event will display “Meta Conversion API Purchase Event sent” along with the date and time of the event.

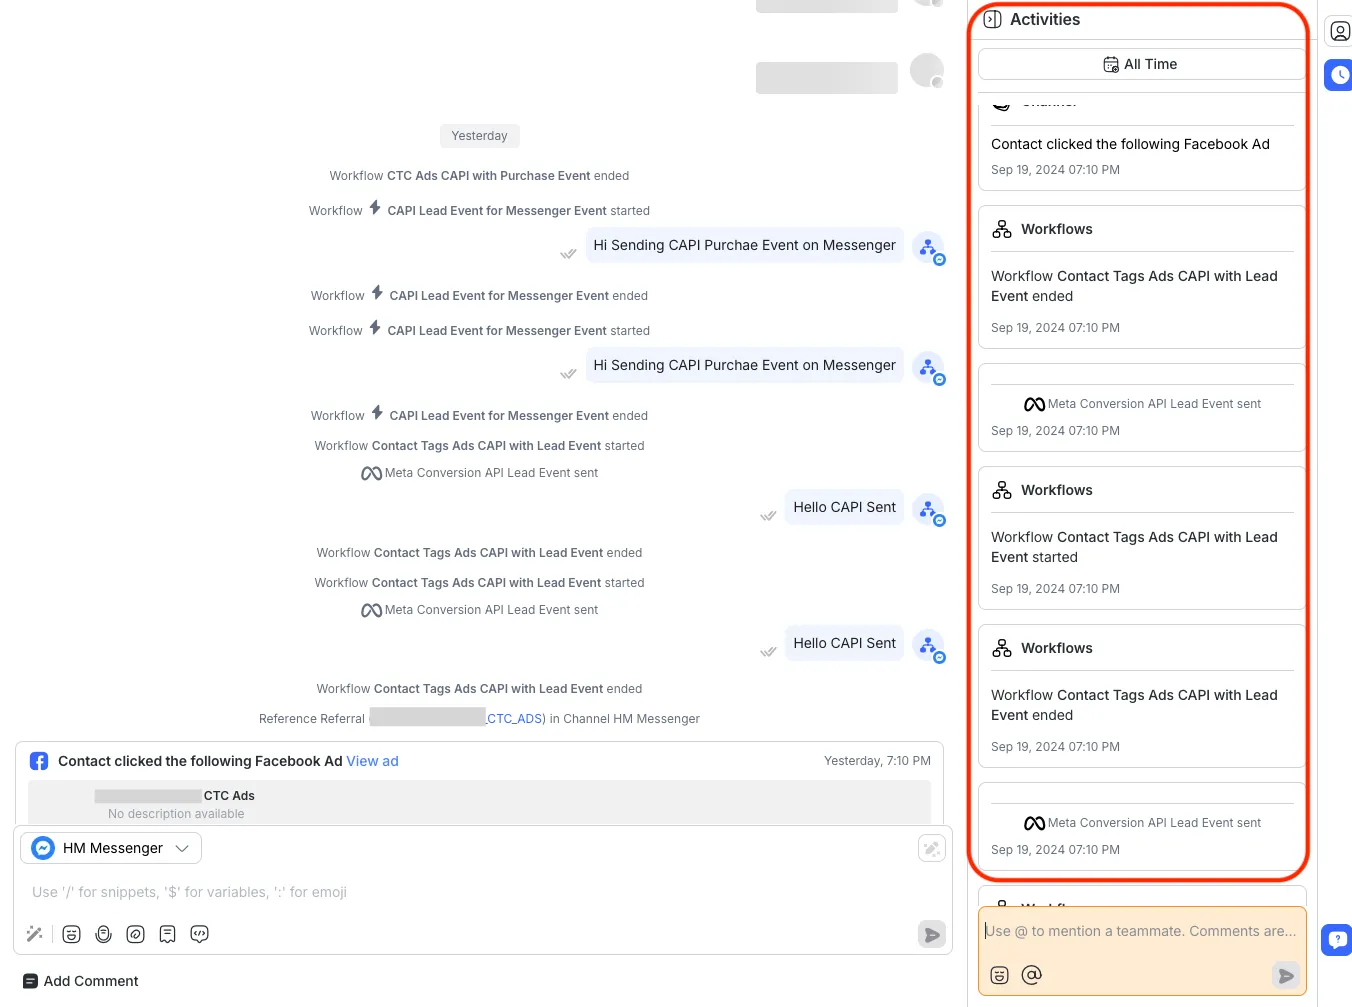
Contact activity
In addition to the Contact event, the Activity section within a Contact’s details will log any conversions sent via the Meta Conversions API. You will see the type of conversion (Lead or Purchase) along with the date and time of the event.
Using Meta click-to-chat ads in respond.io
Meta click-to-chat ads allow potential customers to start conversations with your business directly from ads on Meta platforms like Facebook and Instagram. When customers click on the ad, a new conversation is automatically initiated on respond.io, providing your team with the tools to track and engage with these customers.
Using Meta click-to-chat ads in the Workflows Module
In the Workflows module, you can automate personalized responses and actions using the click-to-chat ads trigger, enabling workflows like sending welcome messages or assigning conversations to specific team members whenever a customer clicks on a Meta Click-to-Chat ad.
To enhance your Workflows, explore more specific use cases:
Using Meta Click-to-Chat Ads in the Inbox Module
When a customer clicks on a Meta Click-to-Chat ad, a new Contact event will appear in the Inbox module, allowing your team to track when the conversation was initiated through the ad.
Contact event for ad clicks: The Inbox will display “Click-to-Chat Ad Event” along with the ad details, including the ad name and the time the customer clicked the ad.
In addition, the Activity section within a Contact’s details will log the click-to-chat ad event, providing your team with a full history of customer interactions tied to Meta ads.
How to set up Click-to-Chat (CTC) Ads in Meta Ads Manager
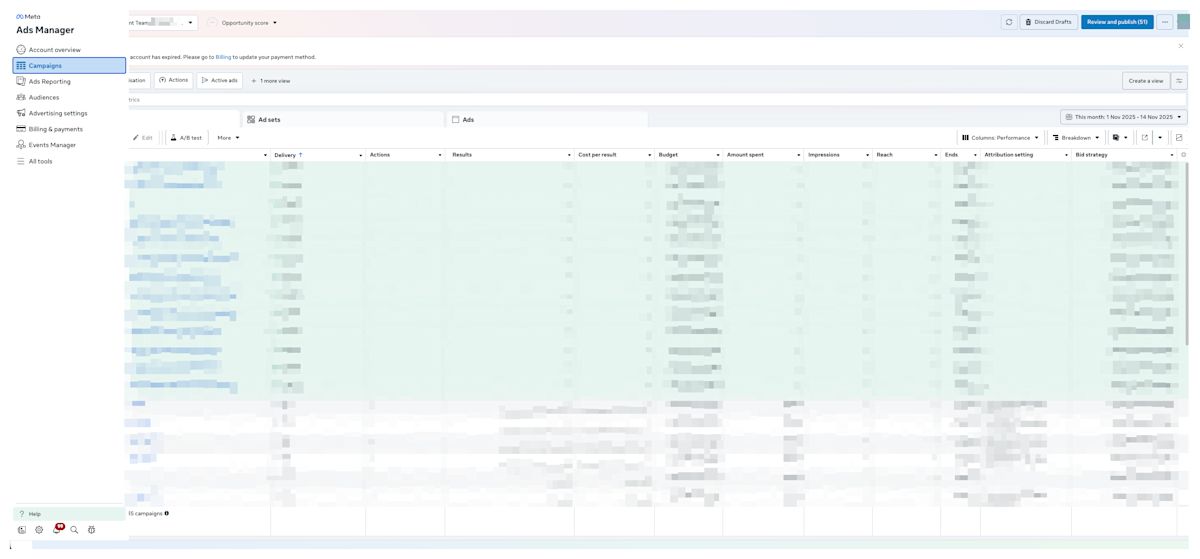
Go to Ads Manager.
Click Campaigns.
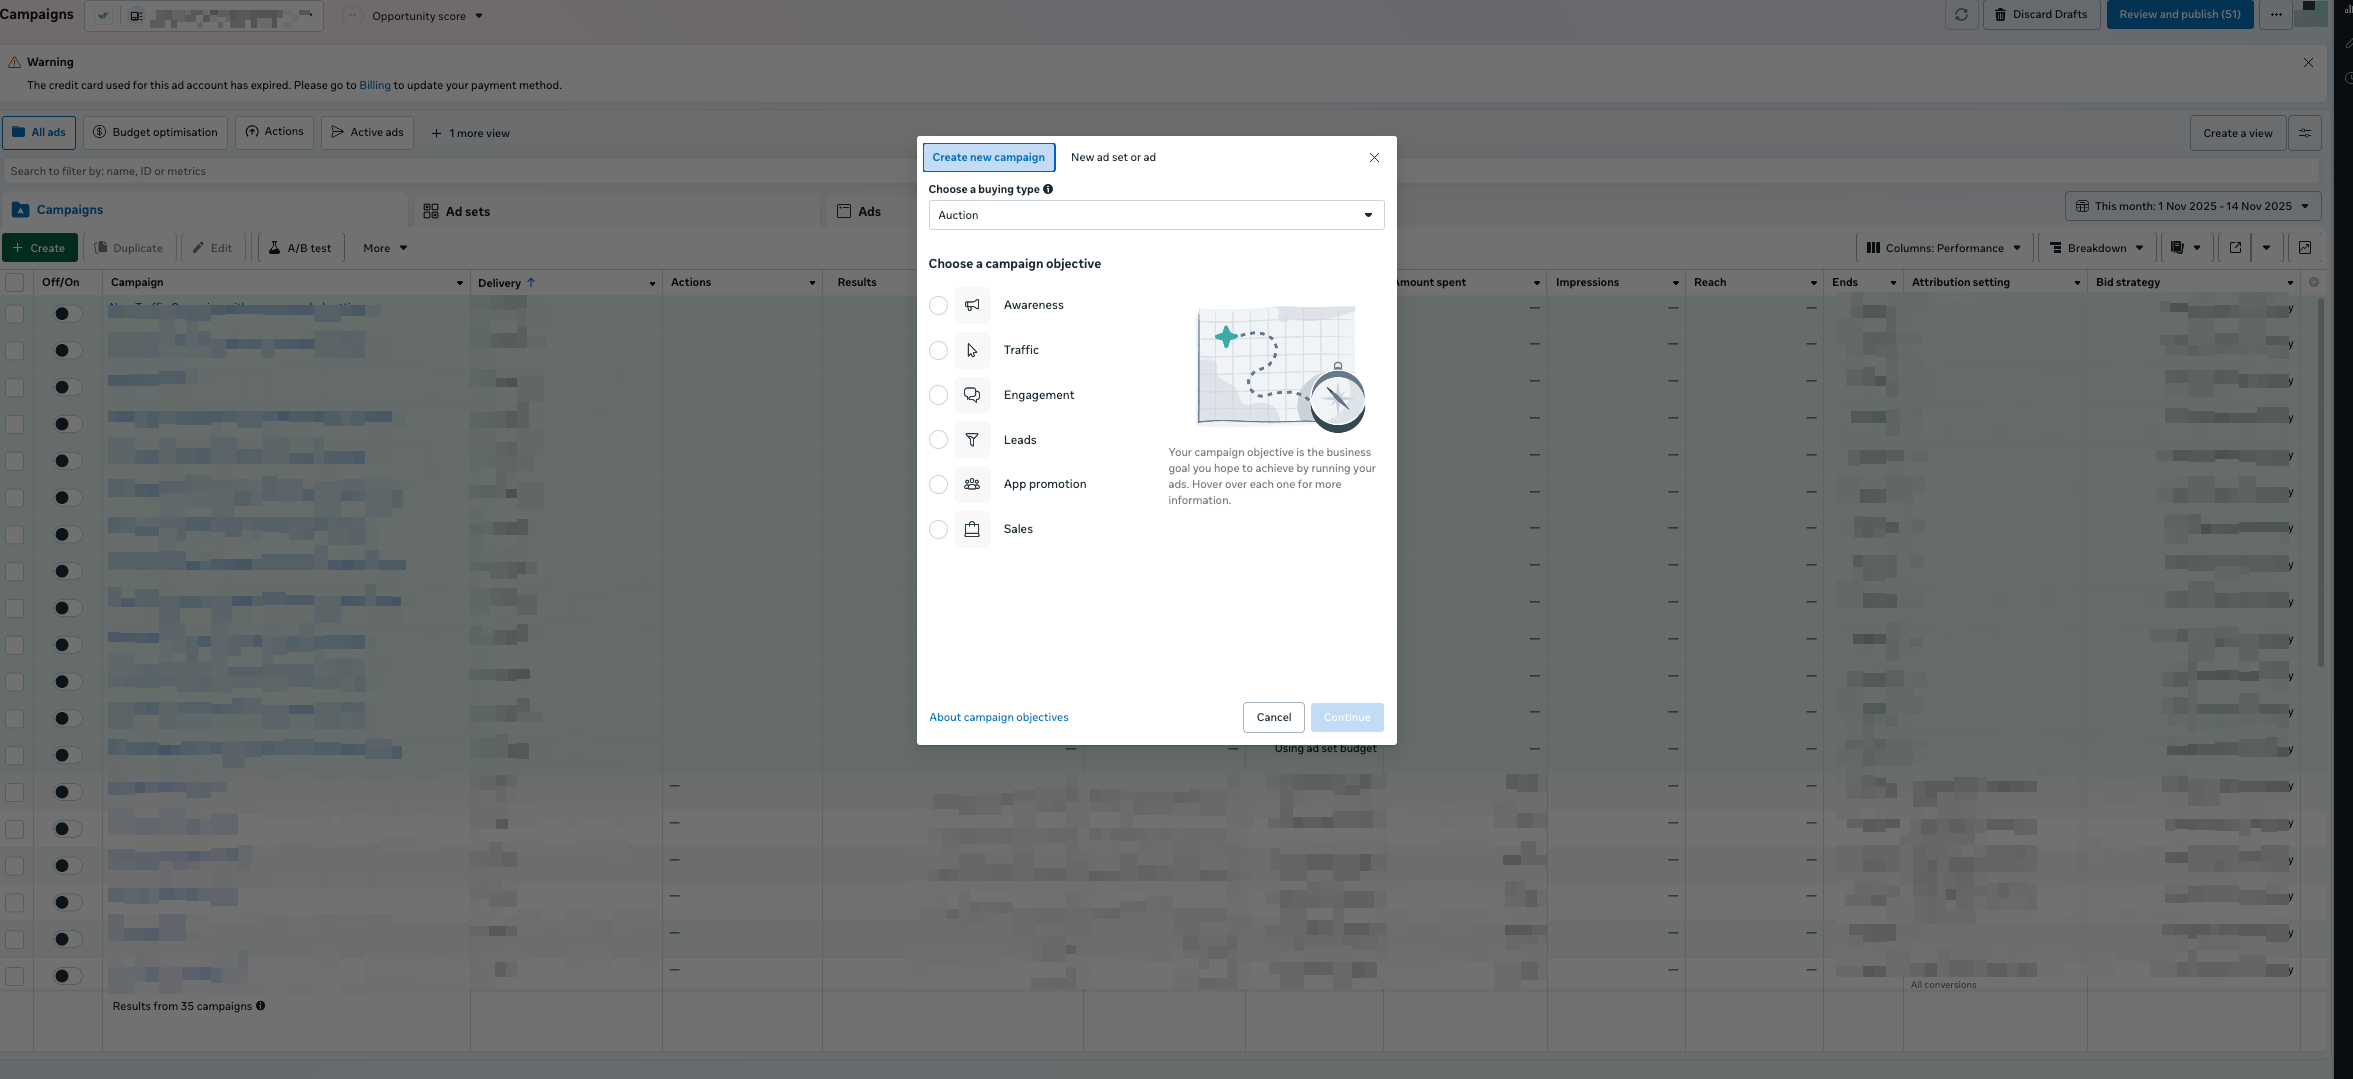
Click Create to start a new campaign.

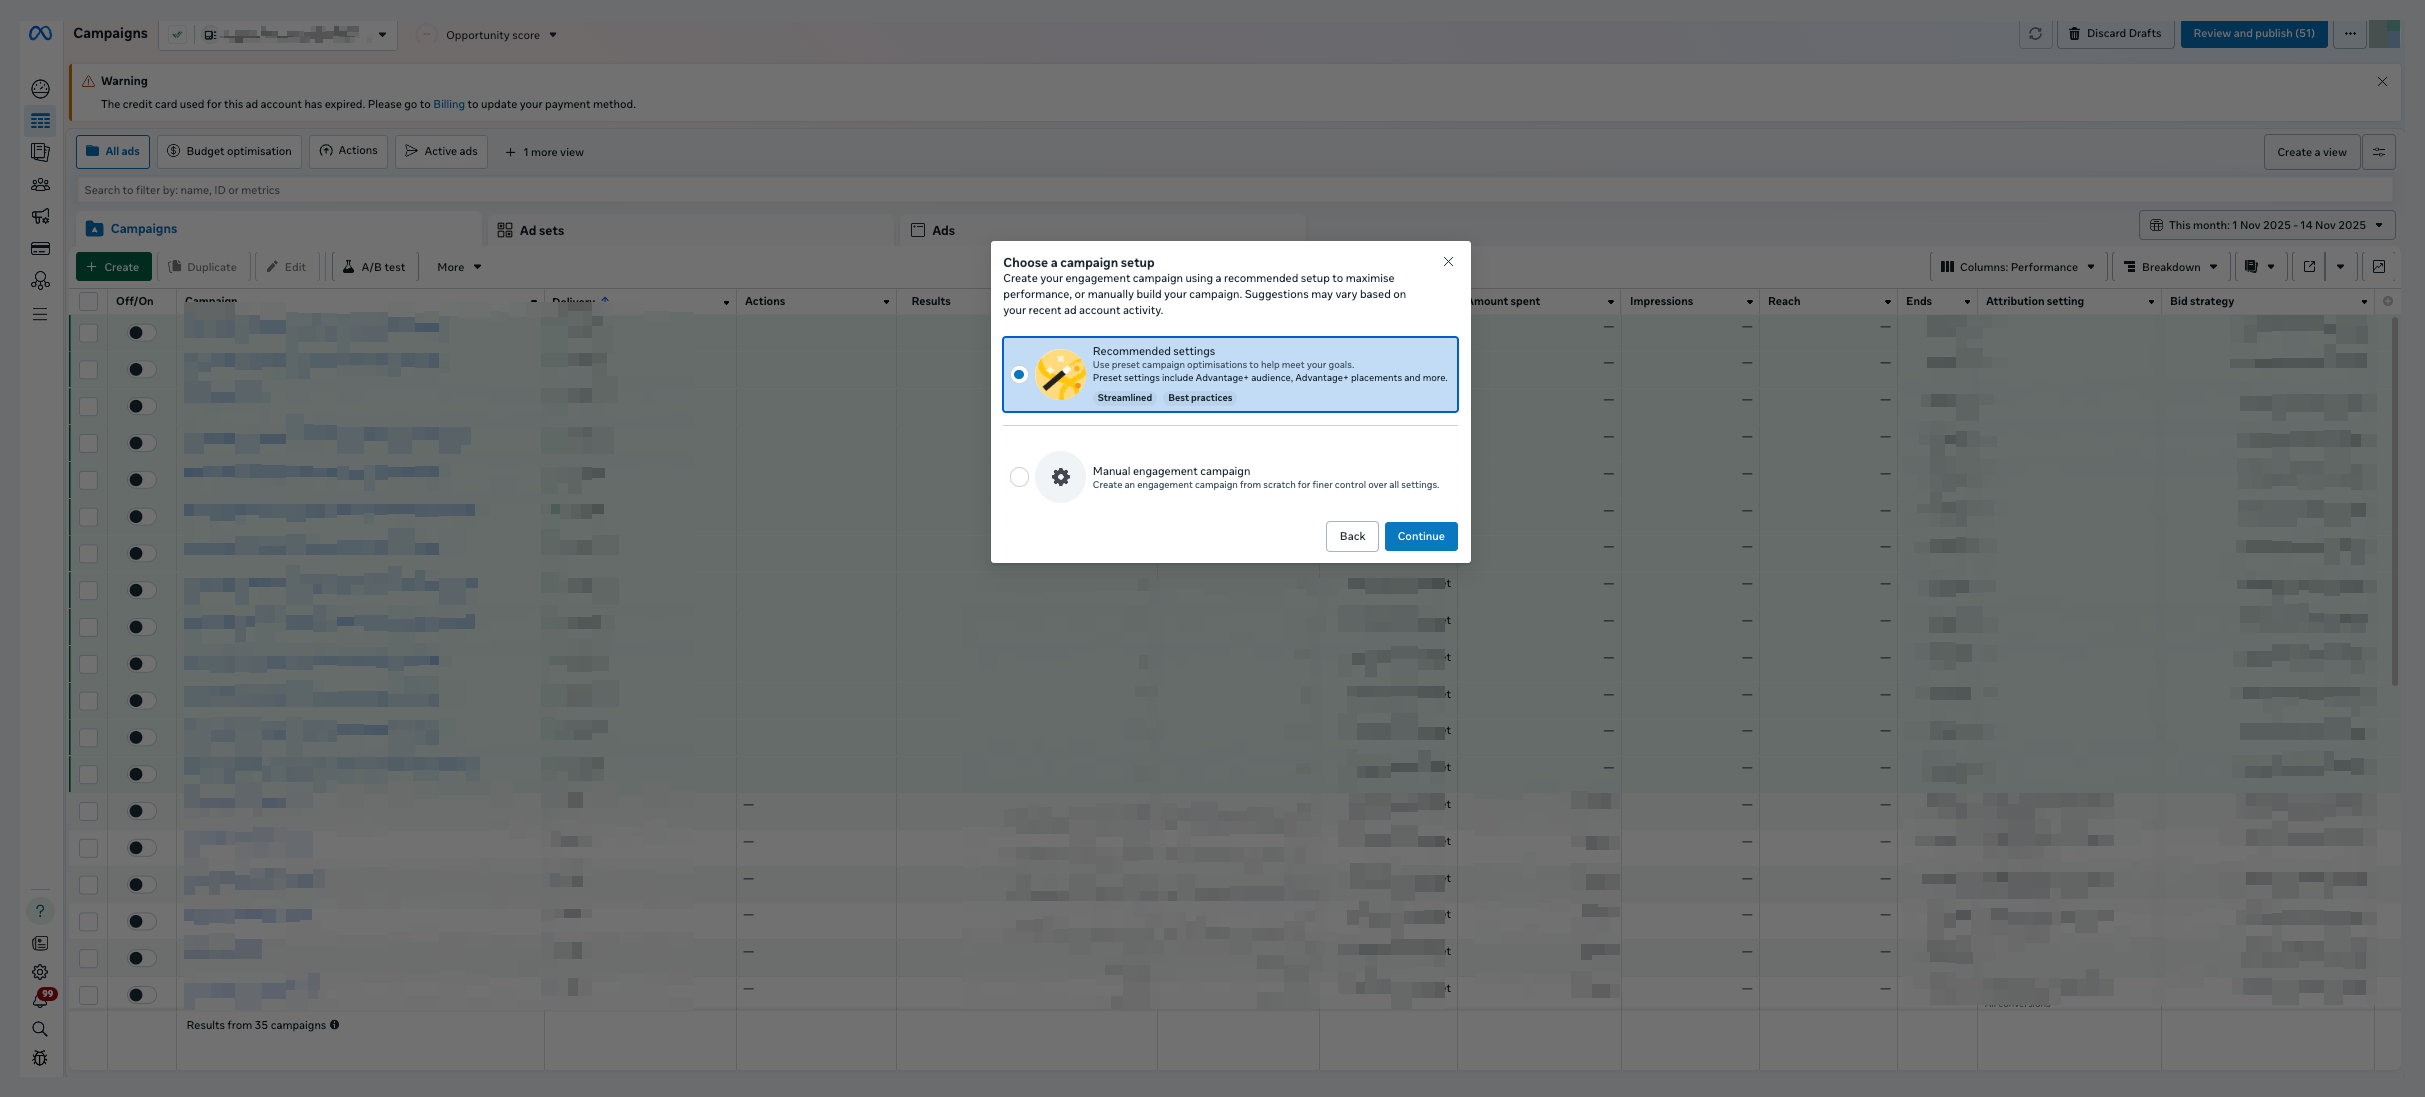
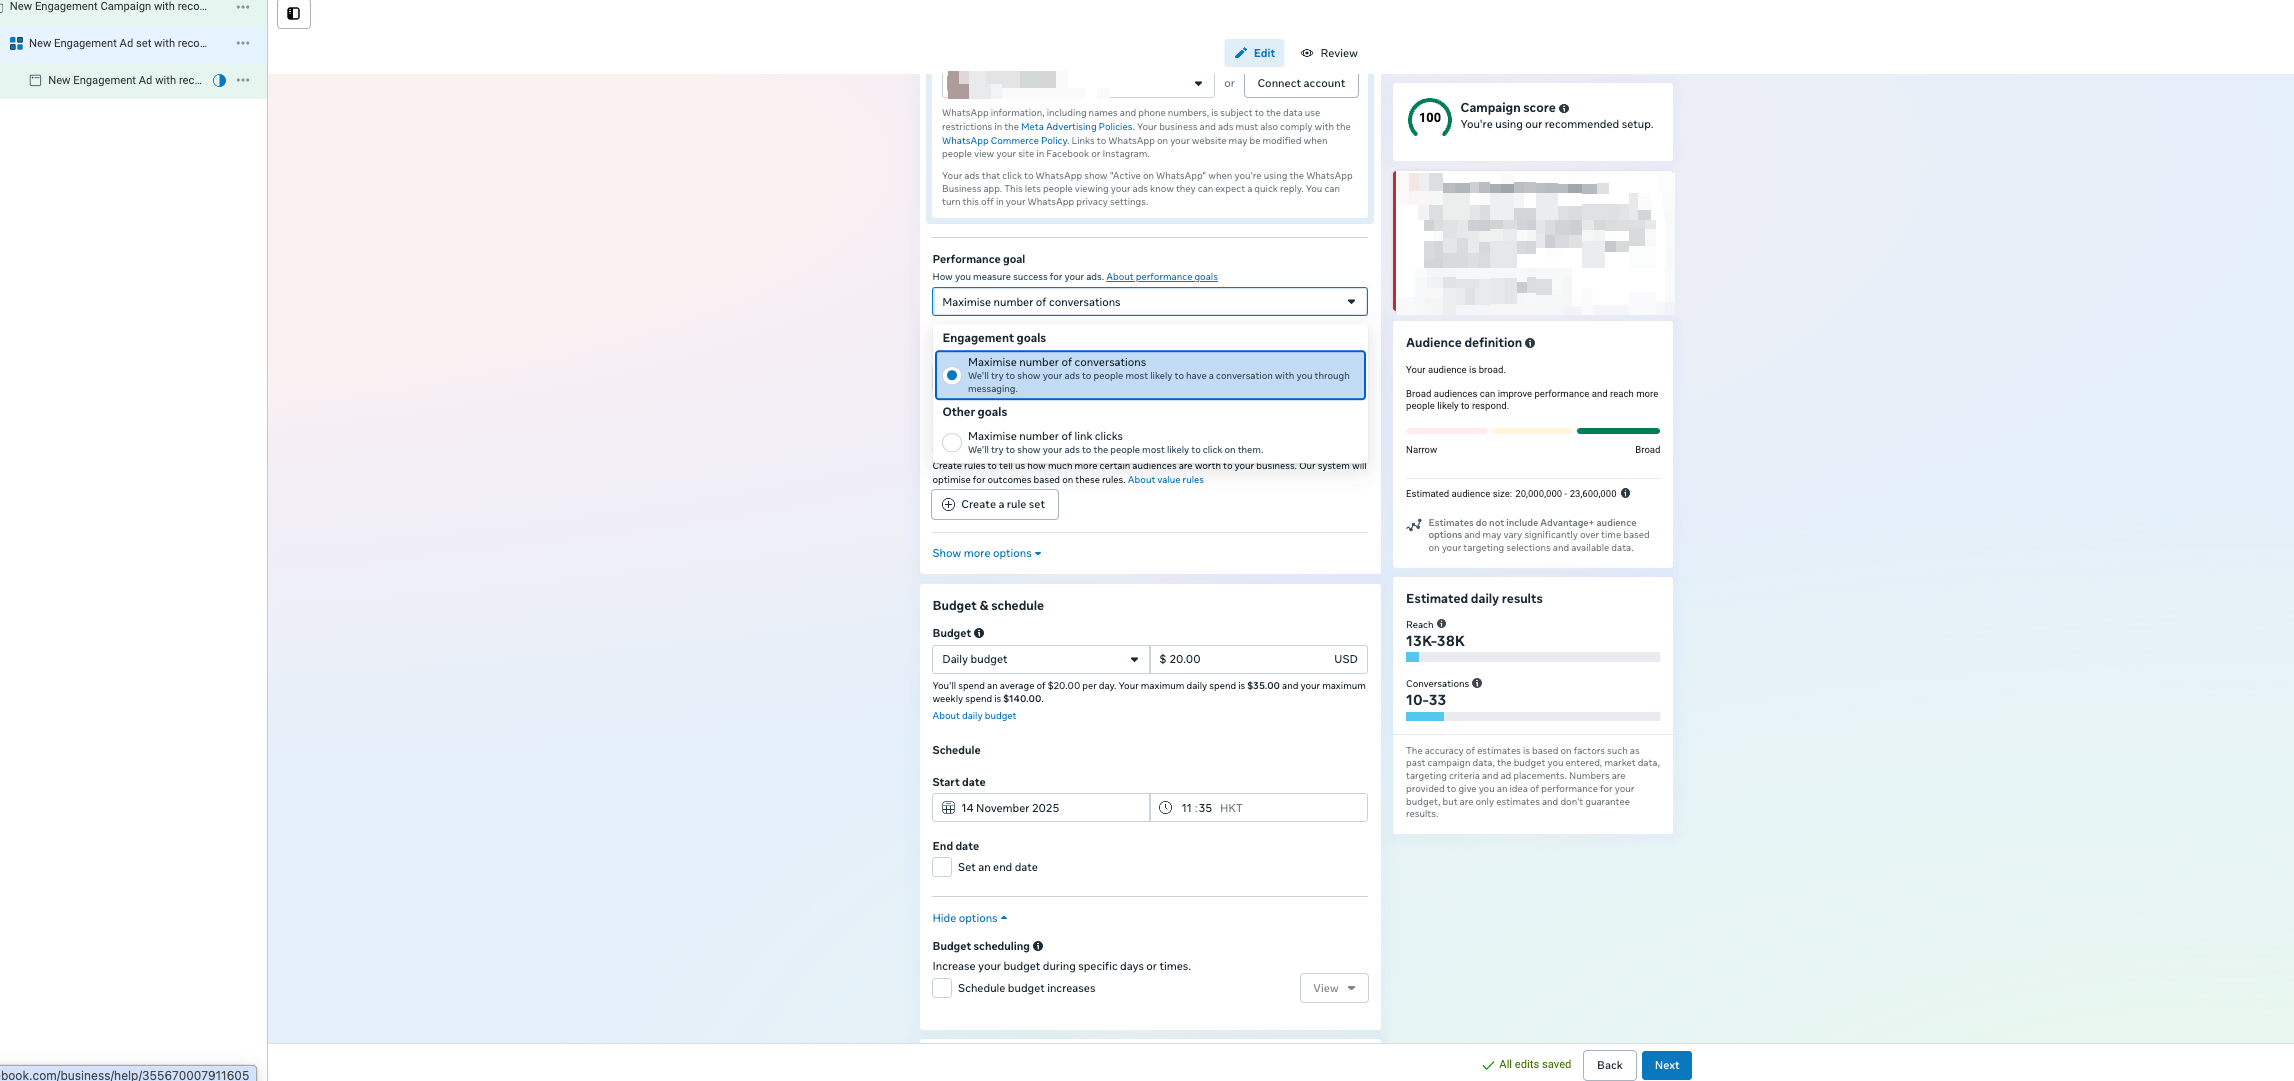
Select a CTC-supported objective: Traffic, Engagement, Leads, or Sales.

Select the setup method. Recommended settings usually work well unless you have a highly customized strategy in mind.
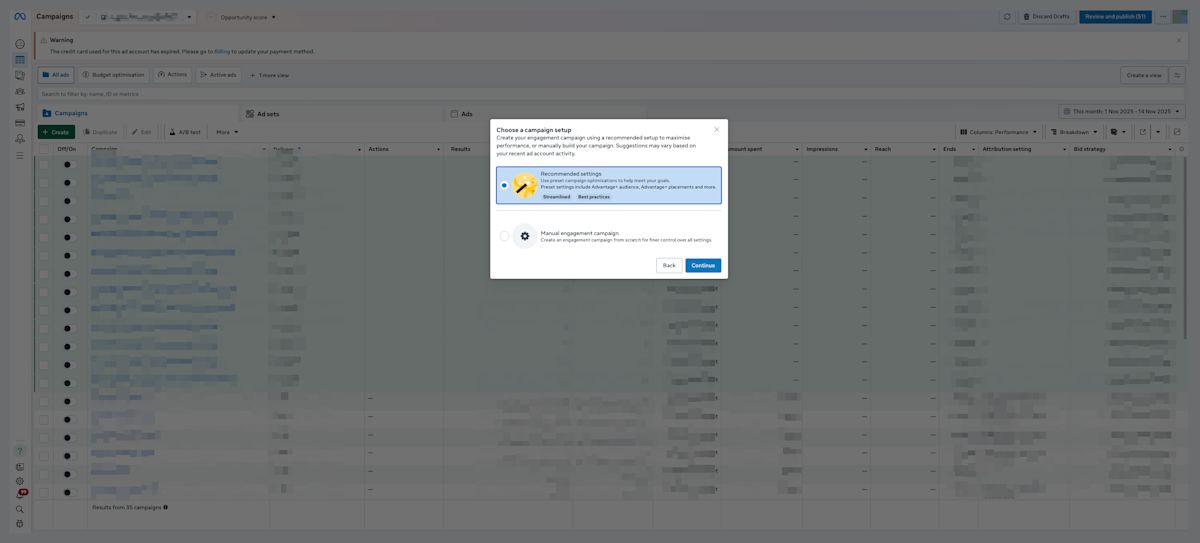
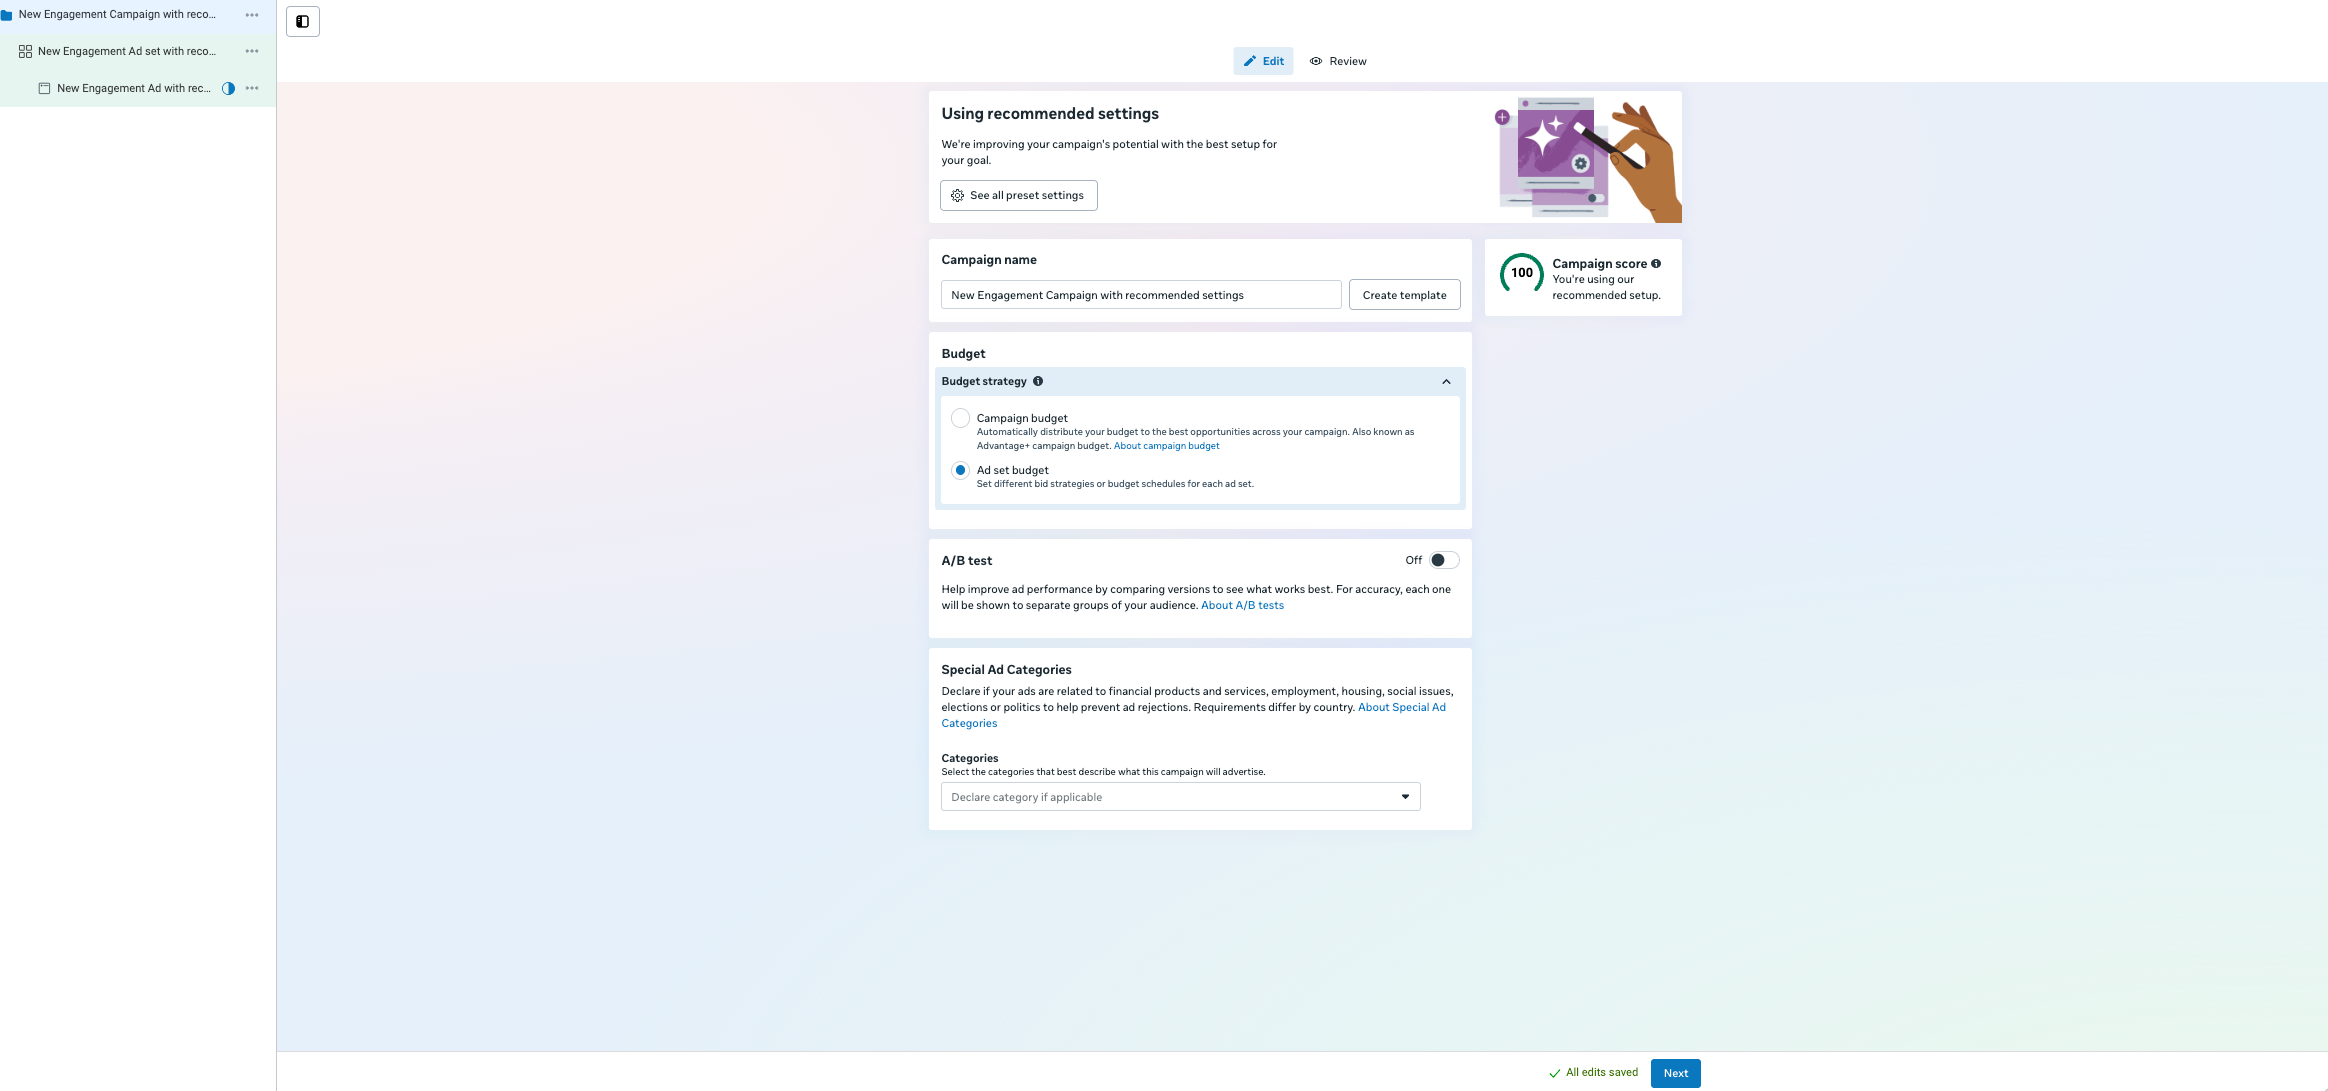
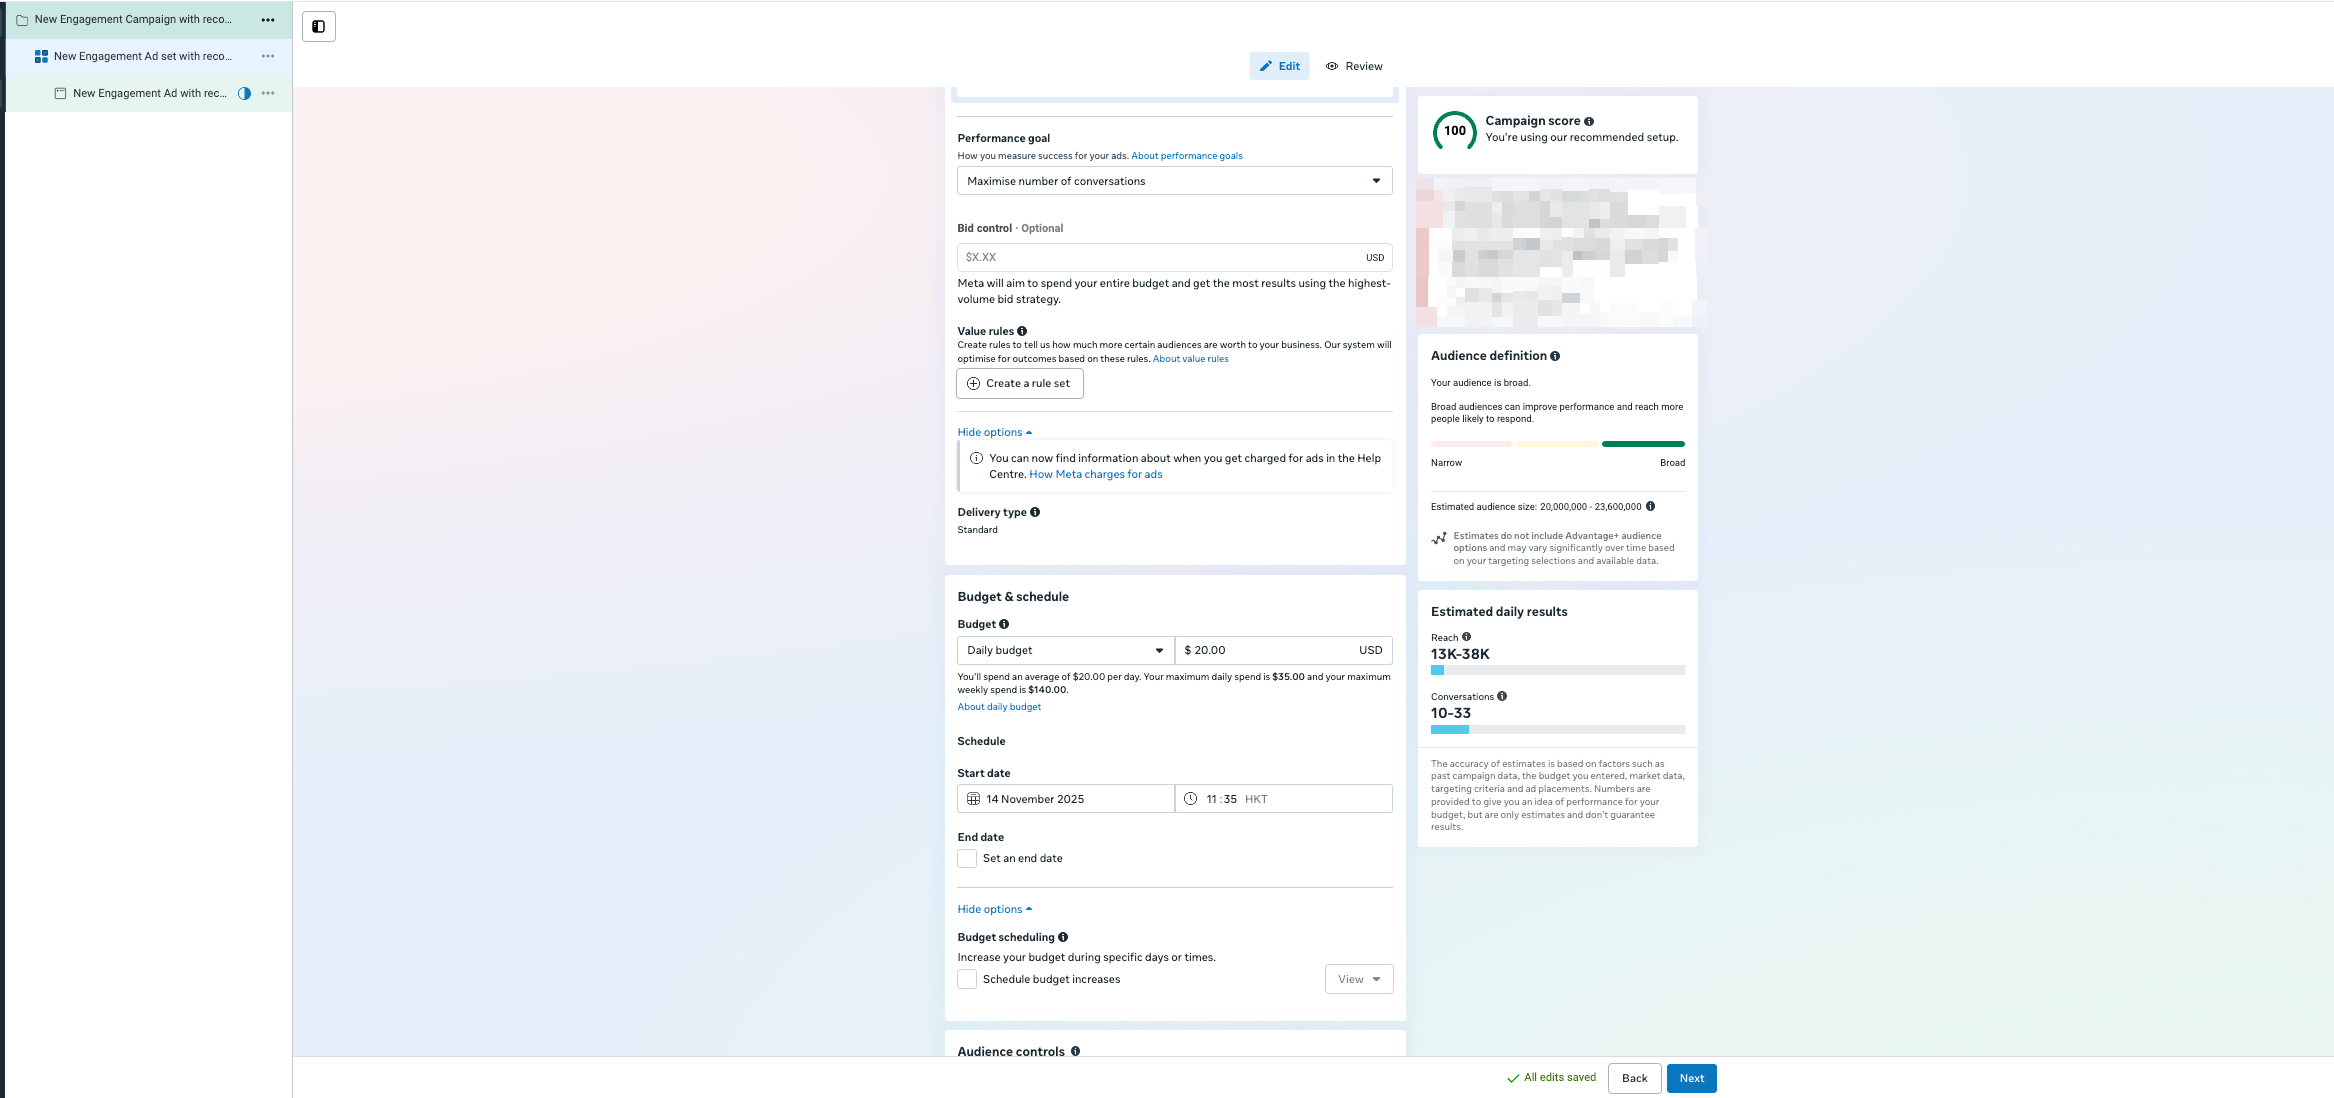
Review your campaign settings, including Budget Settings. You can learn more about campaign budgets here. When ready, click Next to configure your Ad Set.
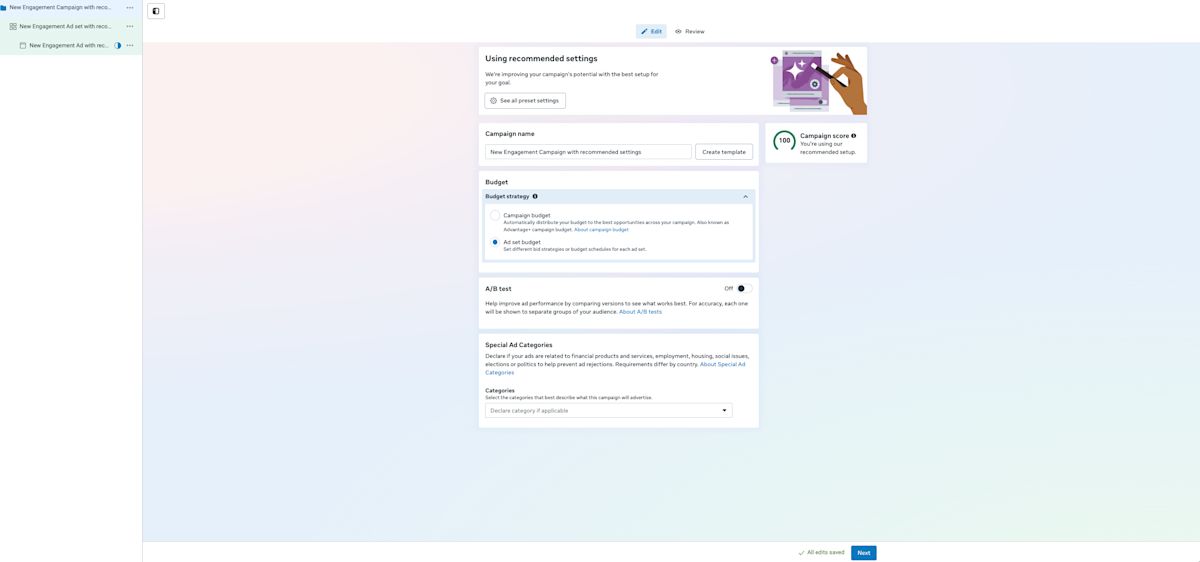
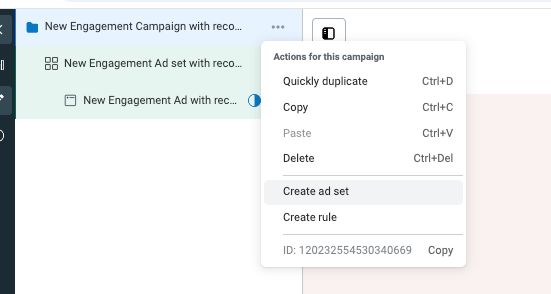
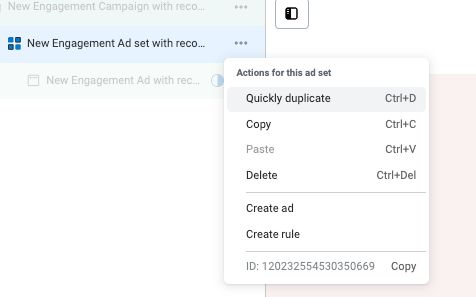
You can create multiple Ad Sets under the same campaign.
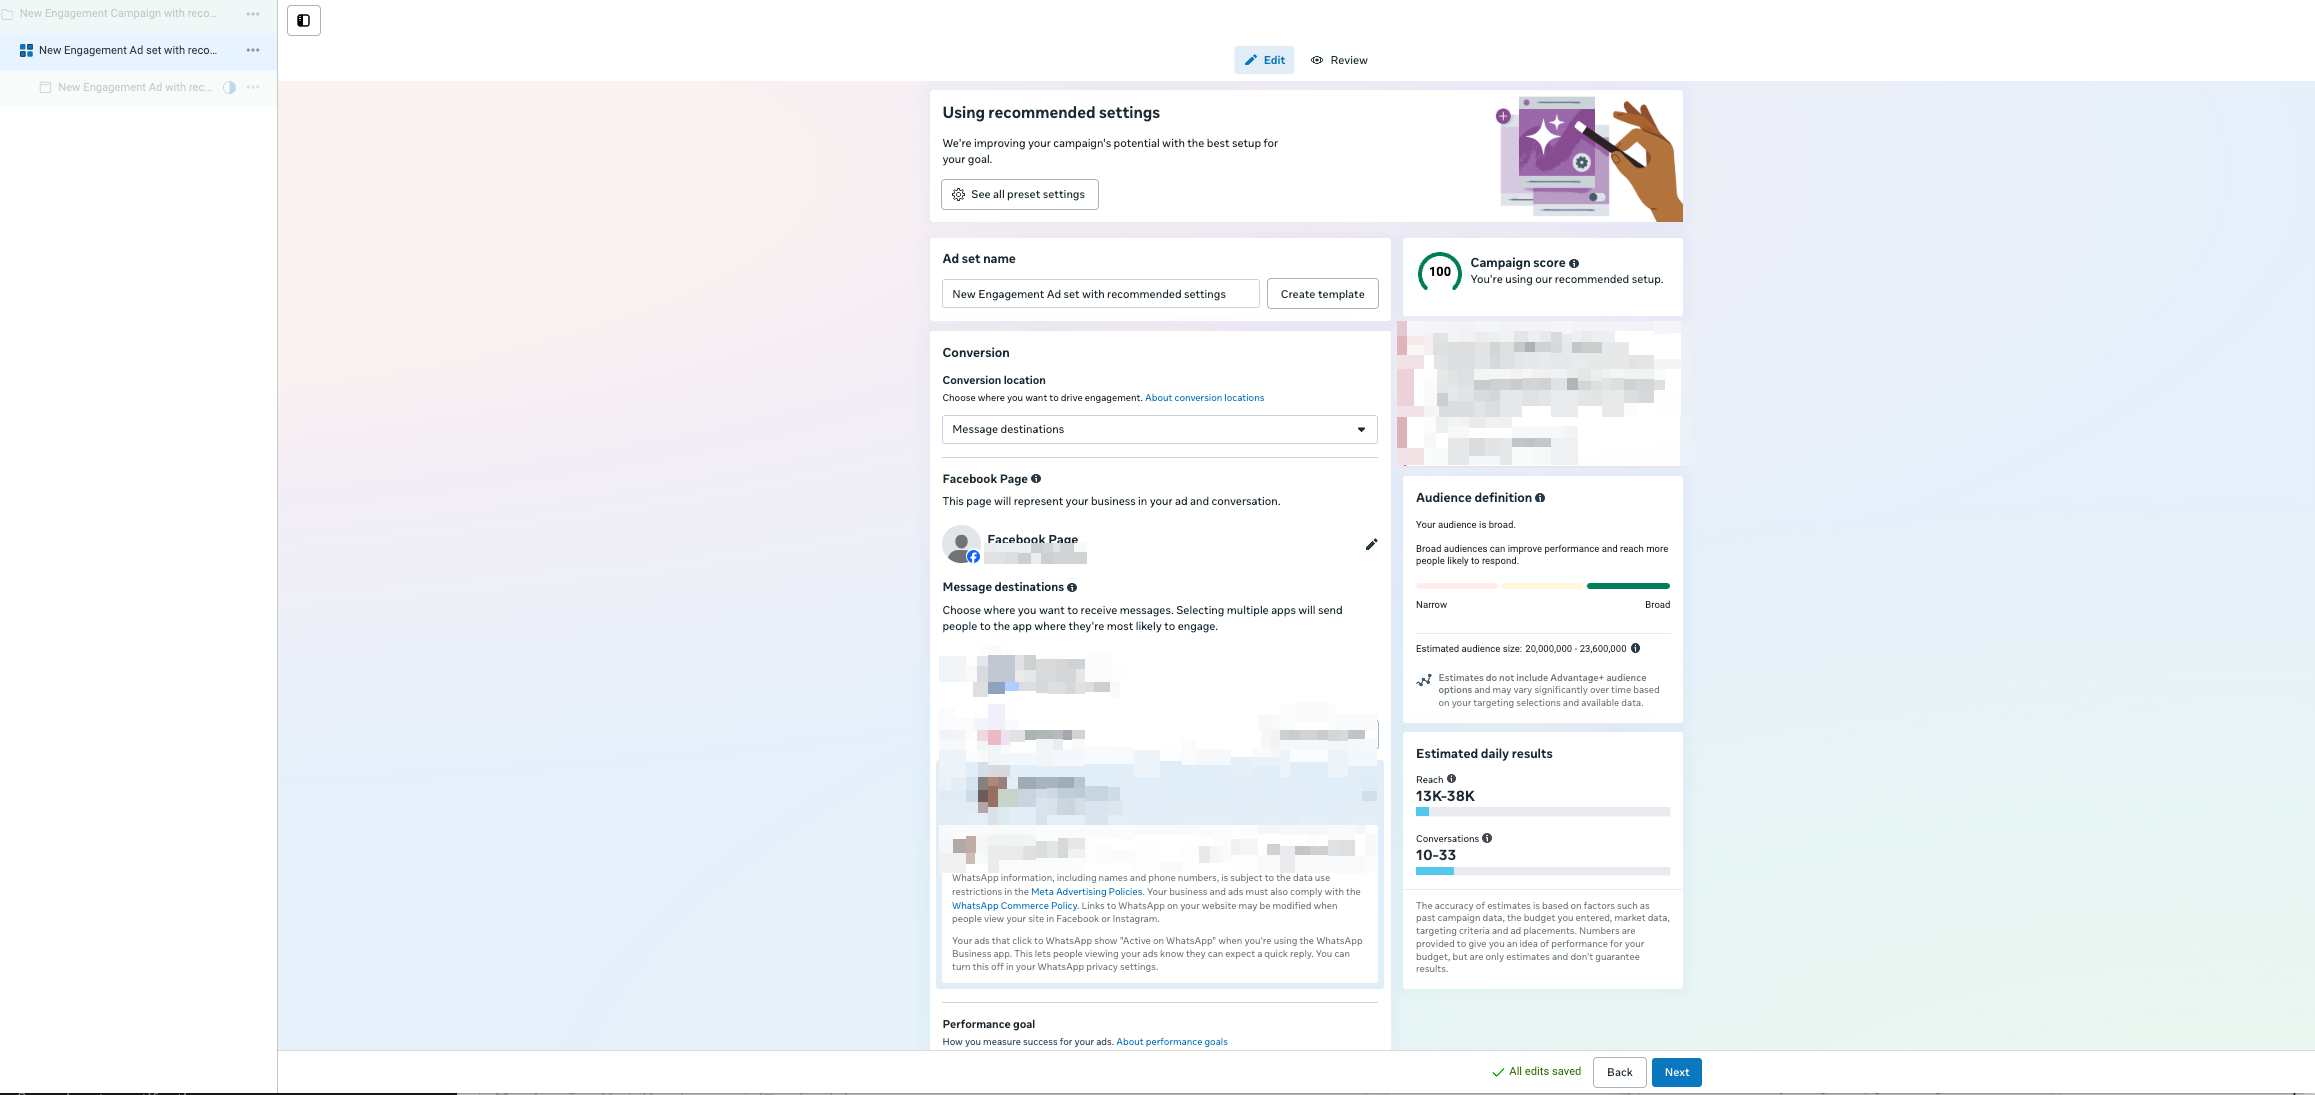
Name your Ad Set clearly
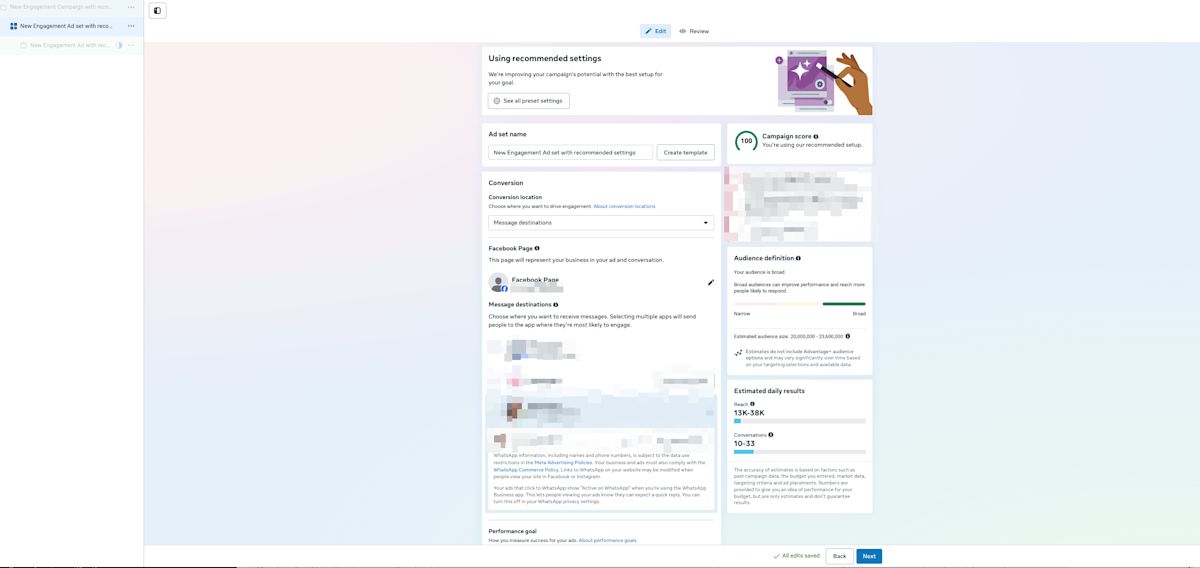
Select Message destinations as the Conversion location
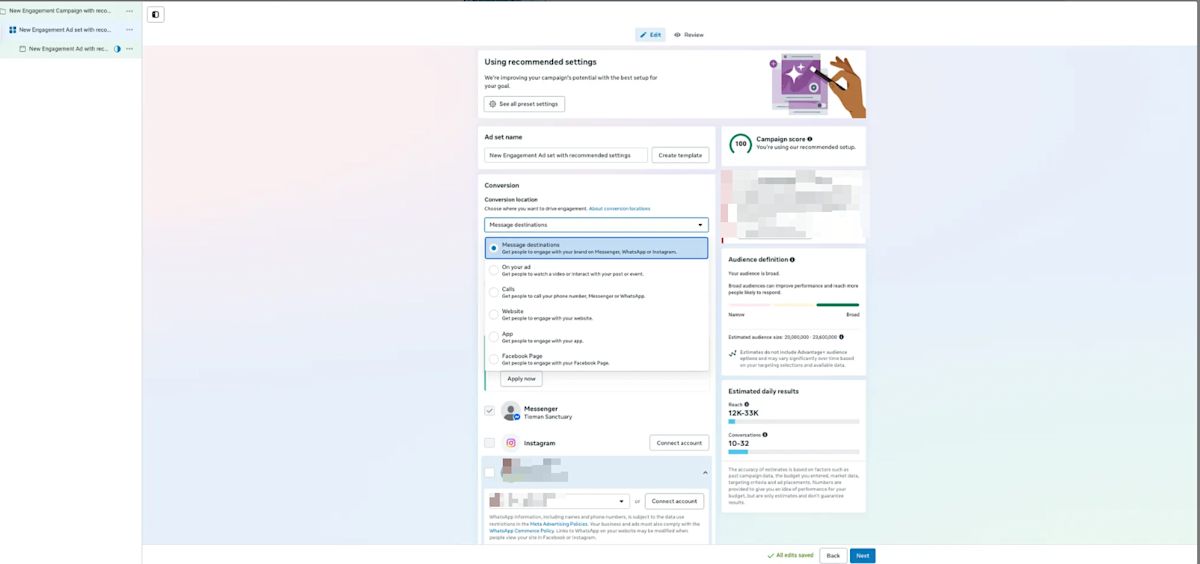
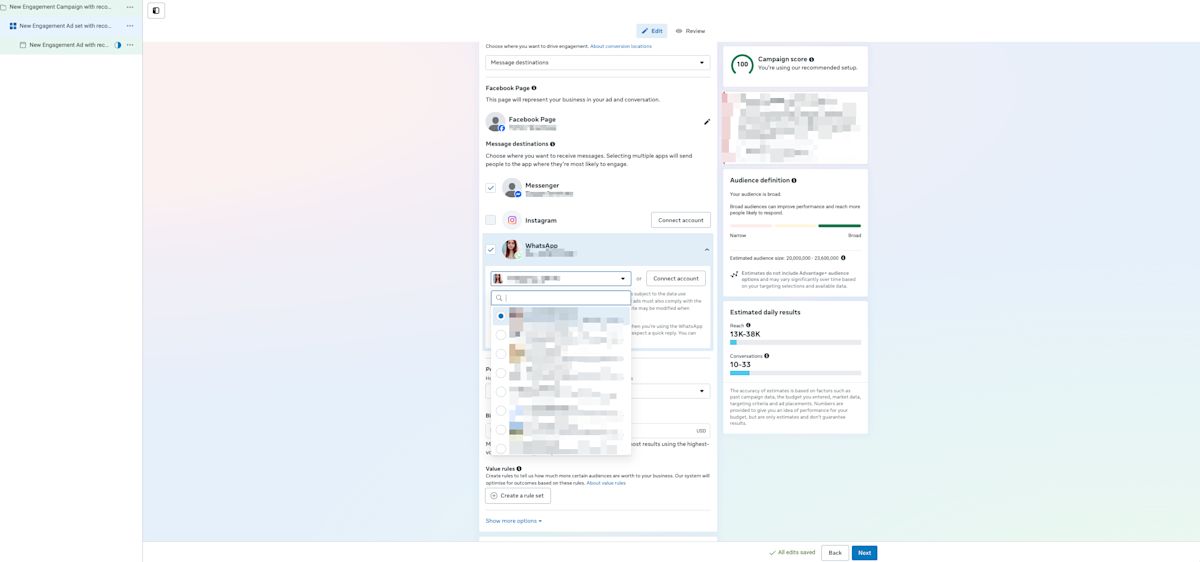
Select the Facebook Page for Messenger, and/or Instagram account for Instagram Direct Messages, and/or WhatsApp account for WhatsApp messaging used in this ads campaign.
Select your Performance Goal. The available options depend on your campaign objective. Learn more here.
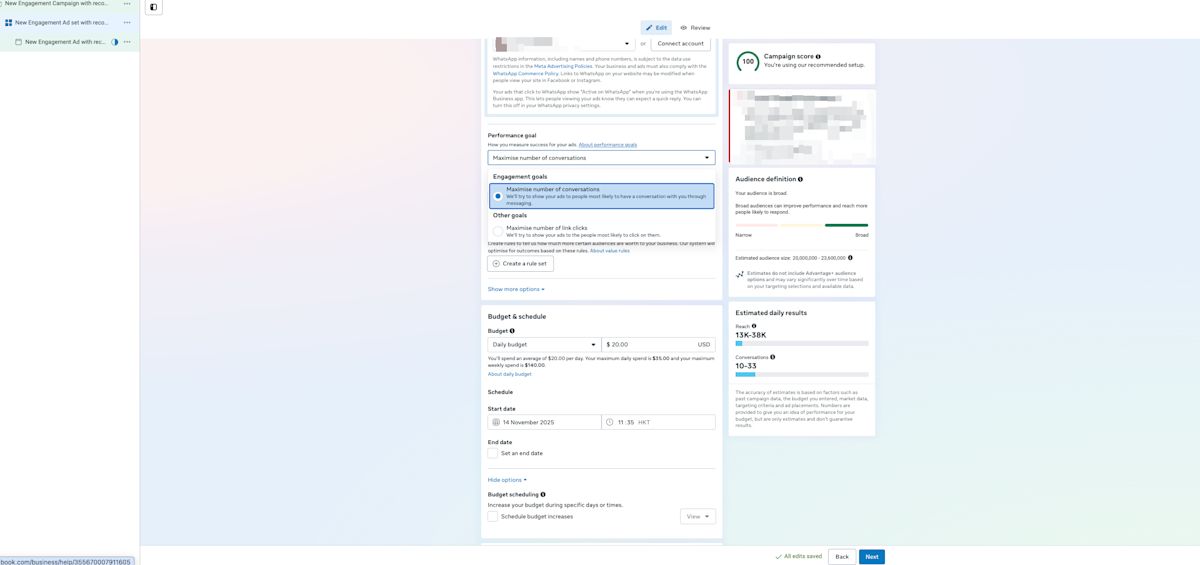
Set your Budget and Schedule.

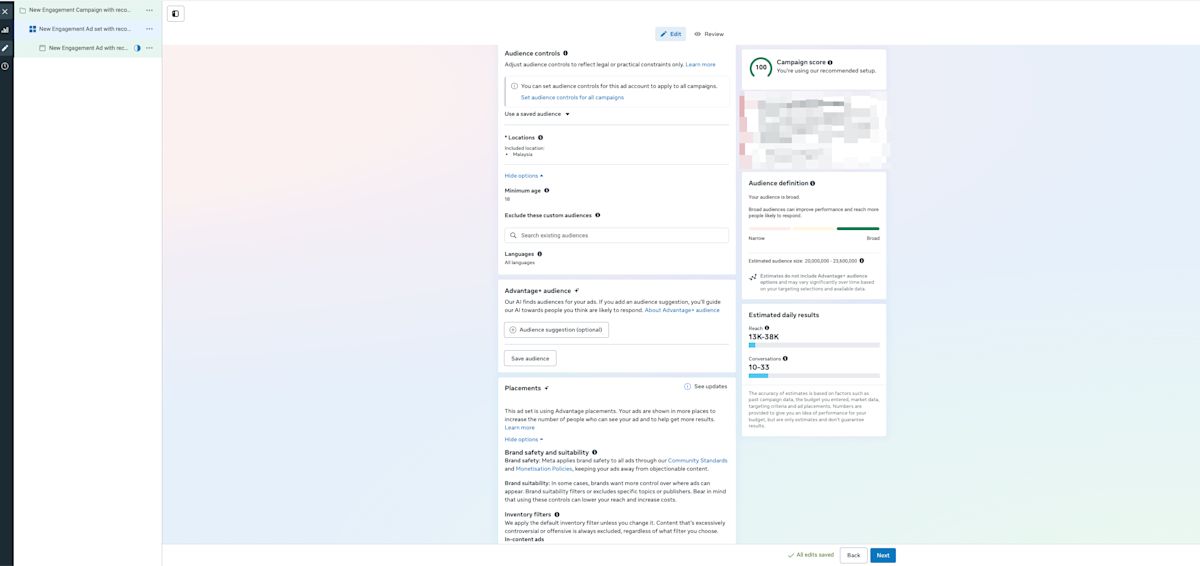
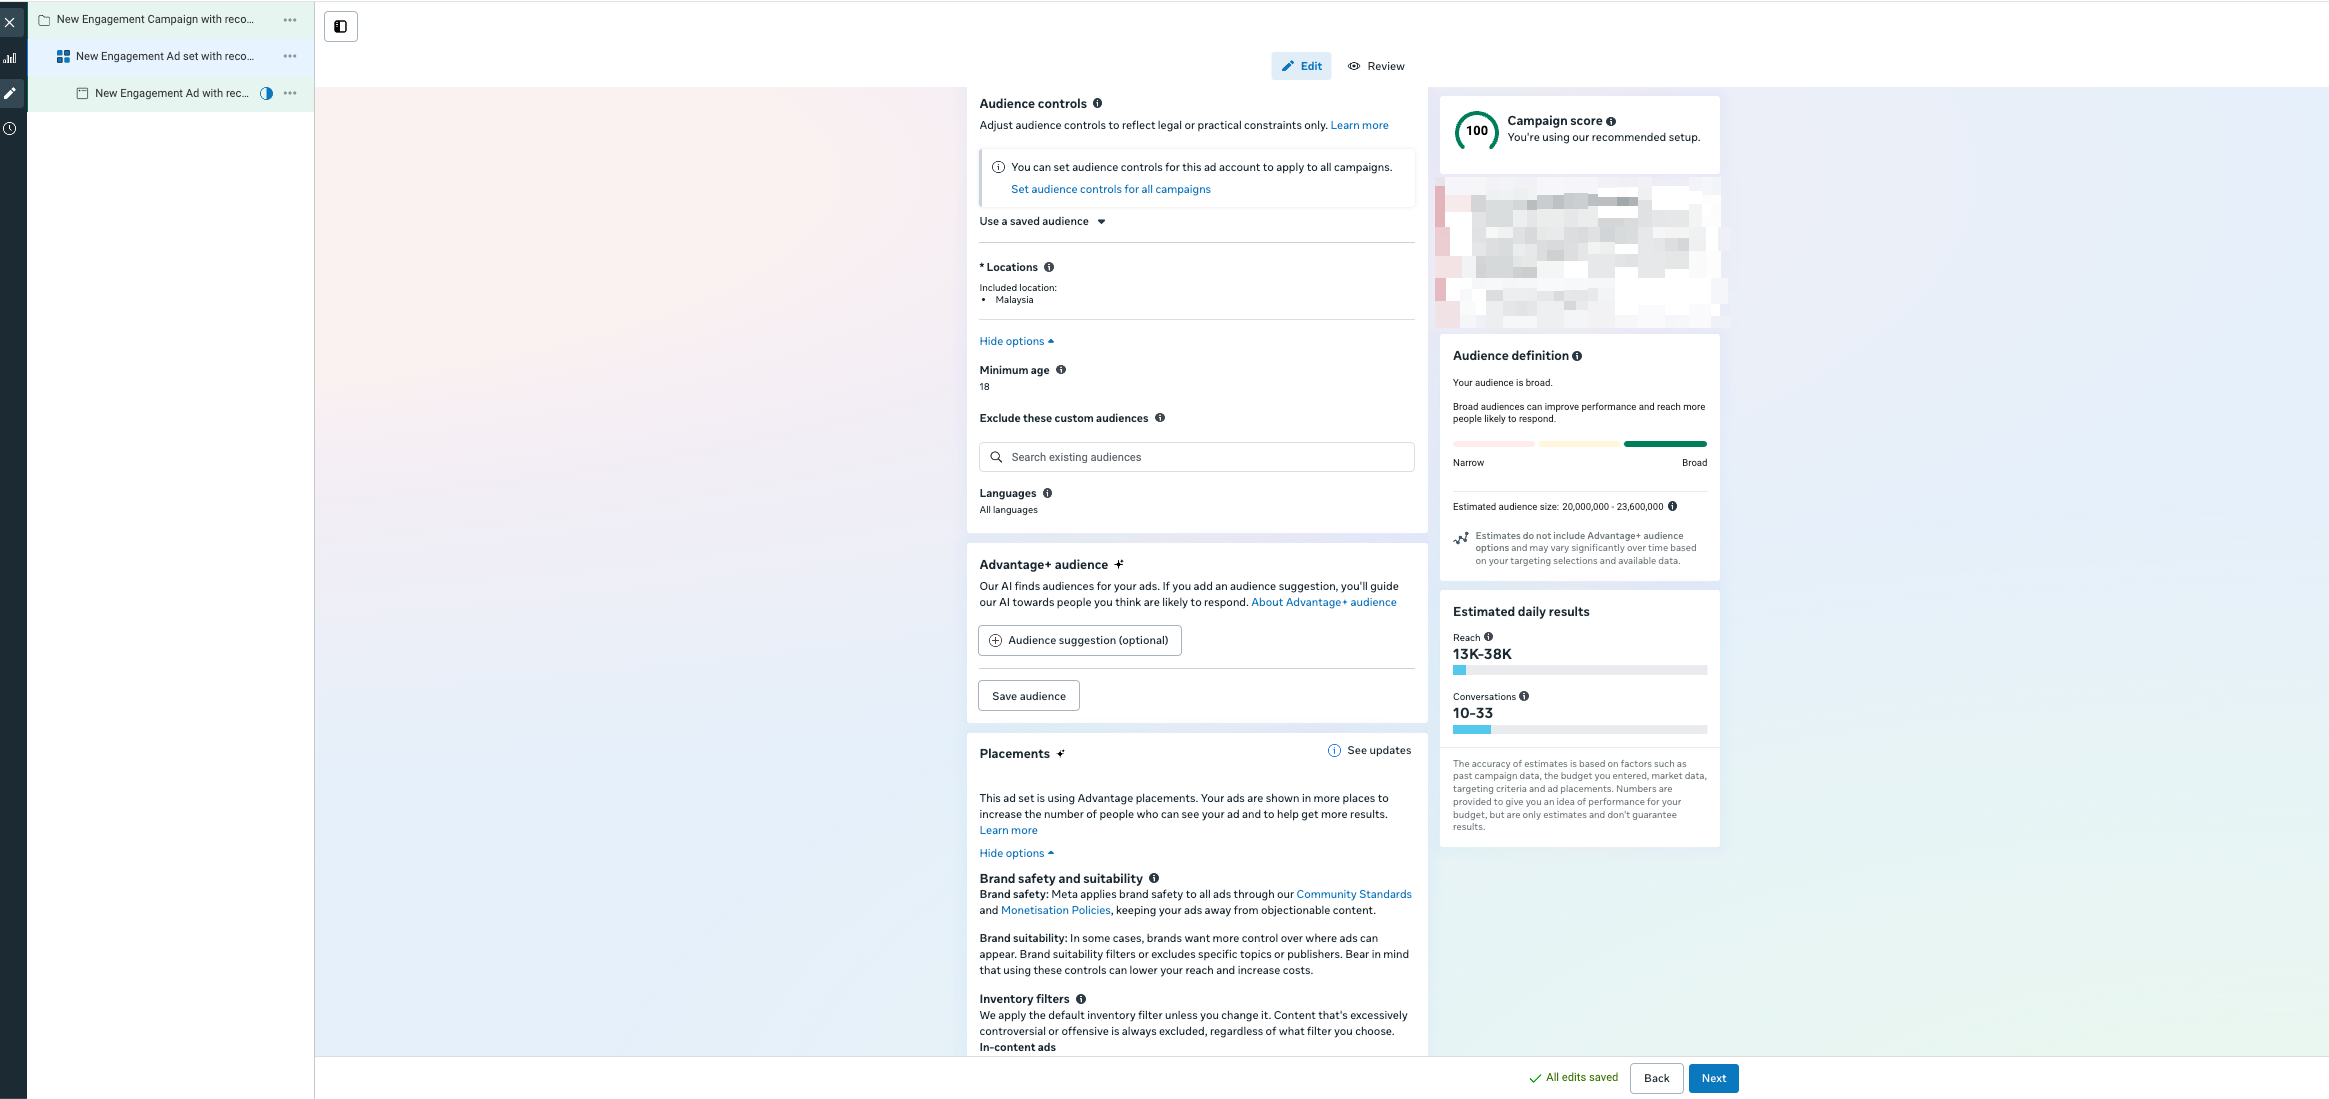
Configure your audience, then click Next to configure your ad
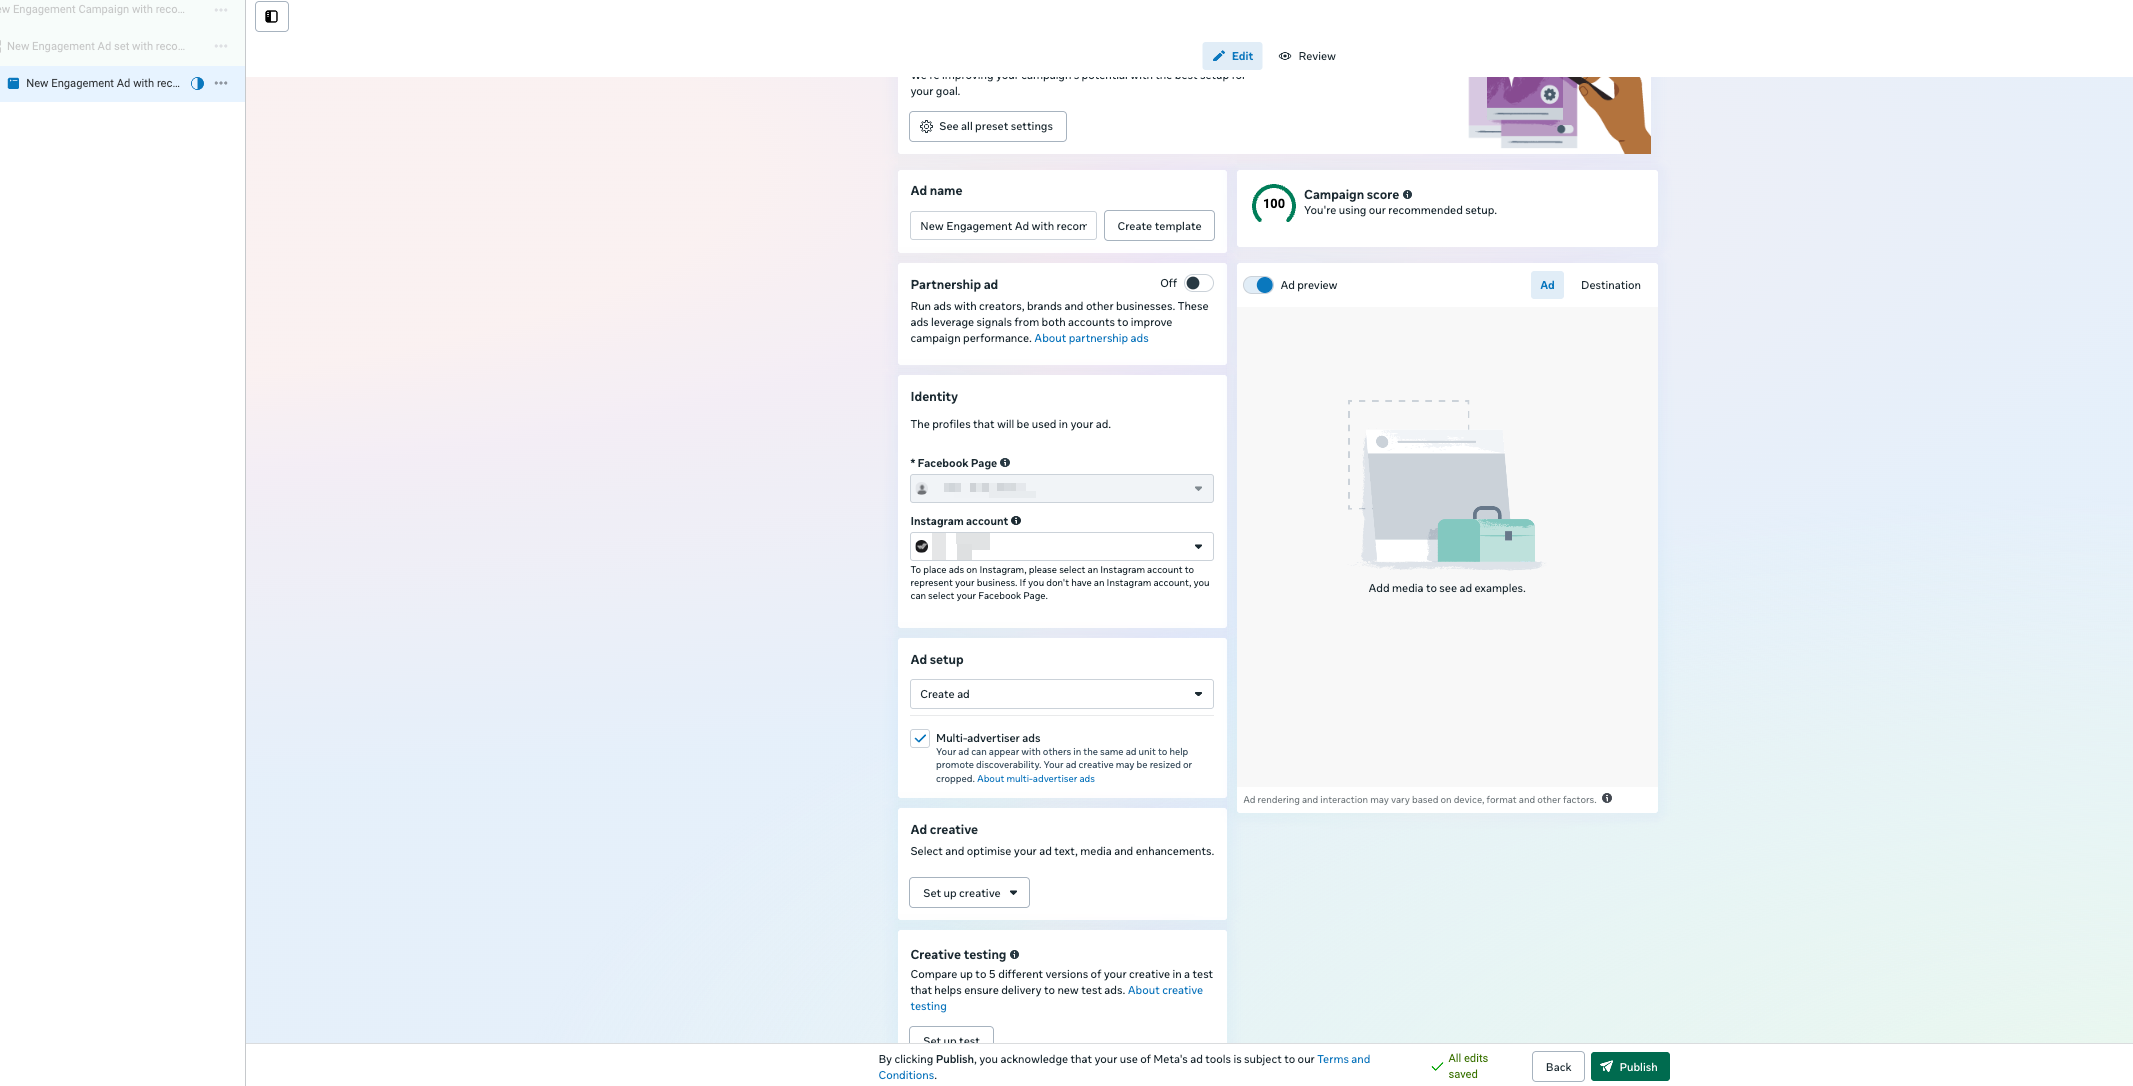
You can create multiple ads under a single Ad Set.
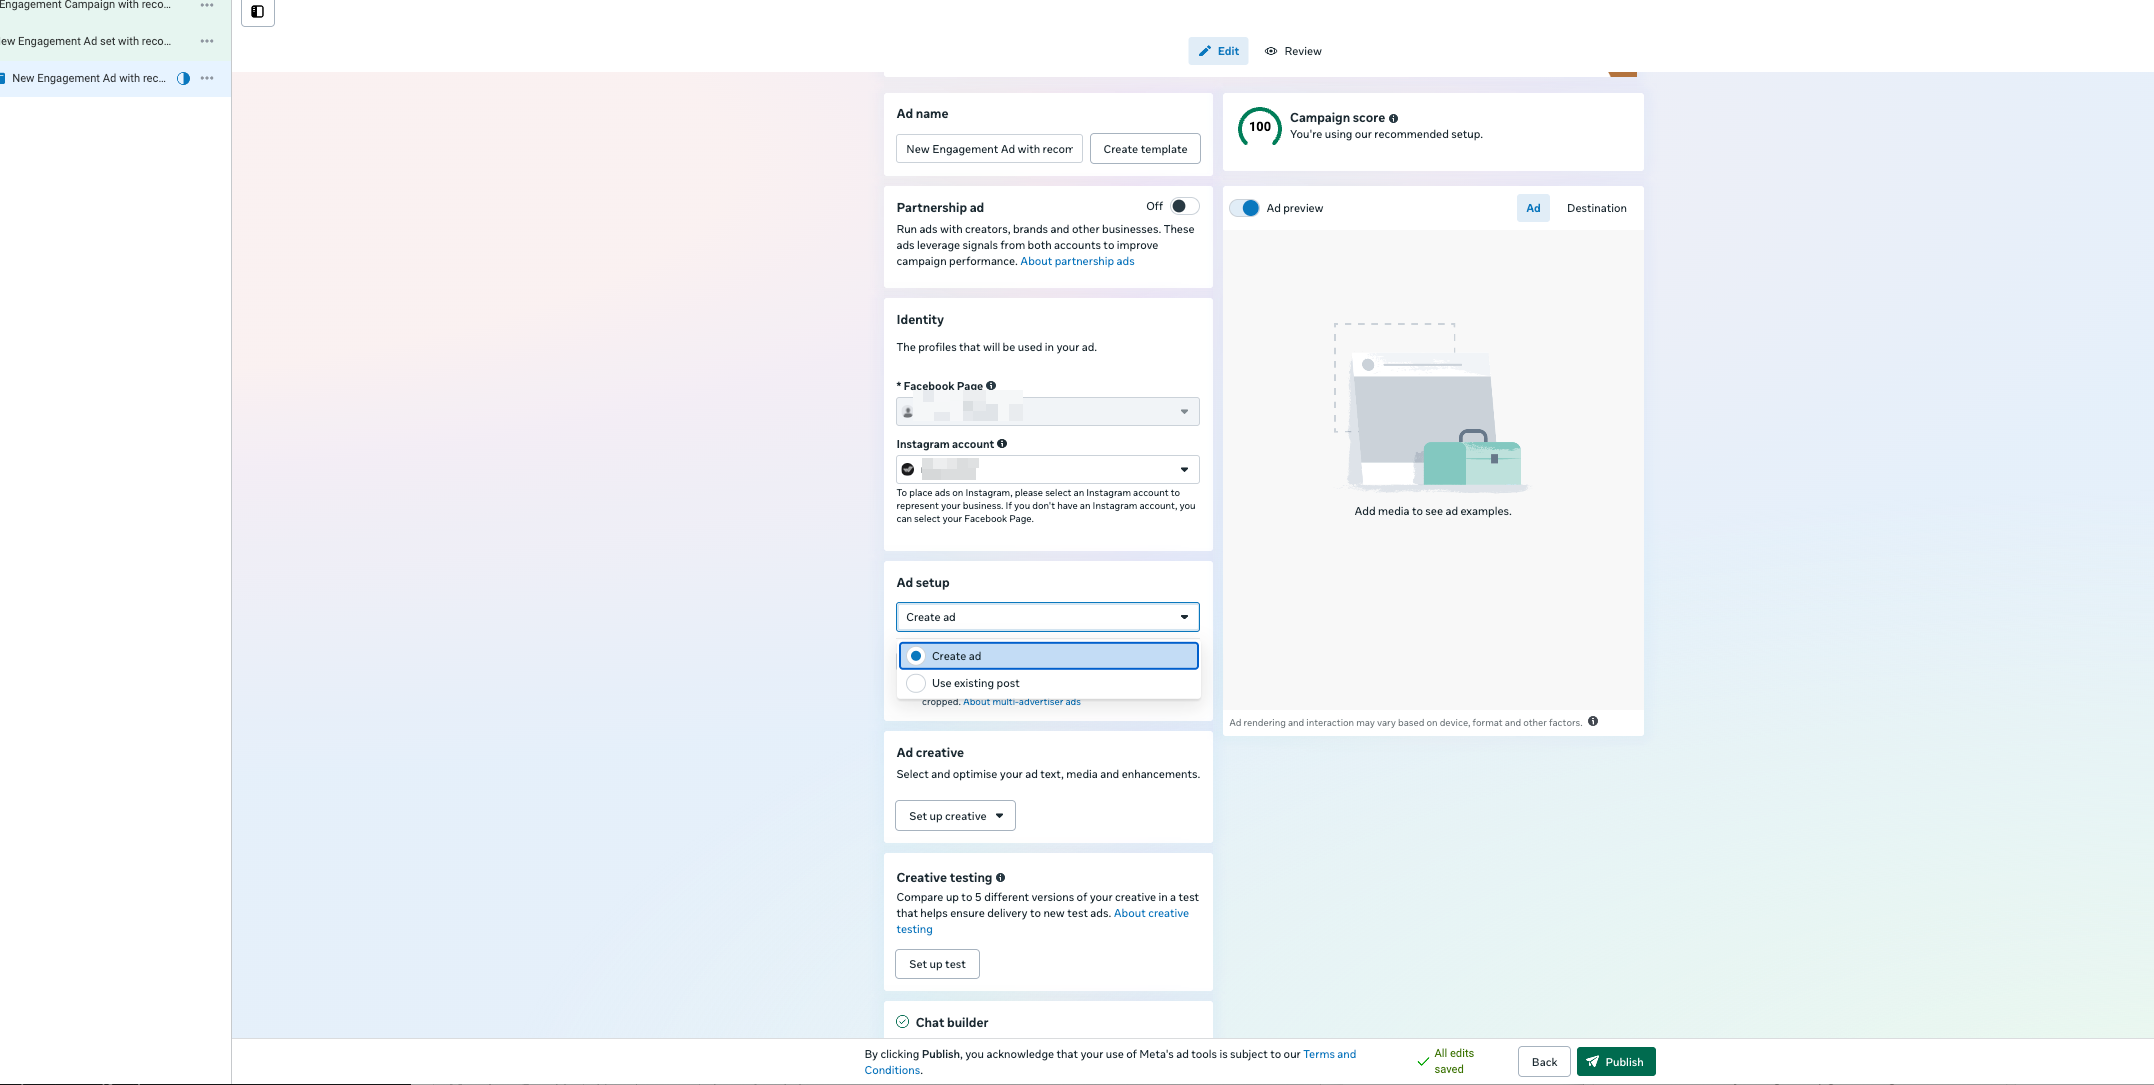
Update the ad name to something descriptive.
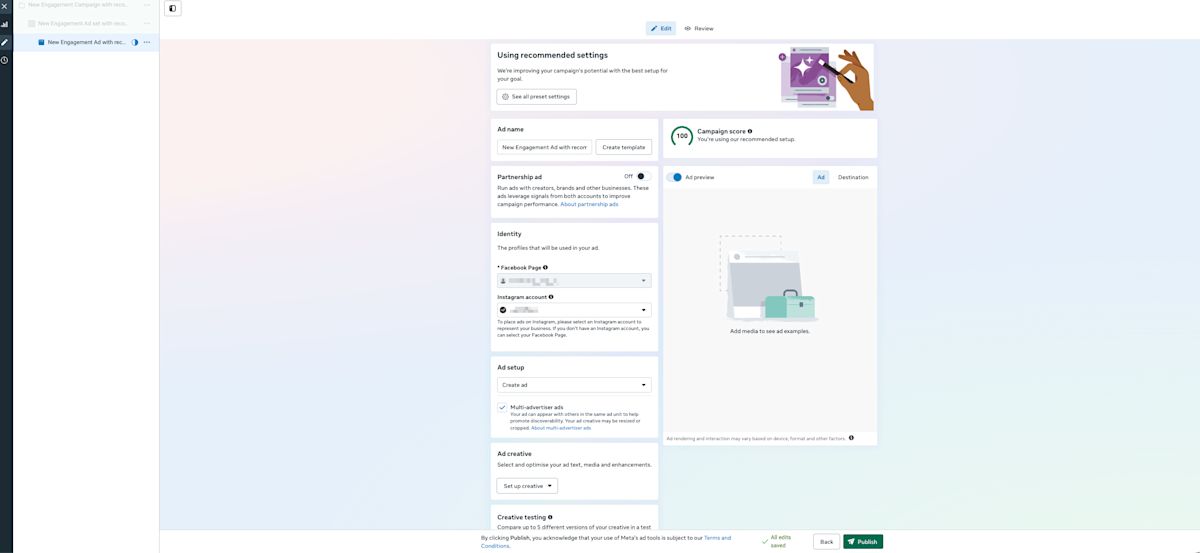
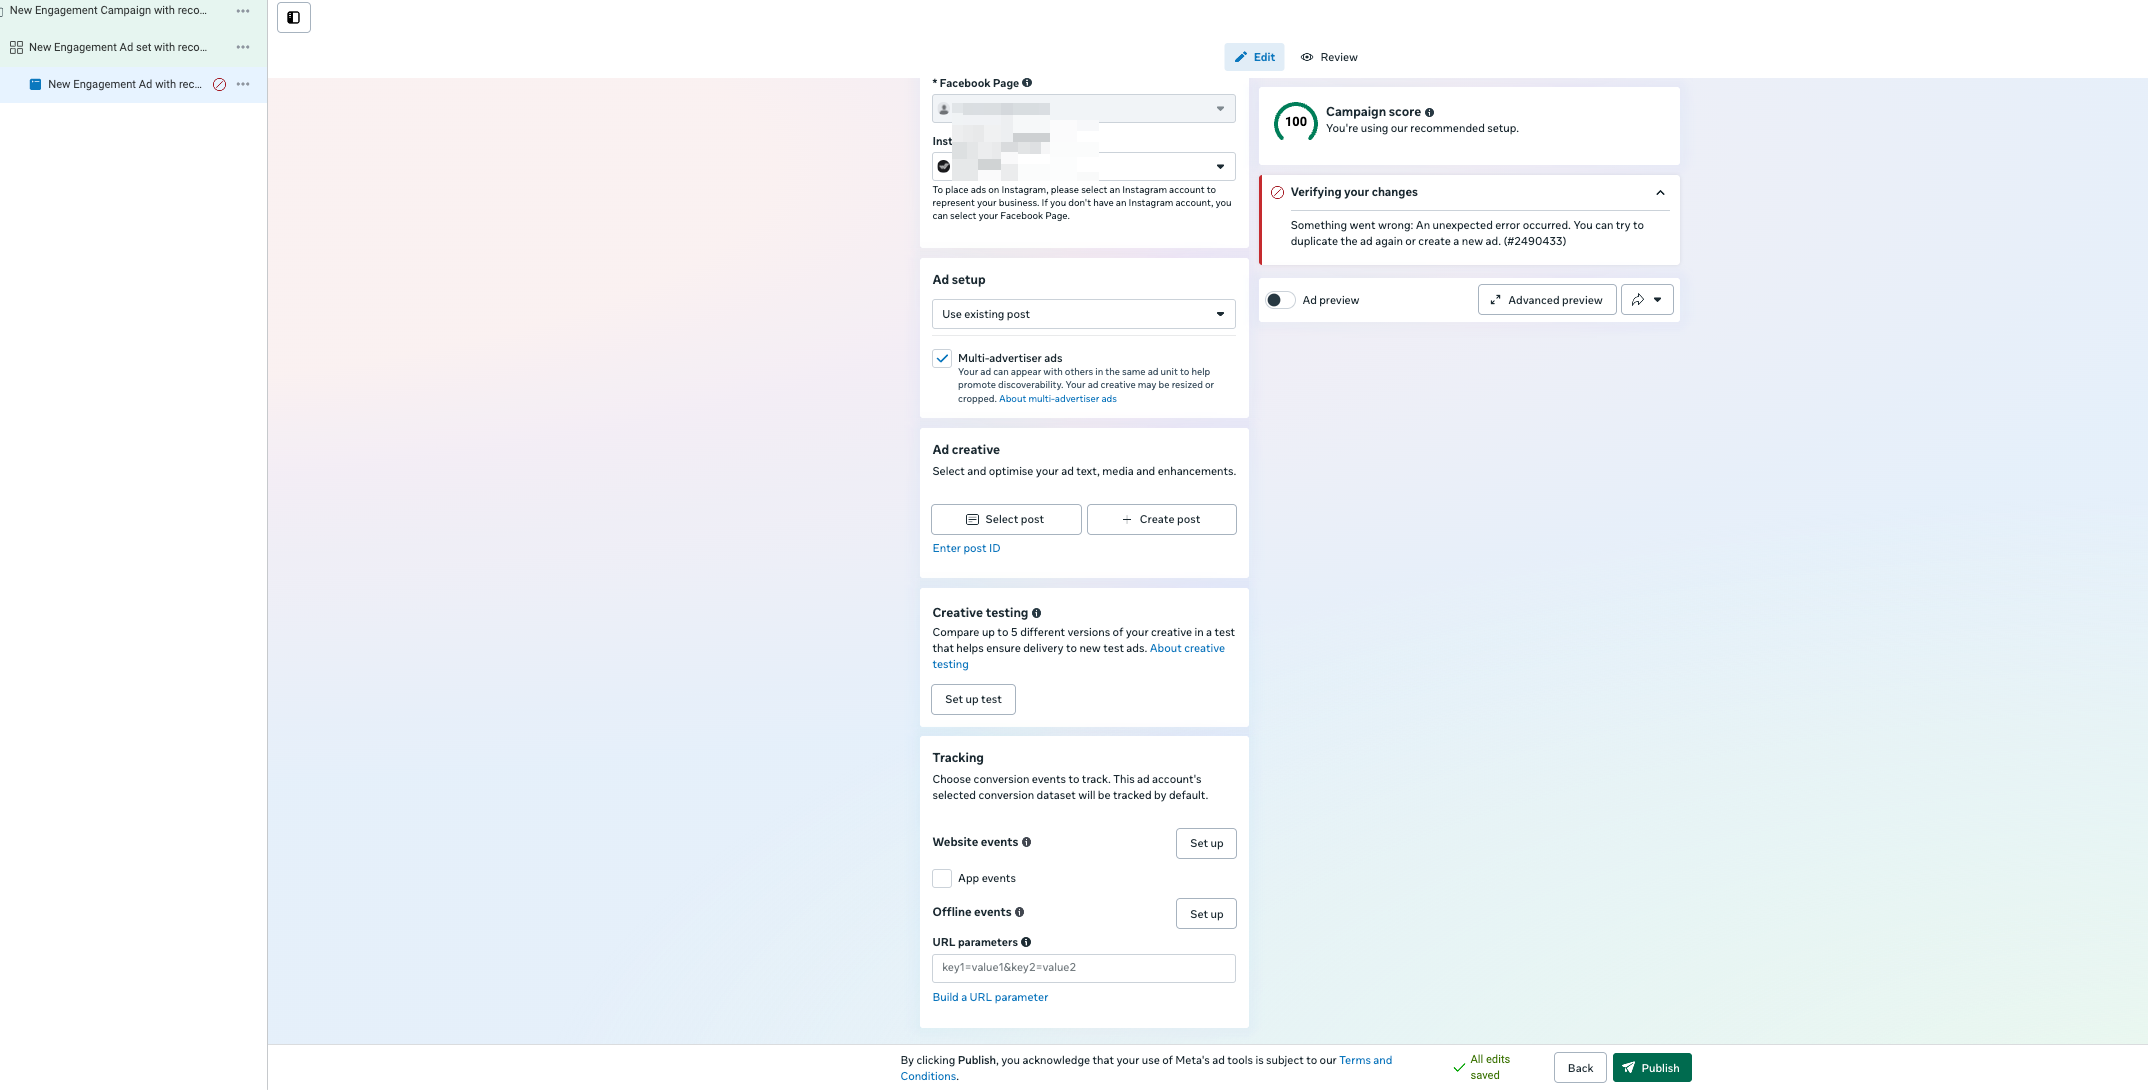
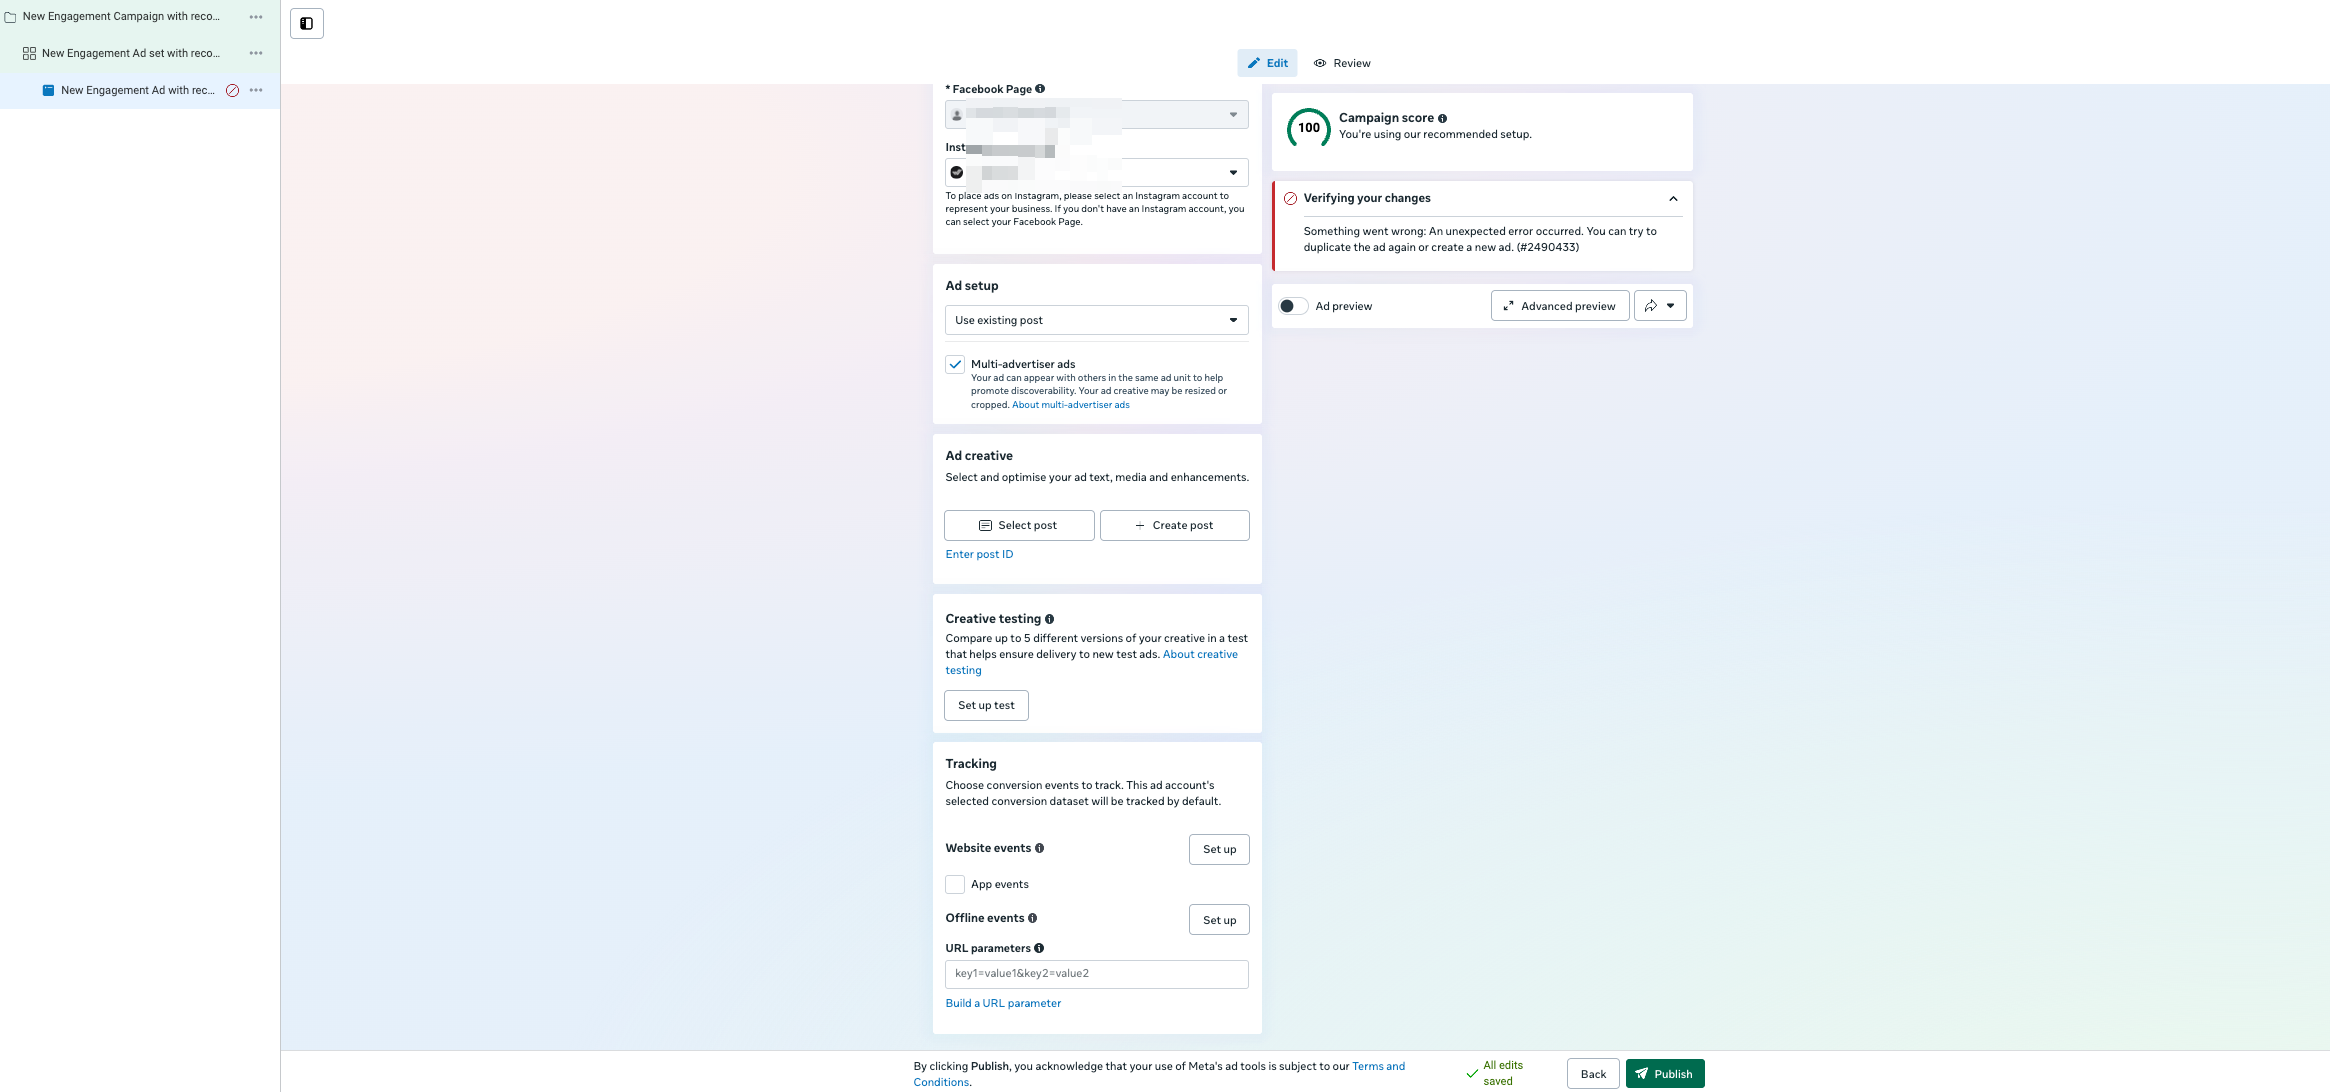
Under Identity, confirm the Facebook Page and/or Instagram account the ad will run under.

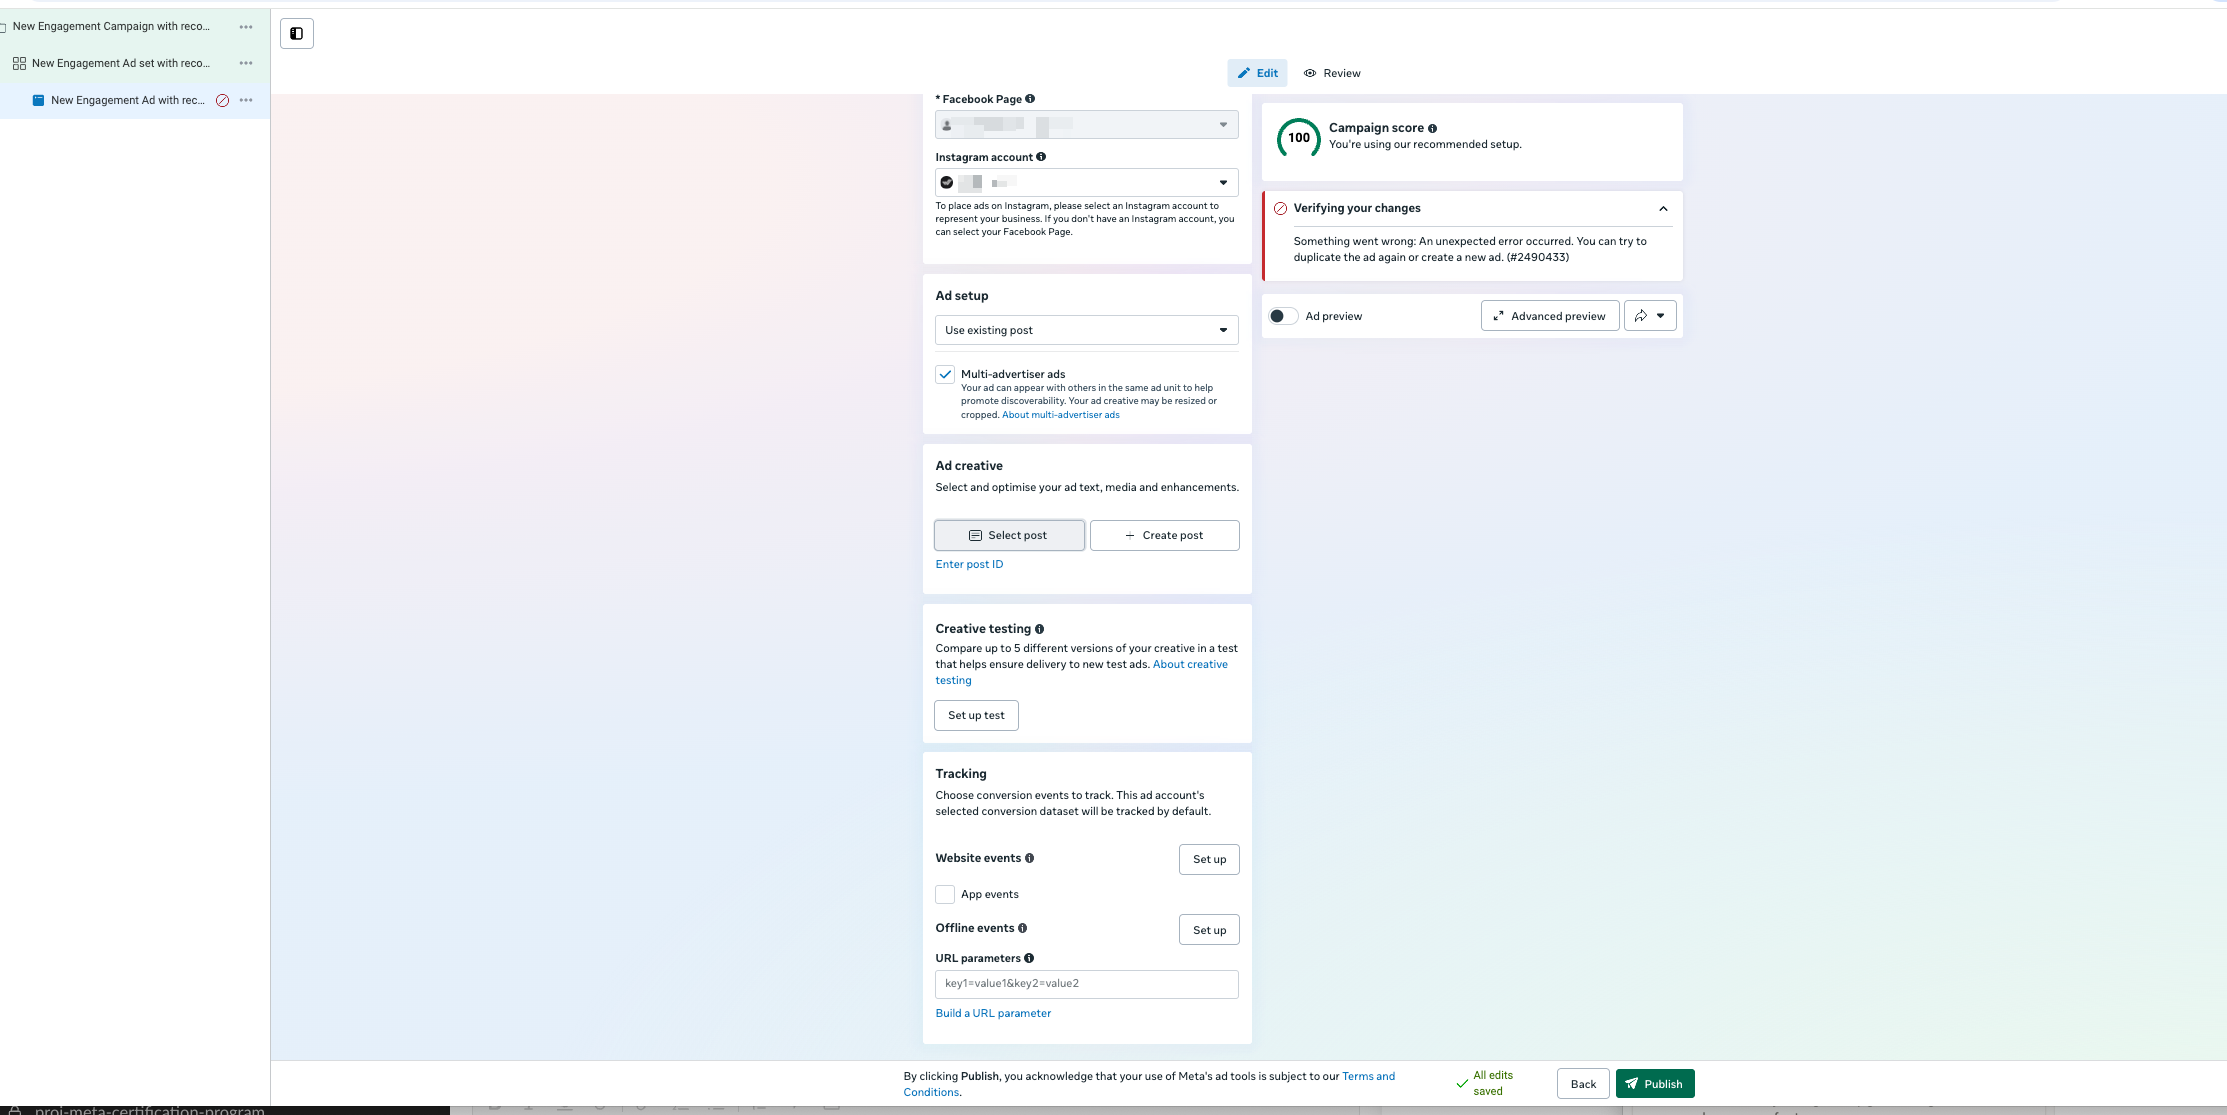
Set up your ad: choose an existing post or create a new one.

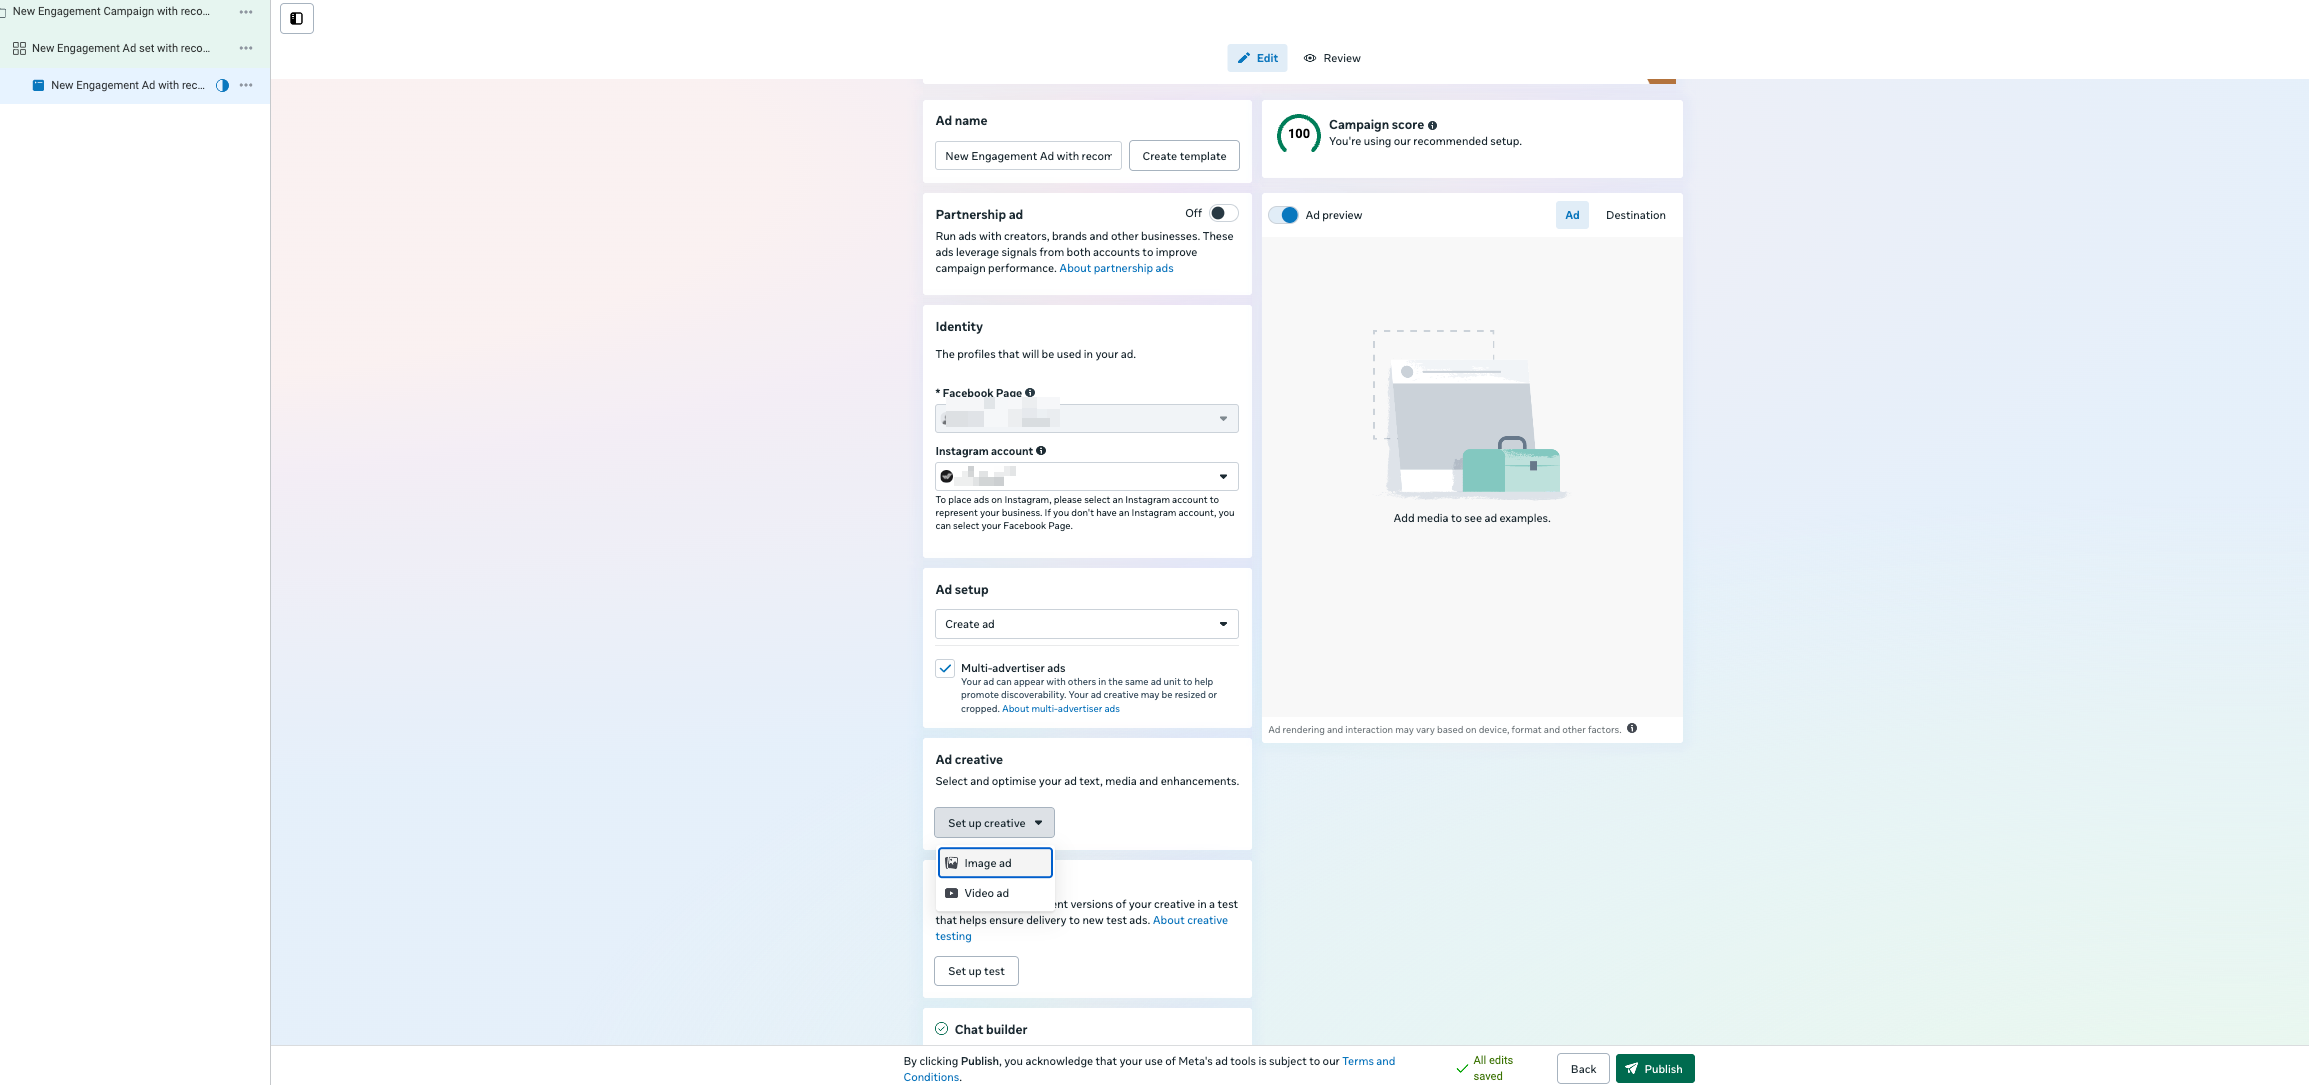
If you choose Create Ad
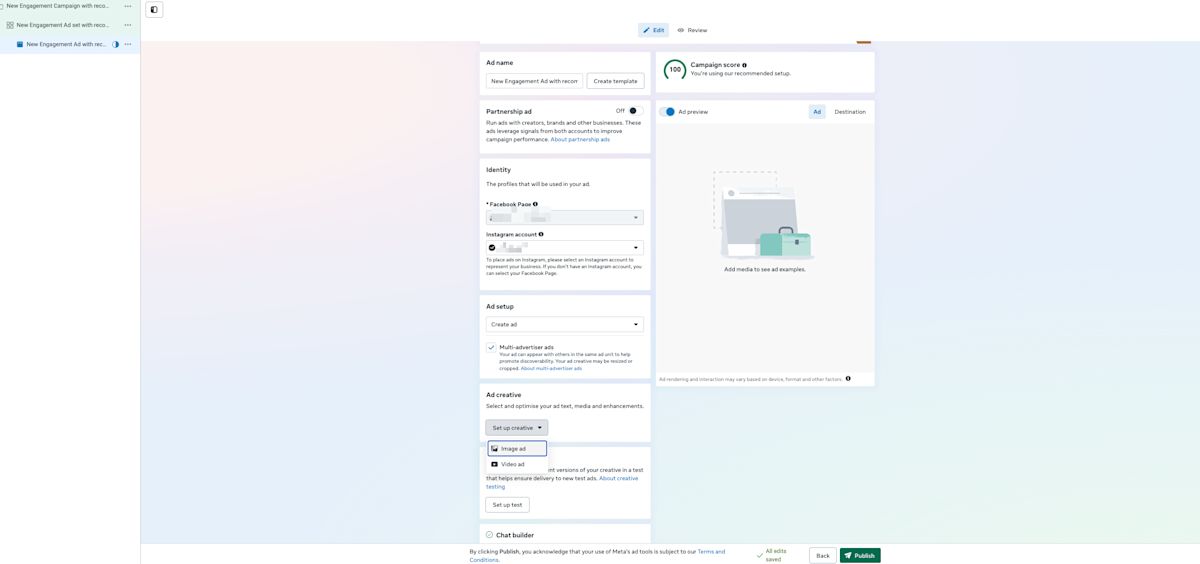
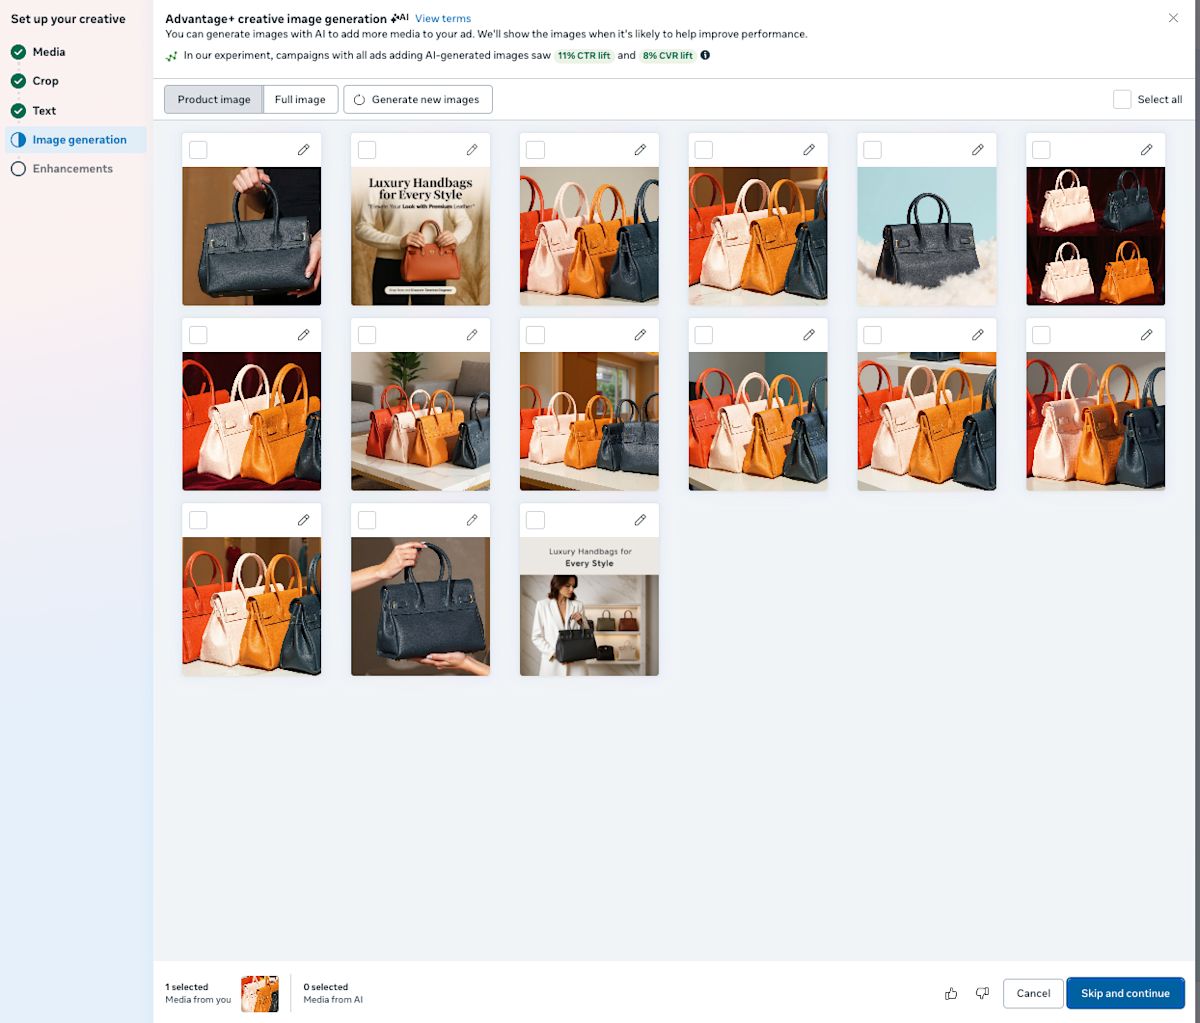
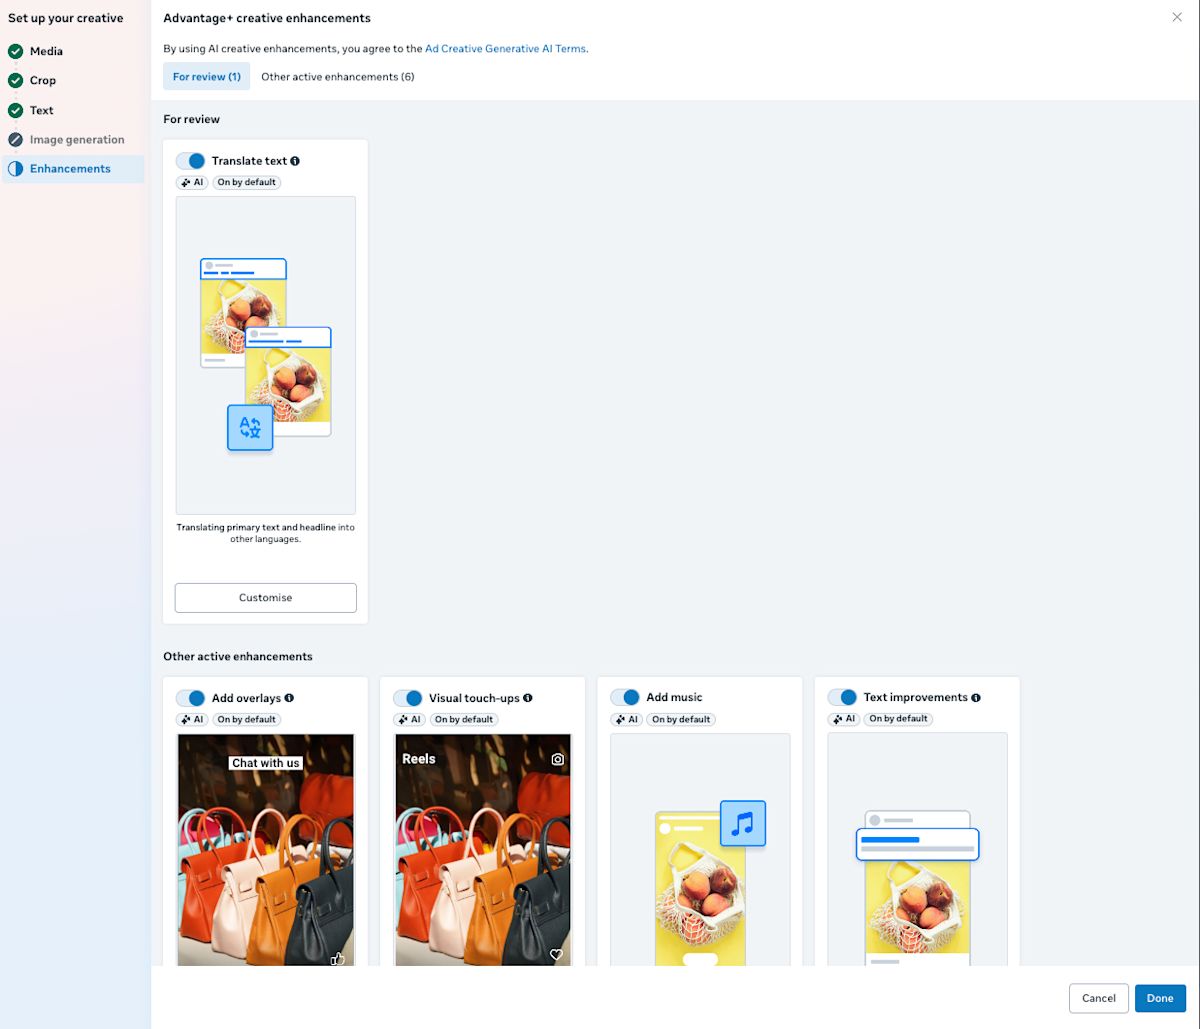
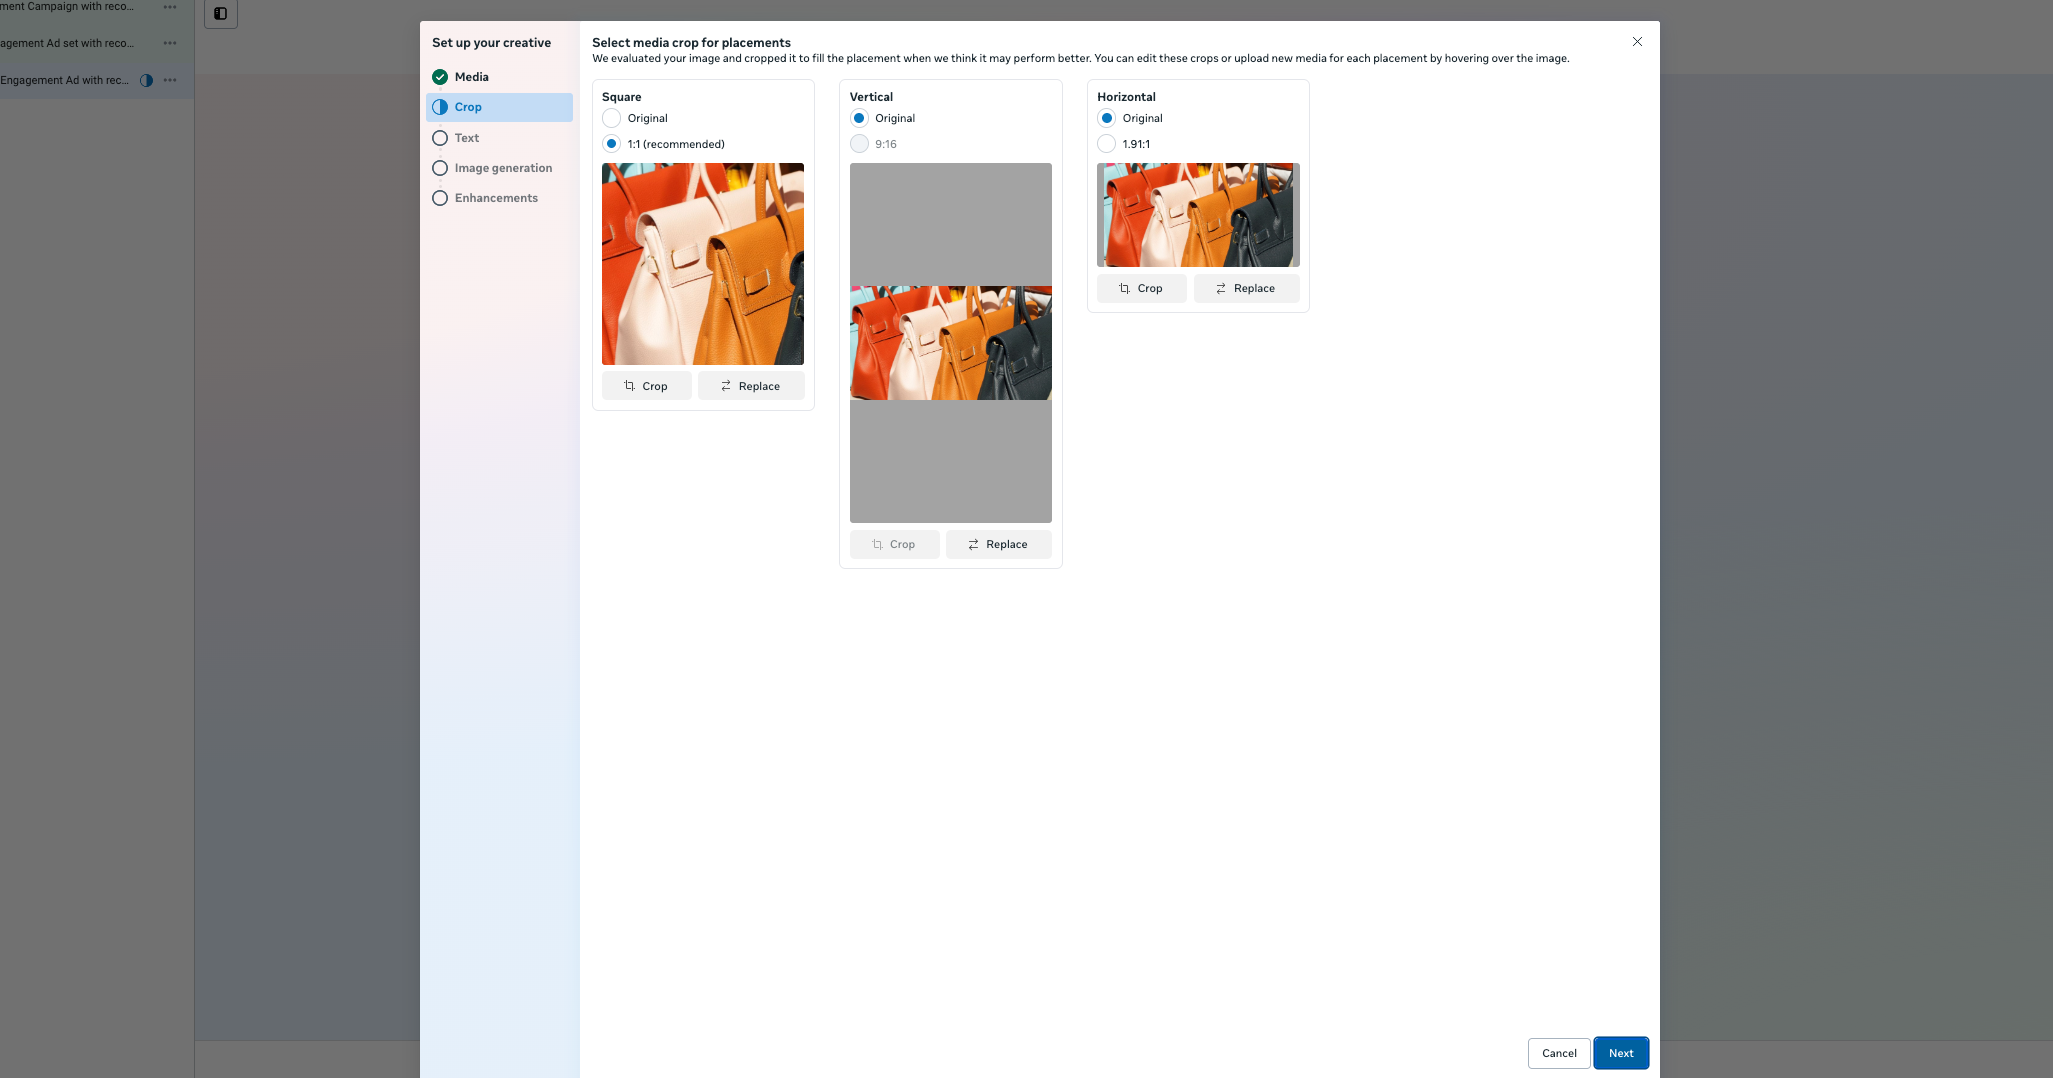
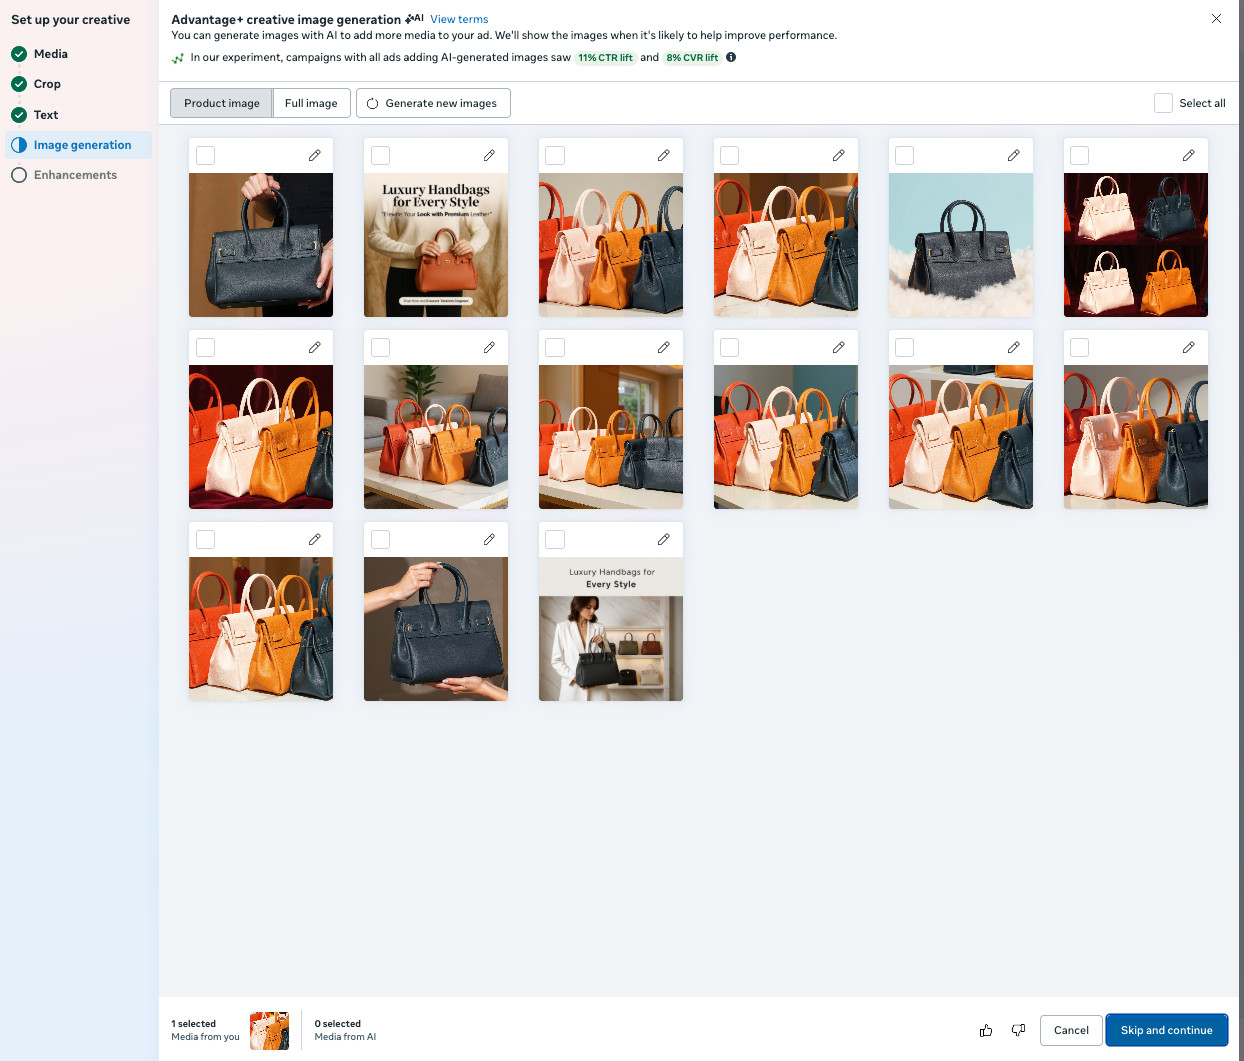
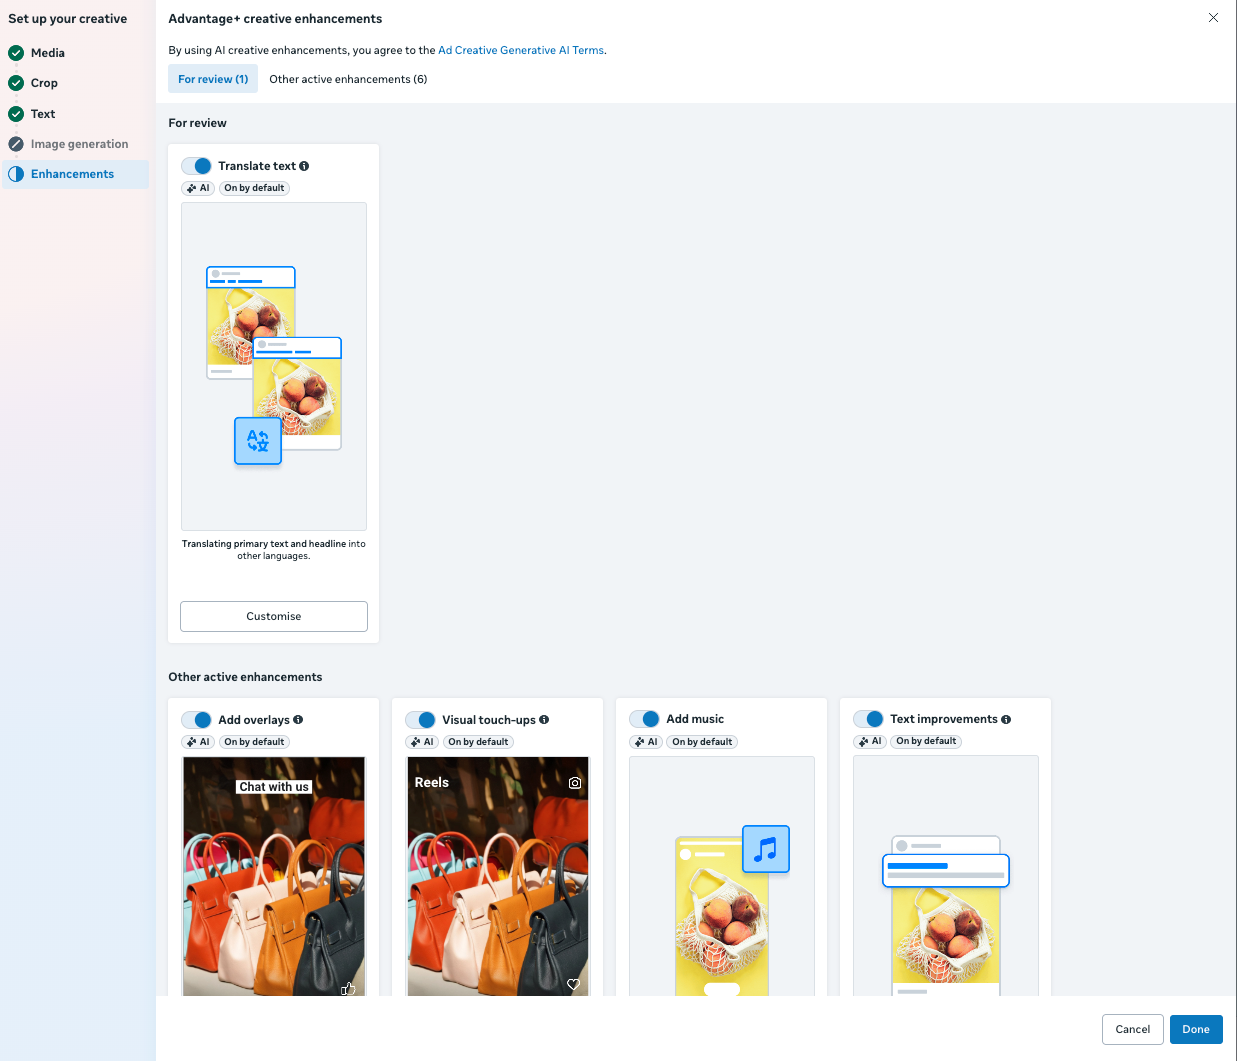
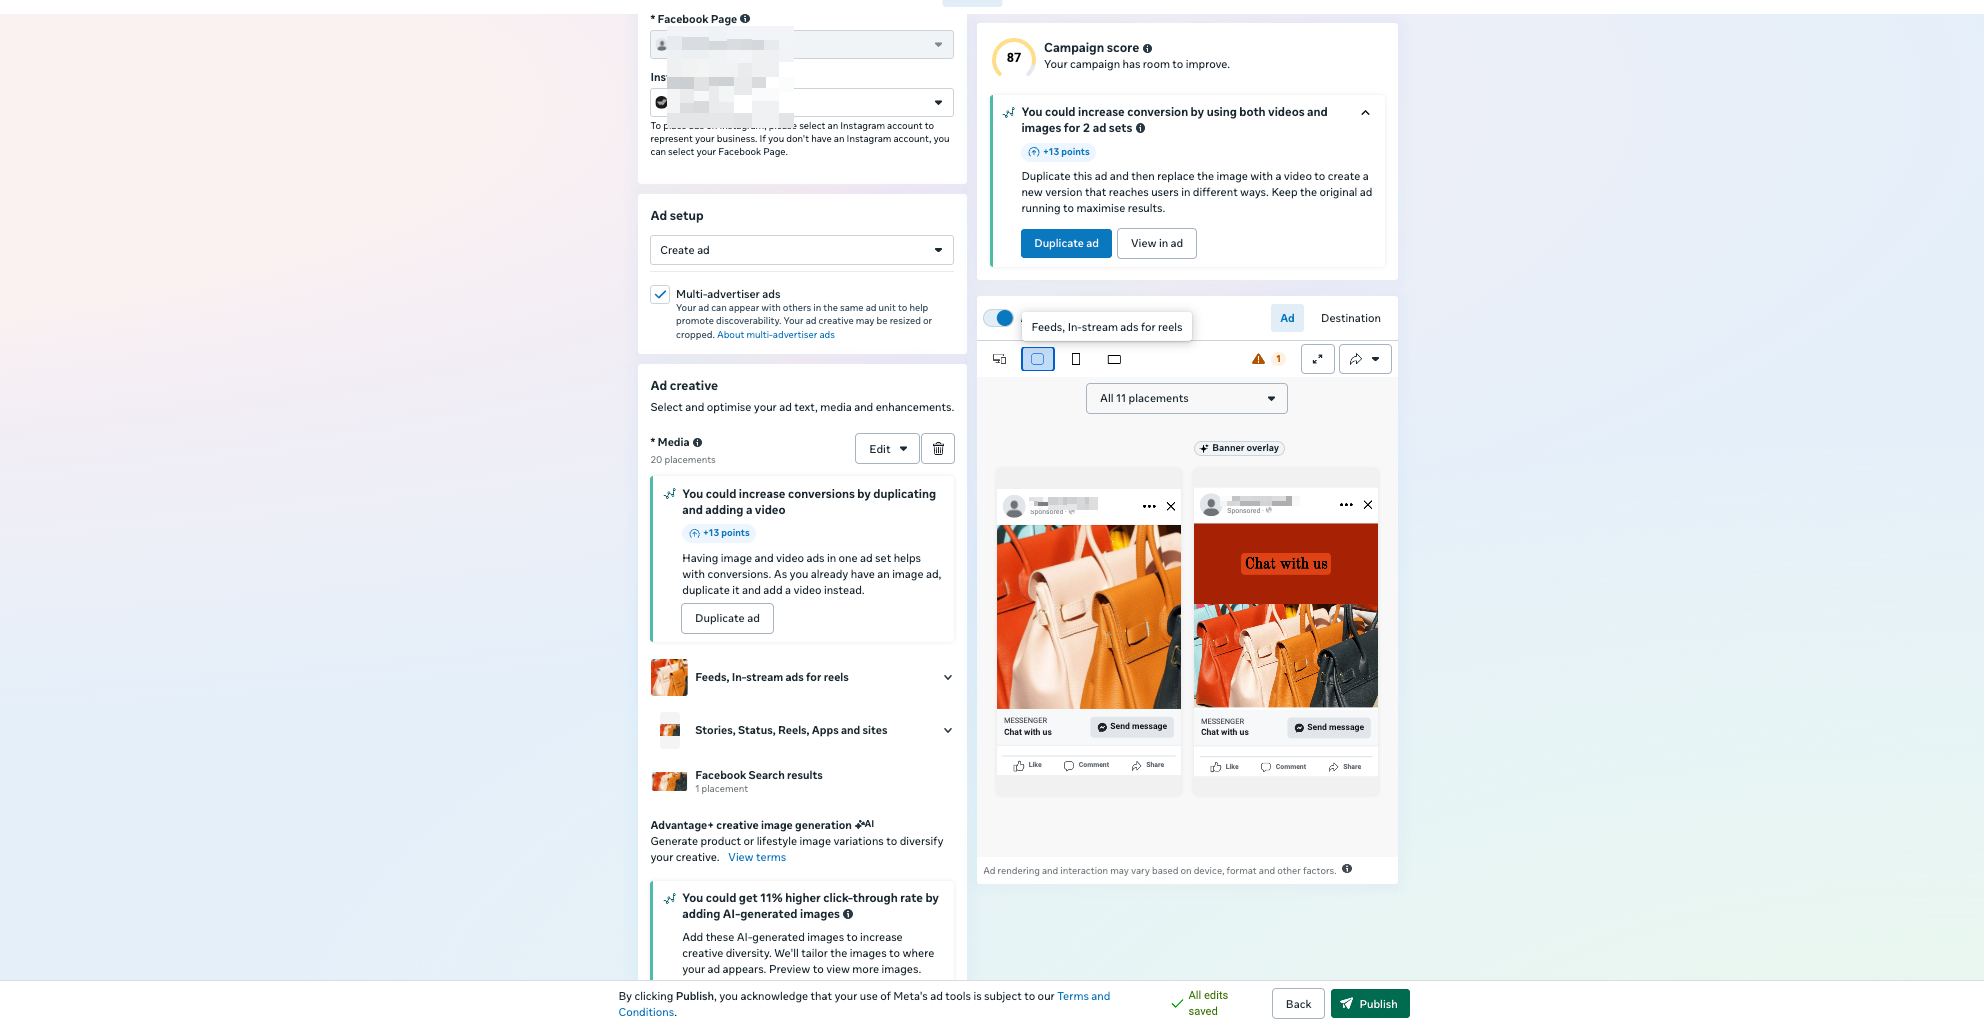
Set up the creative assets. You can use multiple images or other supported formats.
Crop

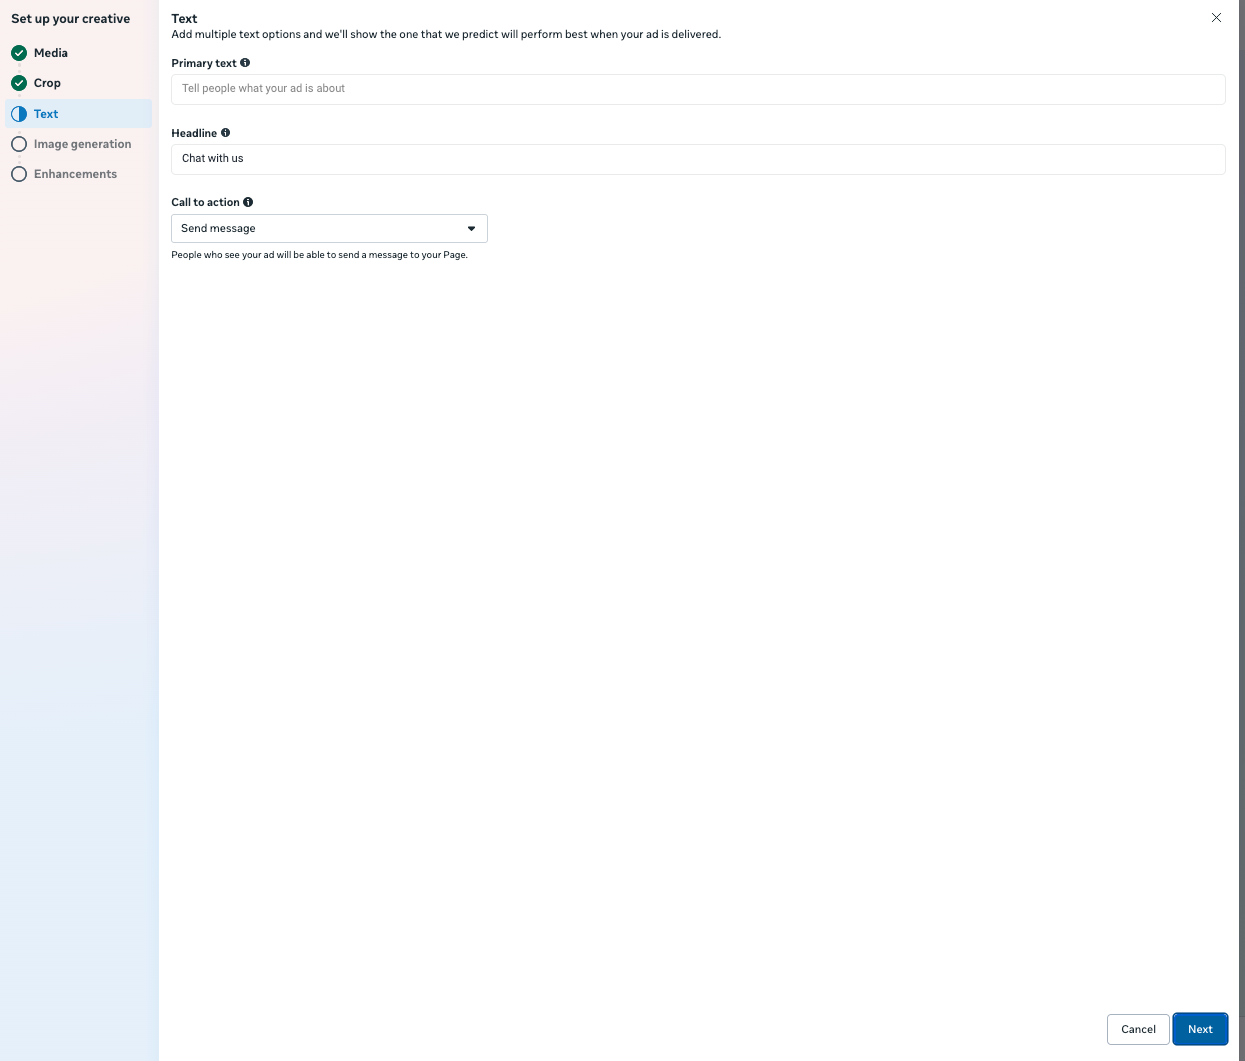
Text

Image generation
Enhancements
If you choose Use existing post
Select one of your published posts or create a new one.


Optional steps
Creative testing: Experiment with variations of your ad. Learn more here.

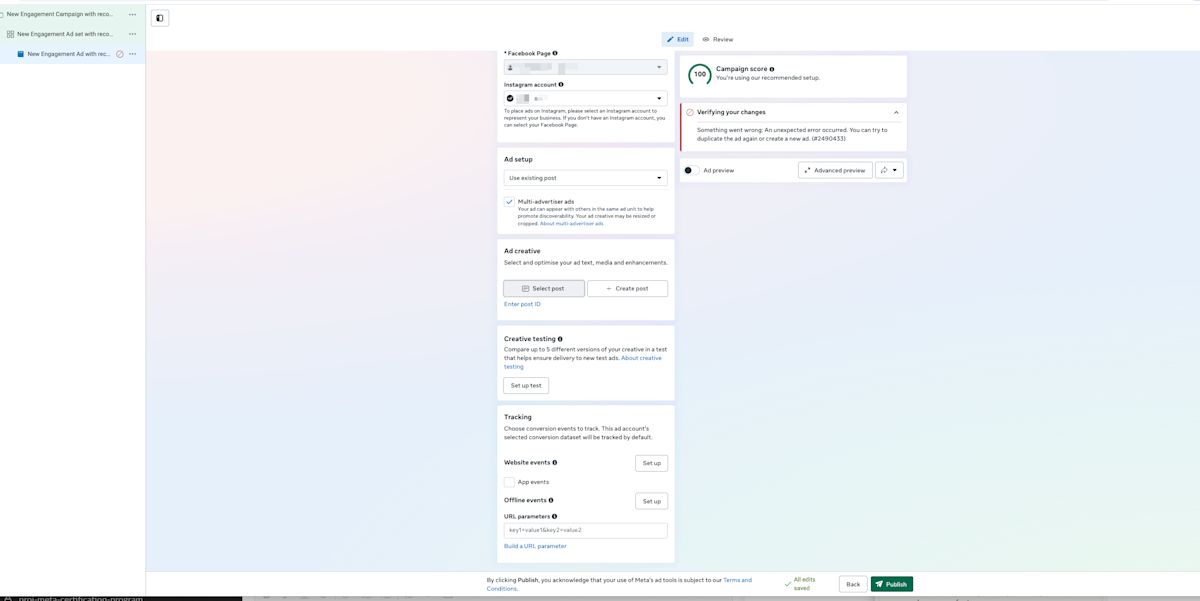
Tracking & Conversion events: Add events you want to monitor.
Final step
Preview your ad, make any final tweaks, and click Publish to set your CTC campaign live.
FAQ and troubleshooting
Why are leads from my Meta ads being sent to the wrong WhatsApp phone number?
This happens when the wrong phone number is set as the Meta ad's Messaging Destination or in the Facebook Page Settings.
What you can do
Reselect the correct WhatsApp phone number as the Messaging Destination in Meta Ads Manager.
Update the WhatsApp phone number in Facebook Page Settings.
Why are my Meta Paid Ads metrics in Reports different from what's reported in Meta Ads Manager?
Respond.io can only report the ad attributions received through Meta's API, which are sent when a Contact starts a conversation with your business from a Click-to-Chat ad (WhatsApp, Messenger, or Instagram).
Meta Ads Manager usually shows higher numbers because it also counts:
People who clicked your ad and opened the chat without ever sending a message.
People who saw but didn't click your ad, then messaged you within Meta's attribution window — by default, 7 days after a click or 1 day after a view — during which Meta credits a conversion back to your ad.
Since those interactions never reach respond.io as an actual message, they don’t appear in your Reports.


