


 Electronics
 Fashion & Apparel
 Furniture
 Jewelry and Watches
 Afterschool Activities
 Sport & Fitness
 Beauty Center
 Dental Clinic
 Medical Clinic
 Home Cleaning & Maid Services
 Photography & Videography
 Car Dealership
 Travel Agency & Tour Operator

Do you need to verify your business on Facebook? Well, it’s good news, we have all the answers for you! This article will explain the Facebook Business verification process for WhatsApp Business API.
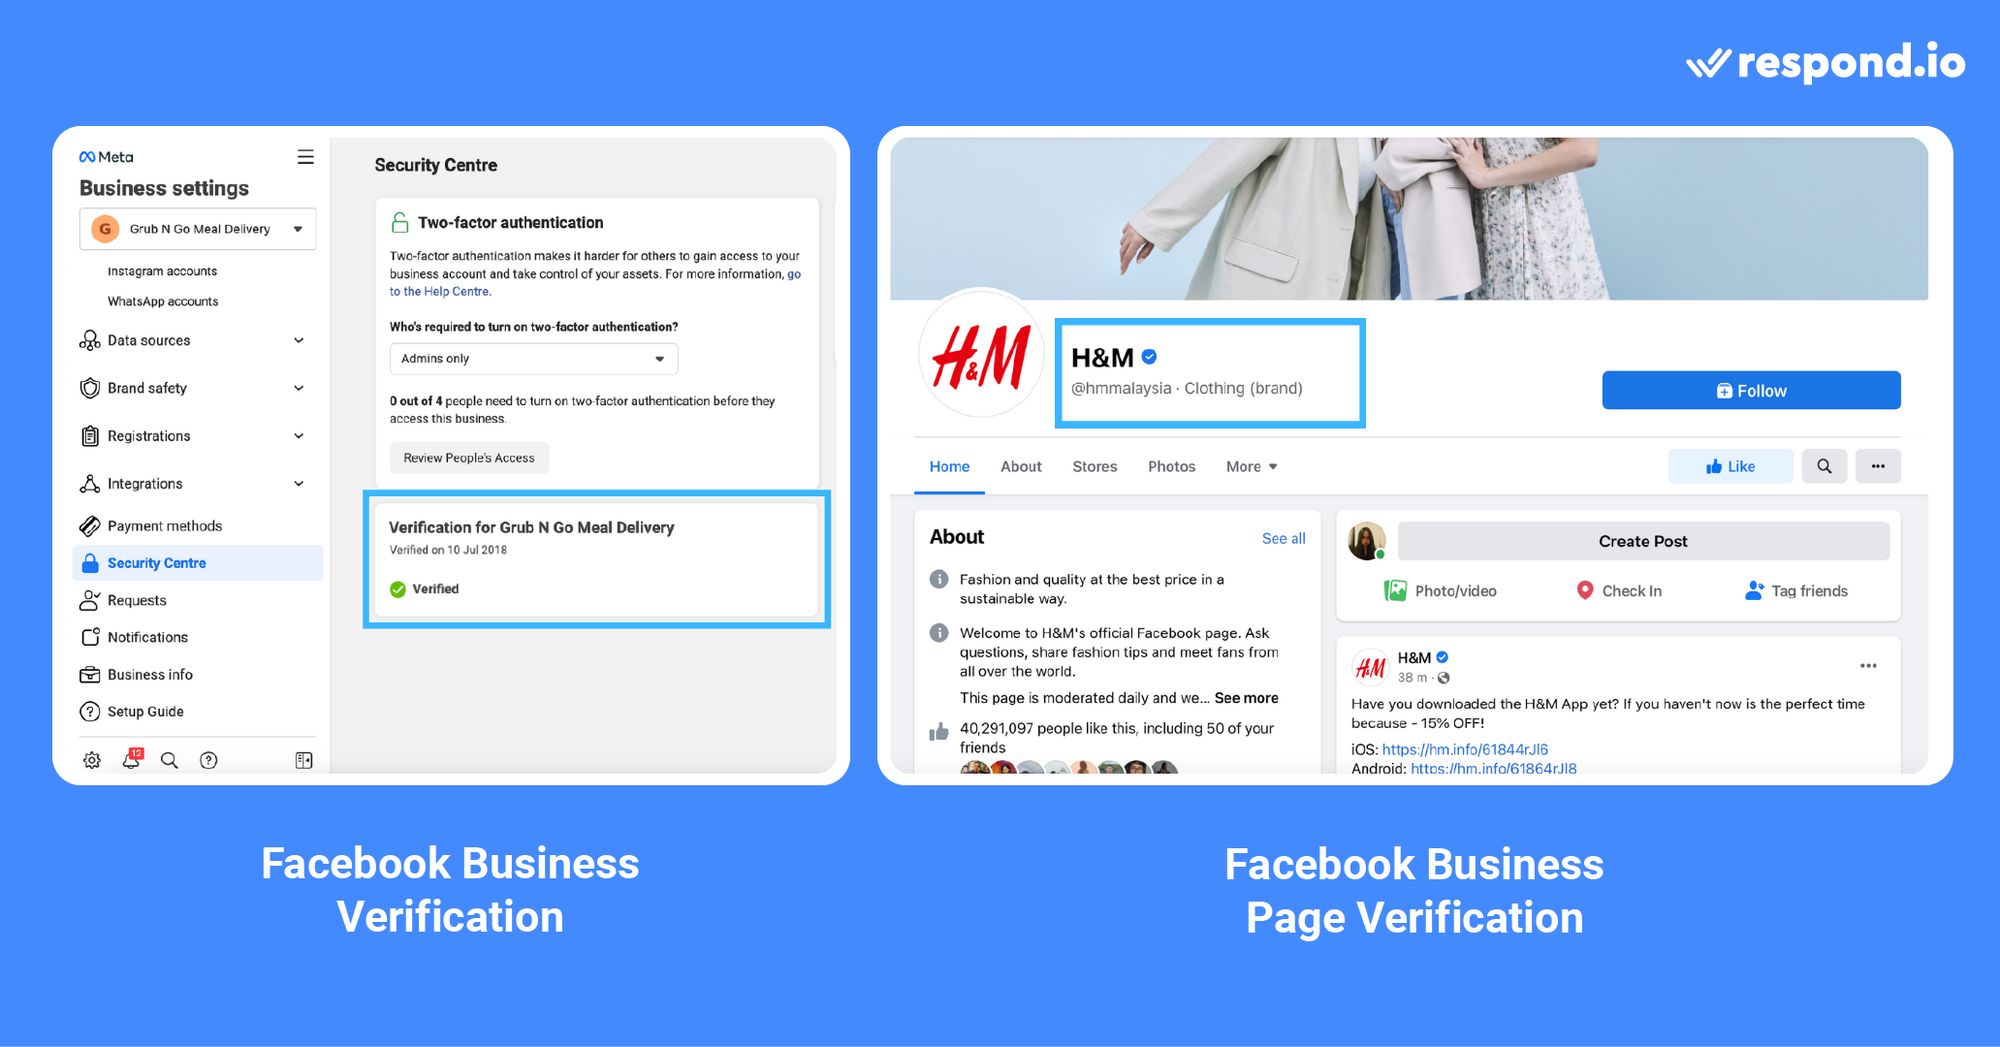
What is Facebook Business Verification
Previously, Meta renamed Facebook Business Manager to Meta Business Manager. Now, it is known as Meta Business Portfolio. To keep things clear, we'll still call it Facebook Business Manager.
This verification checks if your Facebook Business Manager account is for a real company. Your business should be legally registered and have a proper phone number and address. You might be reading this because Facebook needs you to verify your business.
This is to send more messages through WhatsApp Business API. If you've verified your business before, like for Facebook Ads, you don't need to do it again.
Do not mistake verifying your Facebook Business Manager account verification with the Meta Verified business subscription. The latter is a paid monthly subscription by Meta with features to help with discovery, impersonation protection, account support and more.
In the next section, we will briefly talk about the new WhatsApp Business API process and why you need to verify your business for WhatsApp Business API.
Facebook Business Verification for WhatsApp Business API
Starting 2 May 2022, businesses applying for WhatsApp Business API will go through a simpler process.
They no longer need Facebook Business verification, display name reviews, or commerce policy checks. At first, all businesses are categorized as unverified, automatically triggering a compliance check with WhatsApp Platform Policies.

Then, after signing up for WhatsApp API, businesses can begin engaging with customers. However, there are initial limitations:
Send business-initiated conversations (message template) to up to 250 unique contacts
Respond to unlimited user-initiated conversations or service conversations
To be an Official Business Account (OBA), you will have to verify your business in Facebook Business Manager. Next, let's look at what you need to prepare for the Facebook Business verification process.
Facebook Business Manager Verification Requirements
Before starting the process, you need to fill out the Business Info section of your Facebook Business Manager. Here, you have to provide details such as business legal name, address, phone number, email address and website.
Make sure the information you provide aligns with the details registered with local authorities. As long as Facebook can verify your business from the info given, there is no need to provide supporting documents for verification.

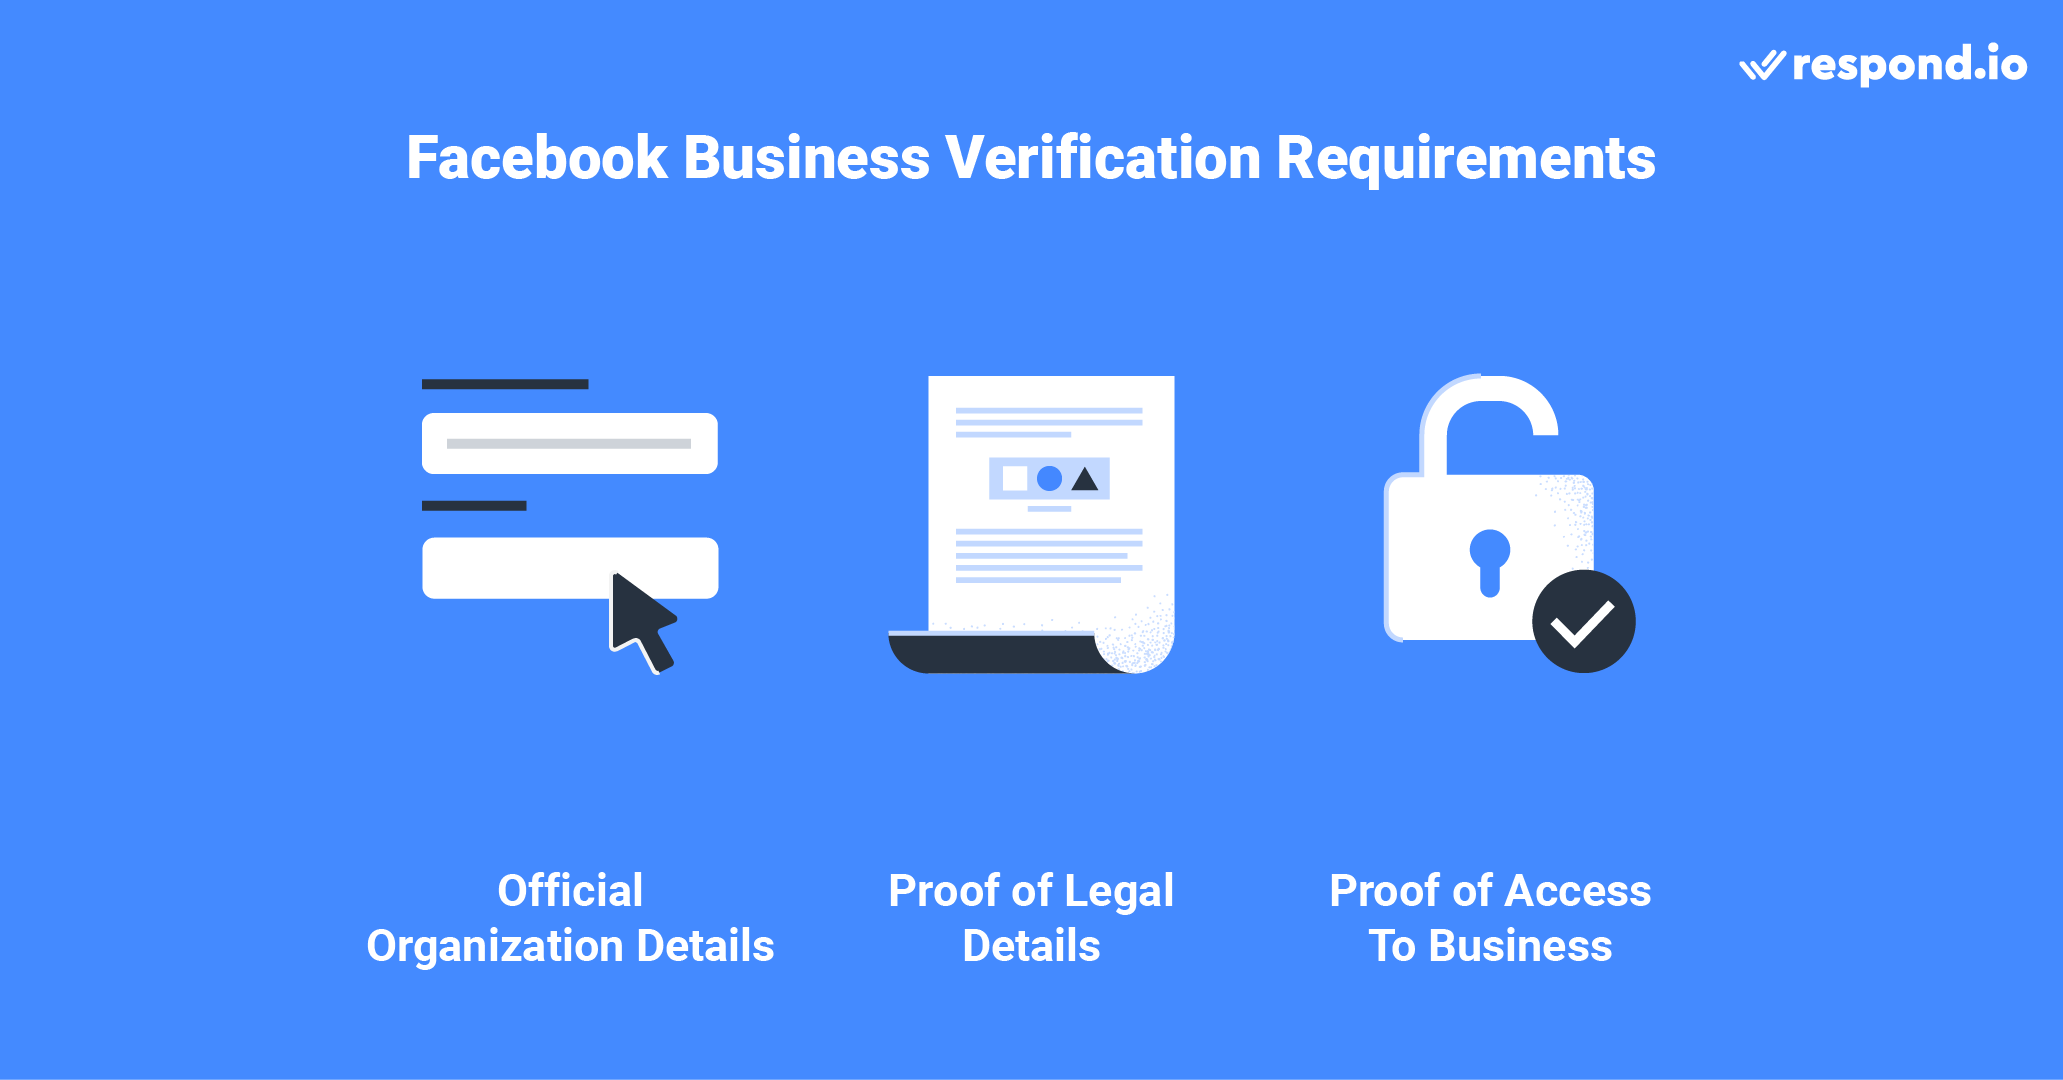
If Facebook cannot identify your business, you need to provide evidence of the following legal details with the right documents:
Business legal name: Business license, Certificate of Incorporation or tax or VAT registration certificate
Business address and phone number: Utility bill, bank statement or business license with your address and phone number on it
After you submit the documents, you need to go through two-factor authentication to prove that you have access to your company’s phone or email. You may also need to provide your personal details to verify your business in some cases.
Do not provide false information, verify businesses you are not authorized to represent or circumvent the verification review system. These actions will result in Facebook rejecting your verification request and even taking further action against your account.
Now that you know the verification requirements, we will go through the steps to do so.
Turn customer conversations into business growth with respond.io. ✨
Manage calls, chats and emails in one place!
How to Verify Your Business: WhatsApp Business API
Now that you have your business information filled and supporting documents ready, let's start the business verification process.
1. Go to Facebook Business Settings and navigate to Security Centre. You can see the business verification option once you’ve signed up for WhatsApp Business API. Click on the Start Verification. If you’re unable to see the business verification option, please contact us.

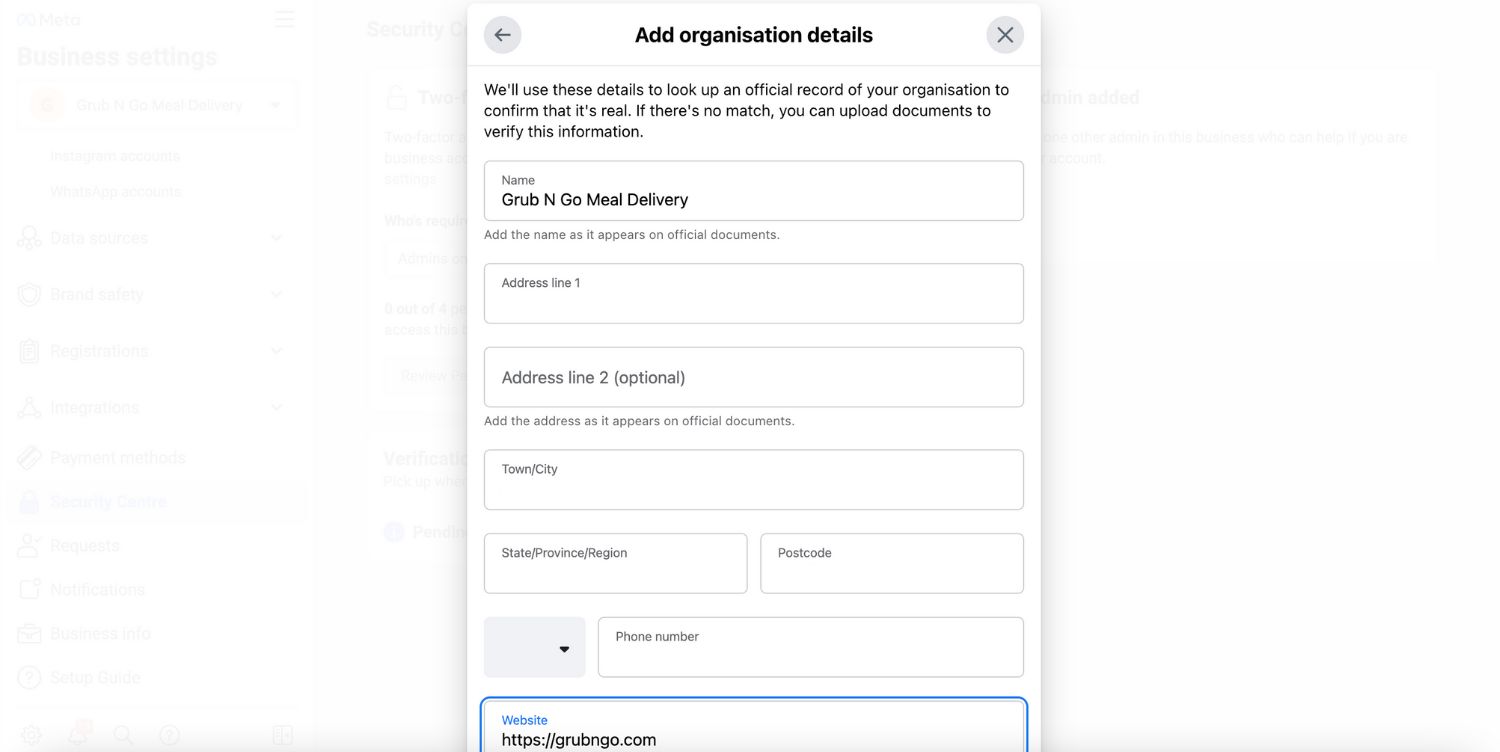
2. Add your organization’s details. If you’ve filled in your company details in the Business Info section, this section will be auto-filled. Double-check the information to ensure that they are accurate.
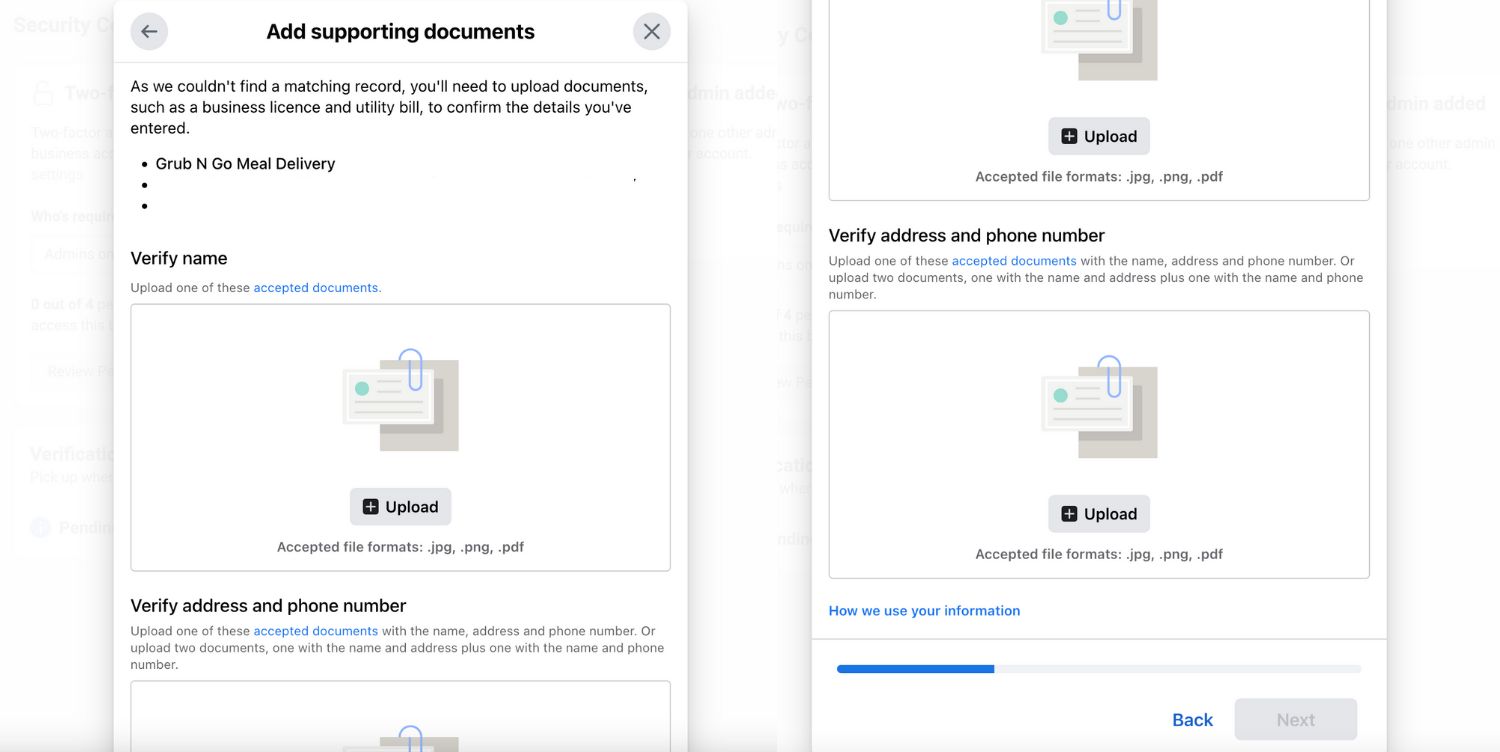
3. Add supporting documents to prove your business' legal details and submit.
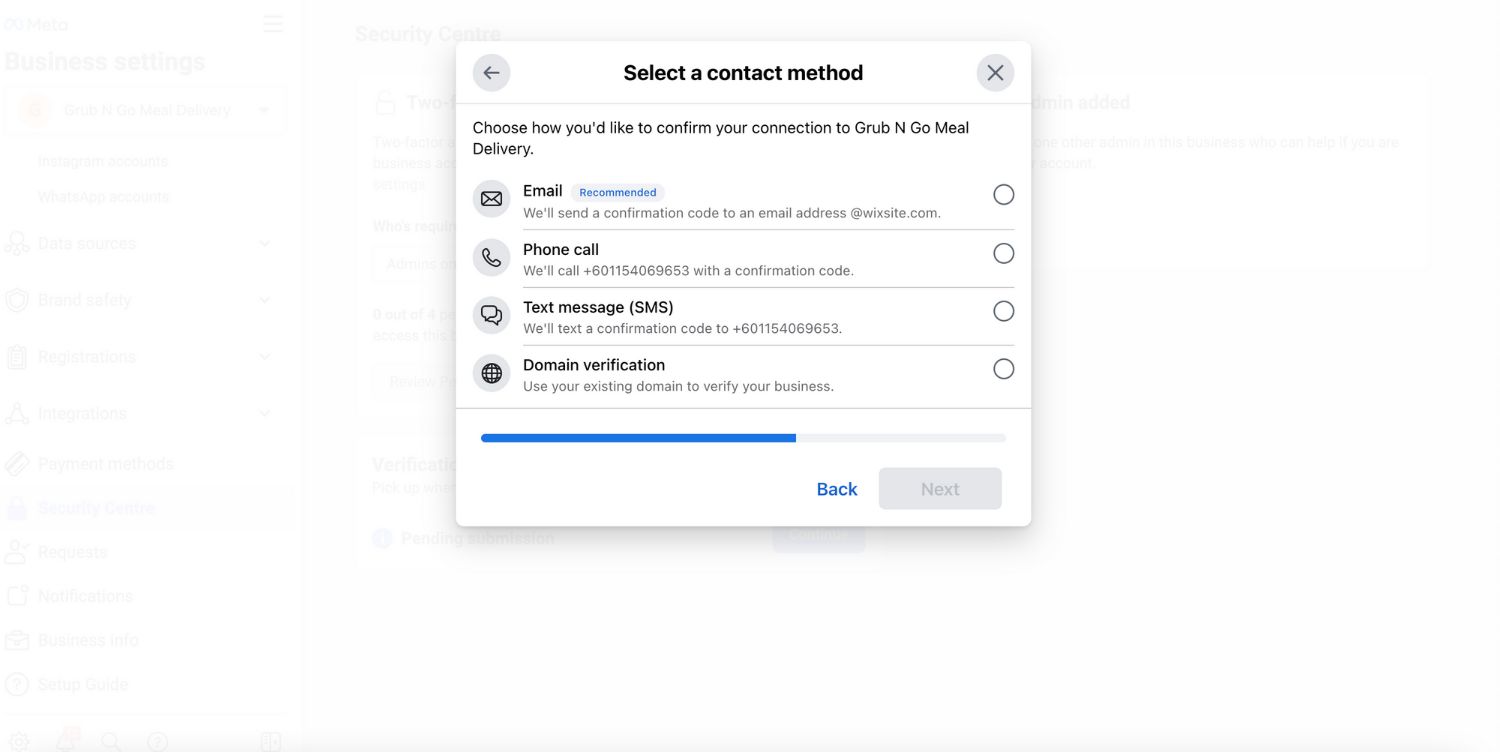
4. Select your preferred contact method to receive a confirmation code to confirm your connection to the business. If you have a website, you can submit your application right away, without having to receive a confirmation code.
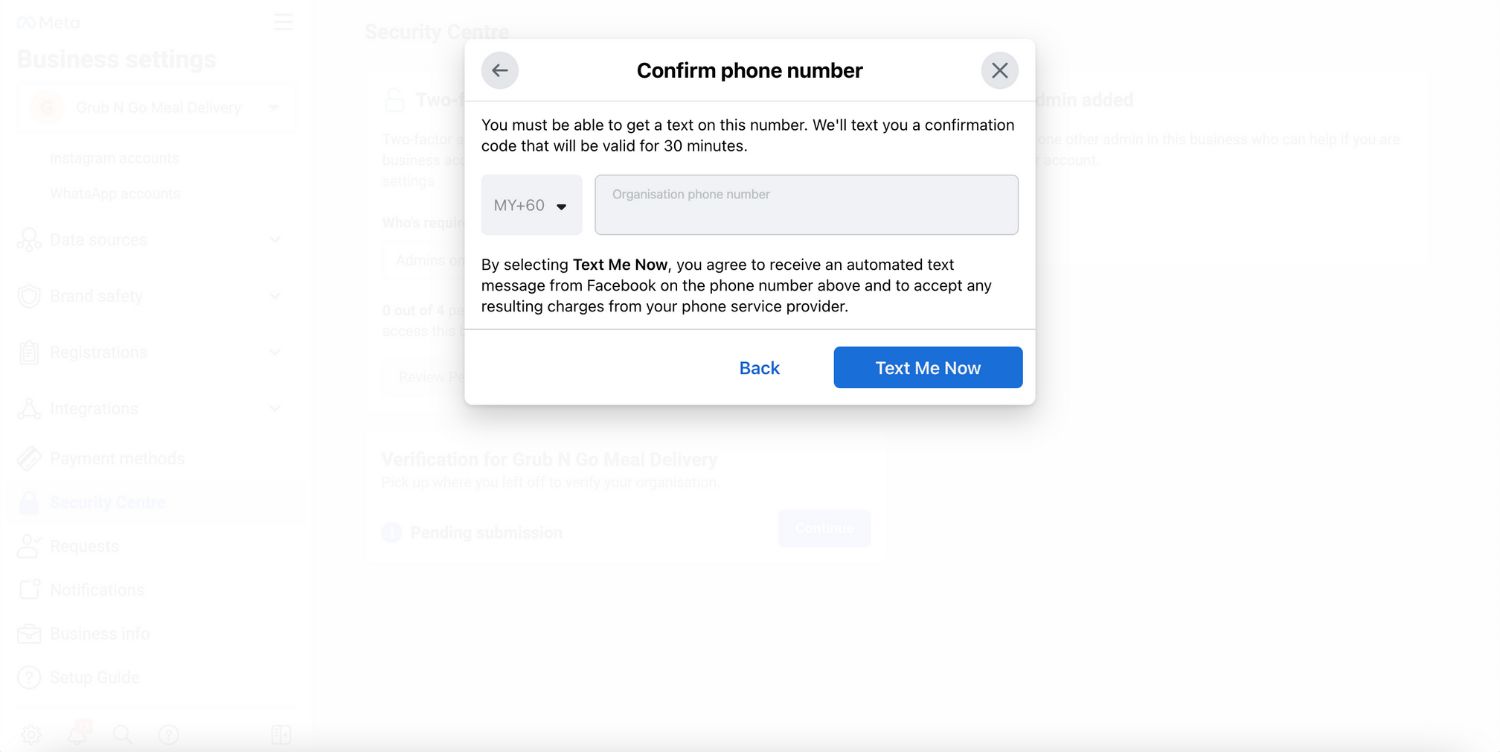
5. Enter and confirm your phone number and click Text Me Now to get a confirmation code. This step depends on the contact method you’ve selected in the previous step.
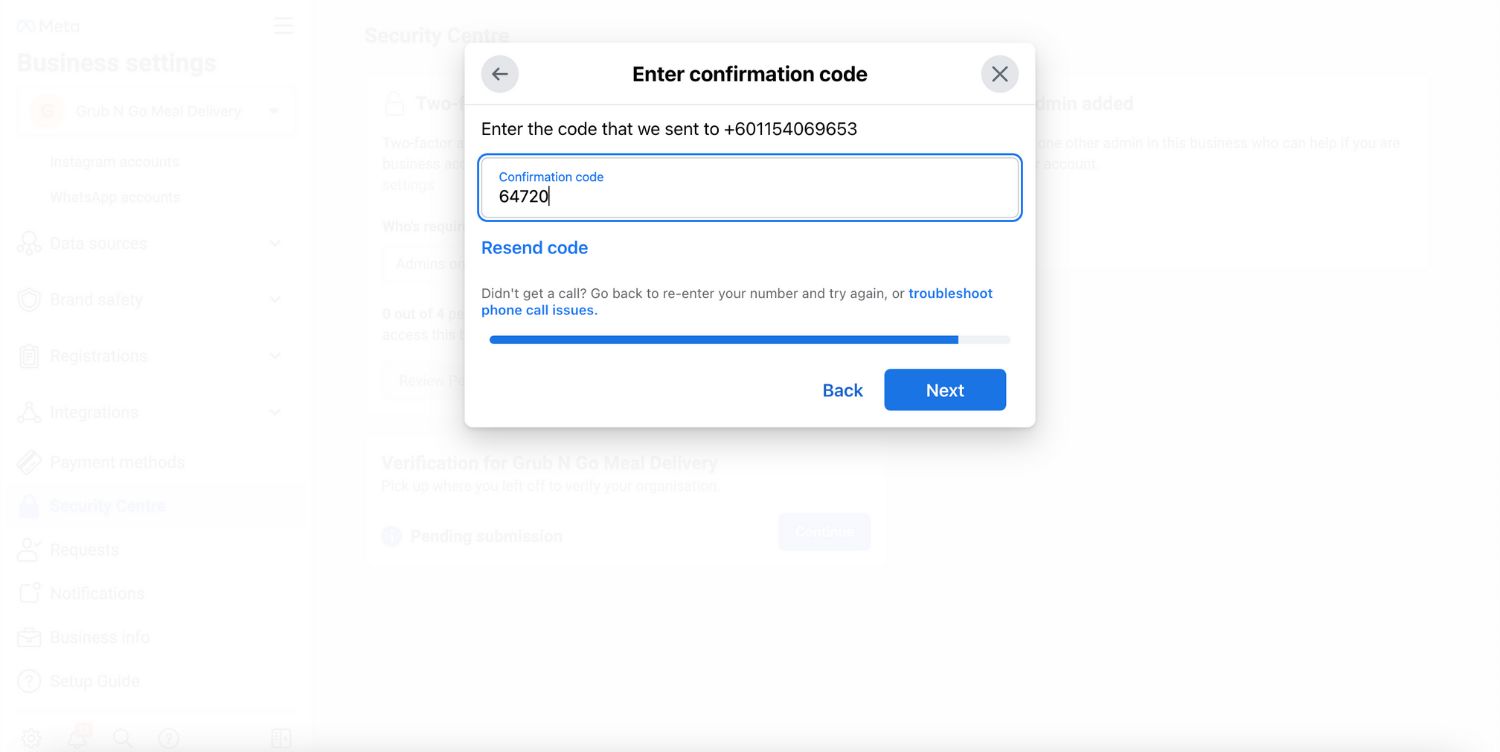
6. Input the confirmation code and click Next. If you did not receive a verification code, click on Resend Code. You can also change your preferred contact method if your chosen method isn't working.
How Long Does Business Verification Take
After completing the verification, you'll get an email and a notification in your Facebook Business Manager and Page within 1-3 days. You can also check your status in the Business Info or Security Centre sections.
If Facebook doesn't verify your business, you can appeal by sending more documents. Facebook may ask for your Government ID and two other documents.
When submitting your ID, show all its information and corners. Place it on a dark, flat surface for the photo. Facebook won't accept digitally altered images. If you have problems with verification, it might be because your application is incomplete, documents are unclear, or the details don't match.
If you need more help, visit the Meta Business Help Centre or contact us about verifying your ID and business details.
Display Name Review
After you finish verifying your business, Facebook will review the display names for all your phone numbers. The display name is what customers see as your business name on WhatsApp.
Make sure your display names are clearly linked to your business, follow Meta’s guidelines, and don’t break WhatsApp’s rules for Commerce and Business. Once your business is verified and your display names are approved, you can send more messages and use more phone numbers
Getting your business verified on Facebook is key to growing your reach on WhatsApp. With verification, you'll be able to send more messages and use more phone numbers, which means better engagement with your customers.
Once you’ve verified your business, you can take your messaging game to new heights with an AI-powered customer conversation management platform and badged Meta Business Partner with respond.io.
Turn customer conversations into business growth with respond.io. ✨
Manage calls, chats and emails in one place!
Further Reading
Did you find this article helpful? If so, here are some readings that might interest you.


