


 Electronics
 Fashion & Apparel
 Furniture
 Jewelry and Watches
 Afterschool Activities
 Sport & Fitness
 Beauty Center
 Dental Clinic
 Medical Clinic
 Home Cleaning & Maid Services
 Photography & Videography
 Car Dealership
 Travel Agency & Tour Operator

Considering auto assignment for your business? You're in the right place! In this guide, we'll break down what automatic assignment is, compare it with manual assignment and share strategies to enhance team efficiency and customer communication. We'll also discuss the significance of a reliable software for auto assignment and introduce essential best practices for its setup.
What is Automatic Assignment?
Auto assignment is the process of automatically distributing inbound conversations to the right agents within a team. This dynamic approach eliminates the need for manual intervention, allowing for a swift and efficient allocation of conversations based on predefined criteria.
That said, let's look at the difference between manual assignment and auto-assignment.
Automatic Assignment vs Manual Assignment
There are two types of commonly encountered conversation assignment methods: manual and automatic assignment. Below, we’ll dive into when manual assignment is used and why you need to use automatic assignment.
When to Use Manual Assignment
Manual assignment is an assignment method where managers distribute conversations without established rules using human judgment. This includes assigning conversations based on their knowledge of the available resources, the skills and expertise of agents, the urgency of tasks and other relevant factors.
Small companies that receive low volumes of inbound conversations or businesses in their early stages often adopt this assignment method.
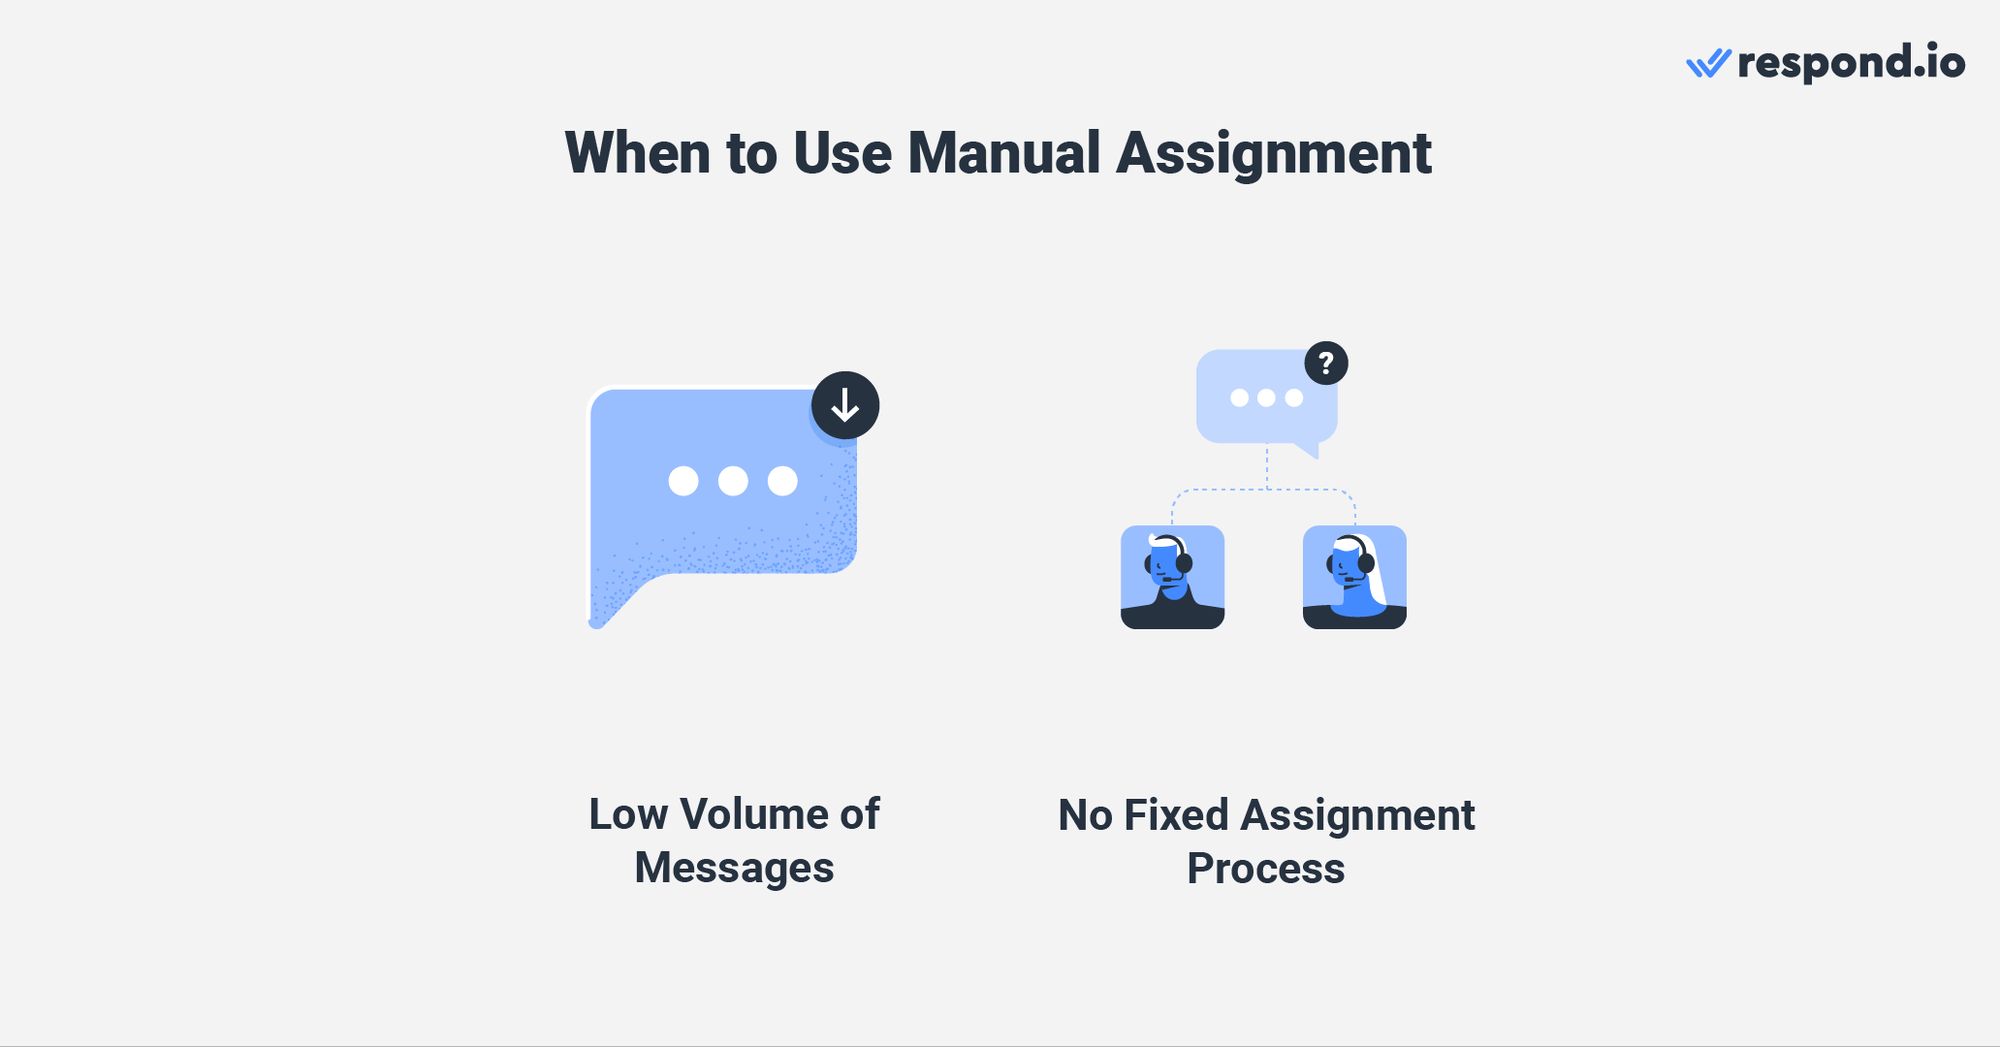
However, as the volume of conversations grows, businesses will face challenges like uneven conversation distribution among agents, inability to track which conversations have and have not been assigned and more.
That’s why businesses looking to message at scale must start using automatic assignment. Let’s explore the advantages of using auto assignment.
Benefits of Using Automatic Assignment
Businesses that use auto-assignment rely on automation to distribute conversations based on predetermined rules or criteria. This method is particularly beneficial when businesses receive high volumes of messages and have multiple teams of agents.
One of its advantages is its remarkable ability to reduce error rates. While manual assignment can be prone to oversights such as missing conversations or assigning conversations to the wrong agent, auto-assignment ensures heightened accuracy.
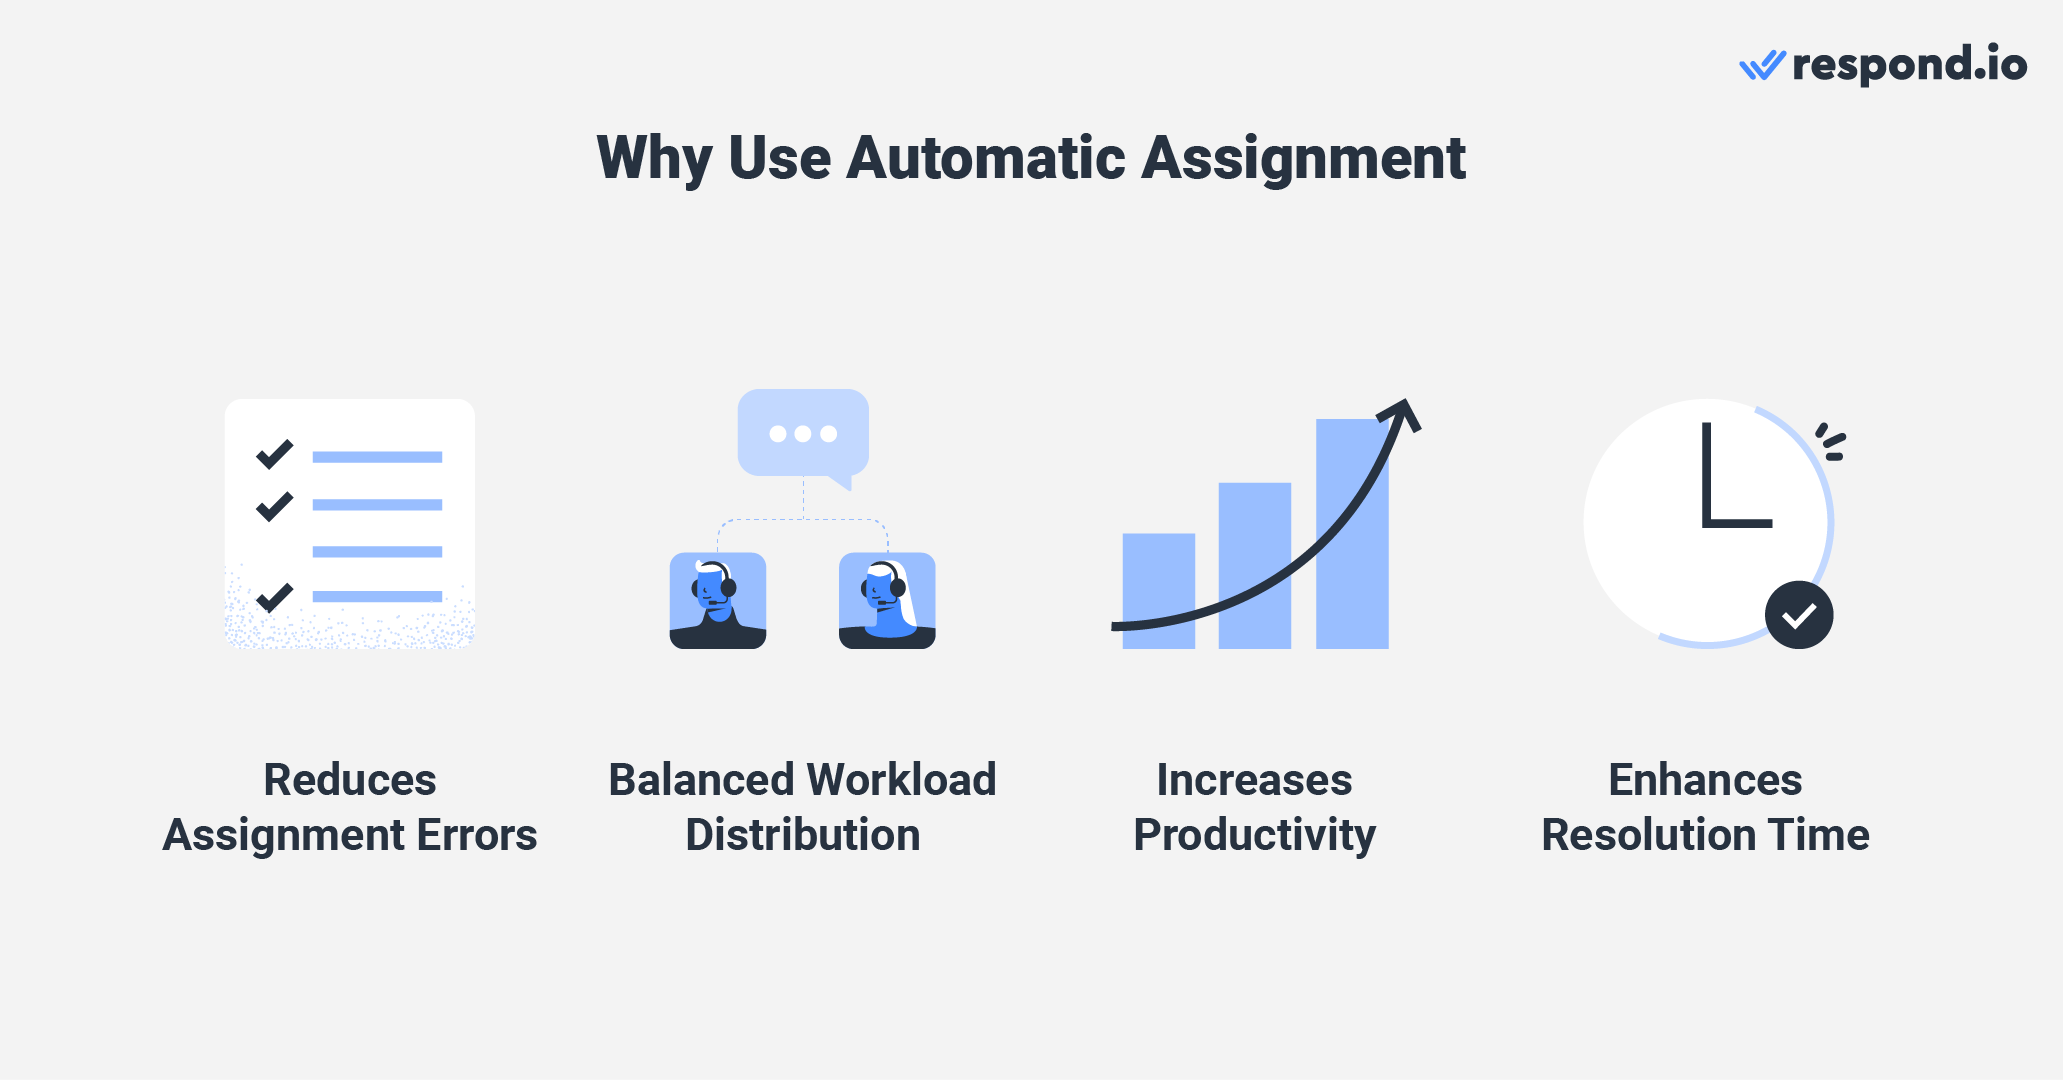
Additionally, an automatic assignment process can be customized to ensure fairness and adherence to predefined rules, resulting in a more even and unbiased conversation distribution among agents.
As conversations are assigned instantly, agents can fully focus on providing prompt and effective responses to customer inquiries and issues. Simultaneously, managers can dedicate their time to higher-value tasks such as reviewing conversations, refining workflows and training agents.
Now that you know how you can benefit from using automatic assignments, let's explore the different strategies you can use based on your use case.
Turn customer conversations into business growth with respond.io. ✨
Manage calls, chats and emails in one place!
Automatic Assignment Strategies for Different Use Cases
In this section, we will discuss methods to optimize automatic assignment for the needs and priorities of a specific team or customer. If you have multiple teams, you’ll need to use chat routing strategies before jumping to auto assignment strategies.
That said, let's look at the recommended auto assignment strategies based on team function and customer status.
Auto Assignment Logic Based On Team Function
Efficiently assigning conversations to the right agent within a team ensures that customers are conversing with the best agent for their case. Below, we’ll explore the auto assignment logic you can use based on team function.
Auto Assignment Logic for Sales Teams
Sales teams view contacts as leads. As every conversation is an opportunity for sales agents to convert leads and earn commissions, even conversation distribution among team members is crucial.
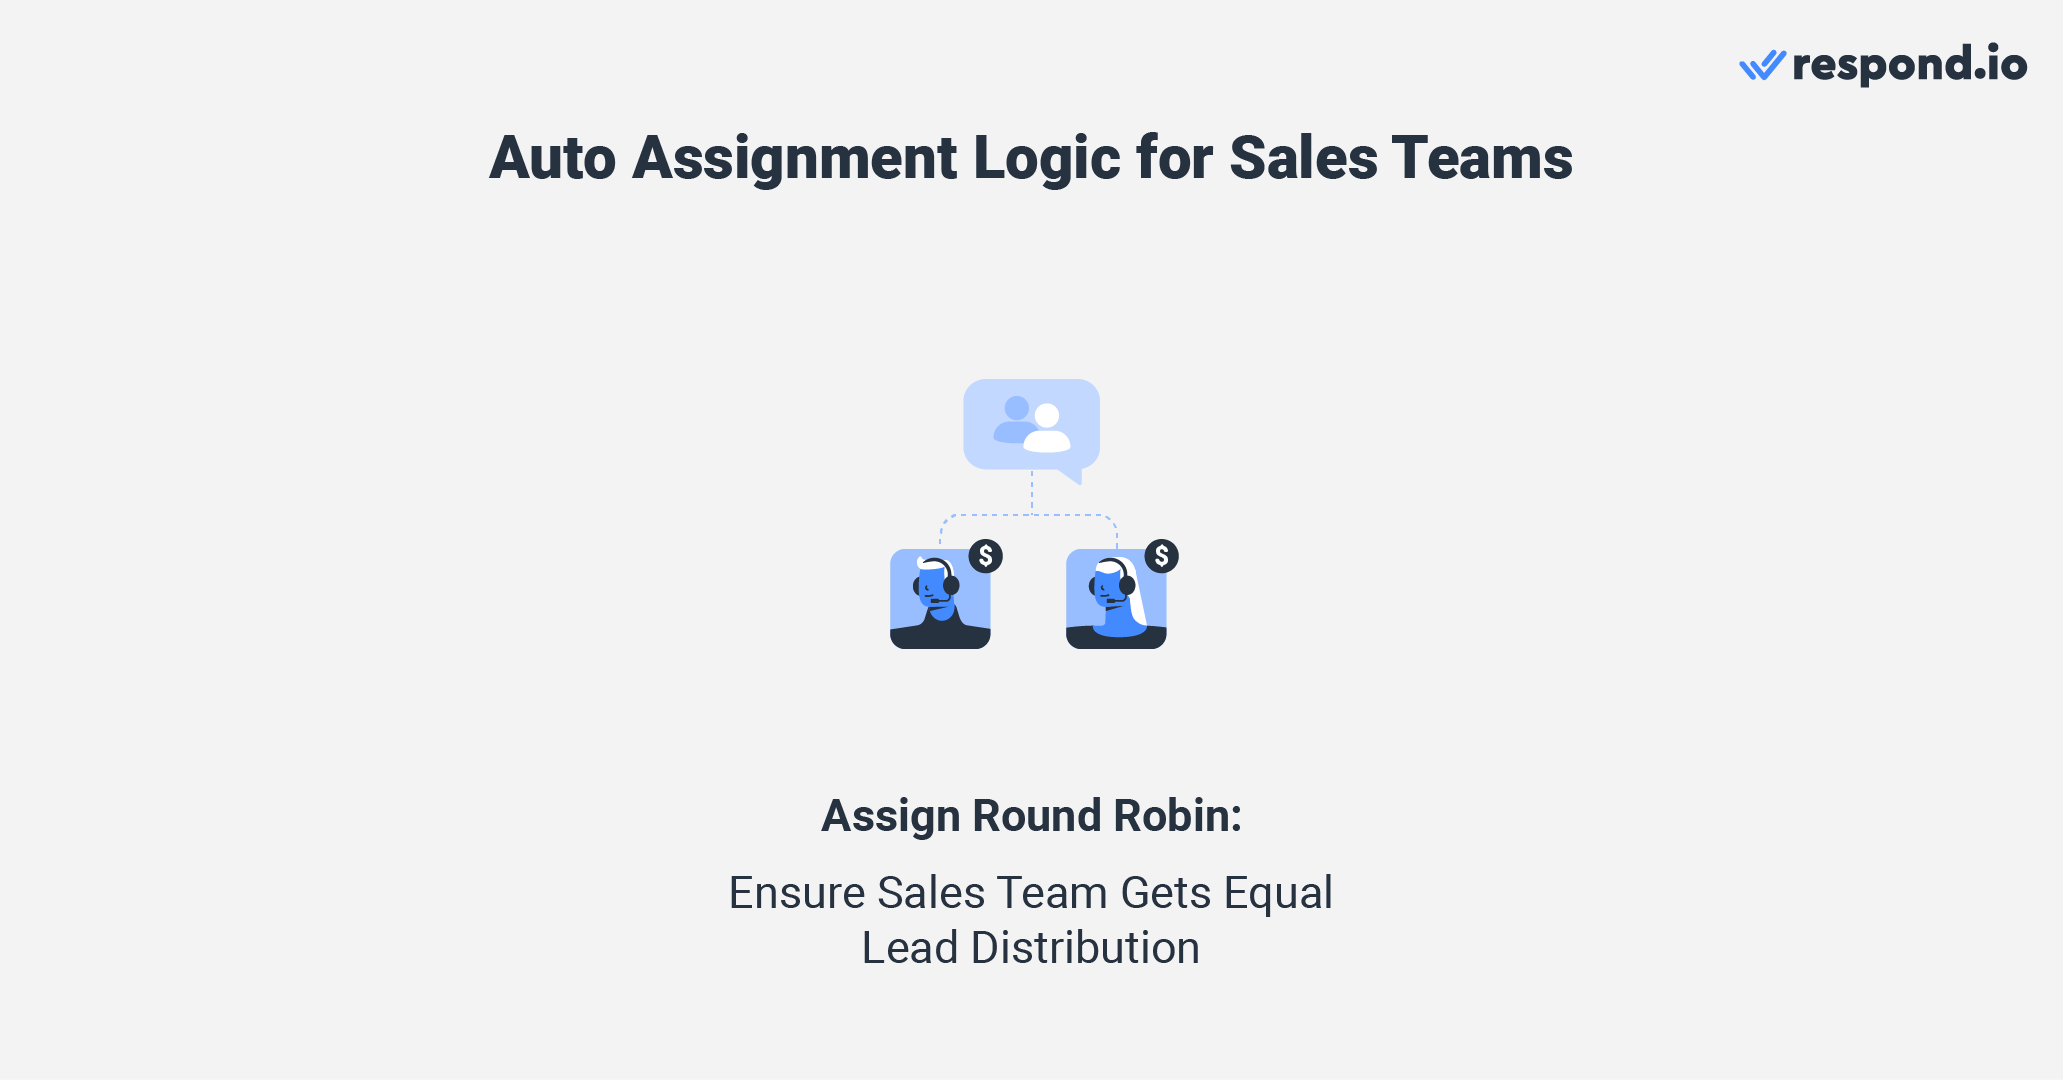
To achieve this balance, round-robin assignment is an excellent strategy. Many businesses also add a step before this: assigning new leads first to an AI Agent to qualify them automatically and capture key details. Once the AI Agent qualifies the lead, it can assign qualified leads to salespeople and close conversations with unqualified leads with a summary that sales agents can review later.
Auto Assignment Logic for High-Quality Support Teams
Companies that view support teams as a competitive advantage aim to deliver exceptional support experiences. To connect customers with the right help quickly, businesses can route conversations in two steps: first to an AI Agent for FAQs or straightforward troubleshooting, then by least-open logic to a human agent if the inquiry is complex or confidence is low. This hybrid approach balances speed and accuracy, letting AI Agents cover repetitive tasks while agents handle high-value cases.
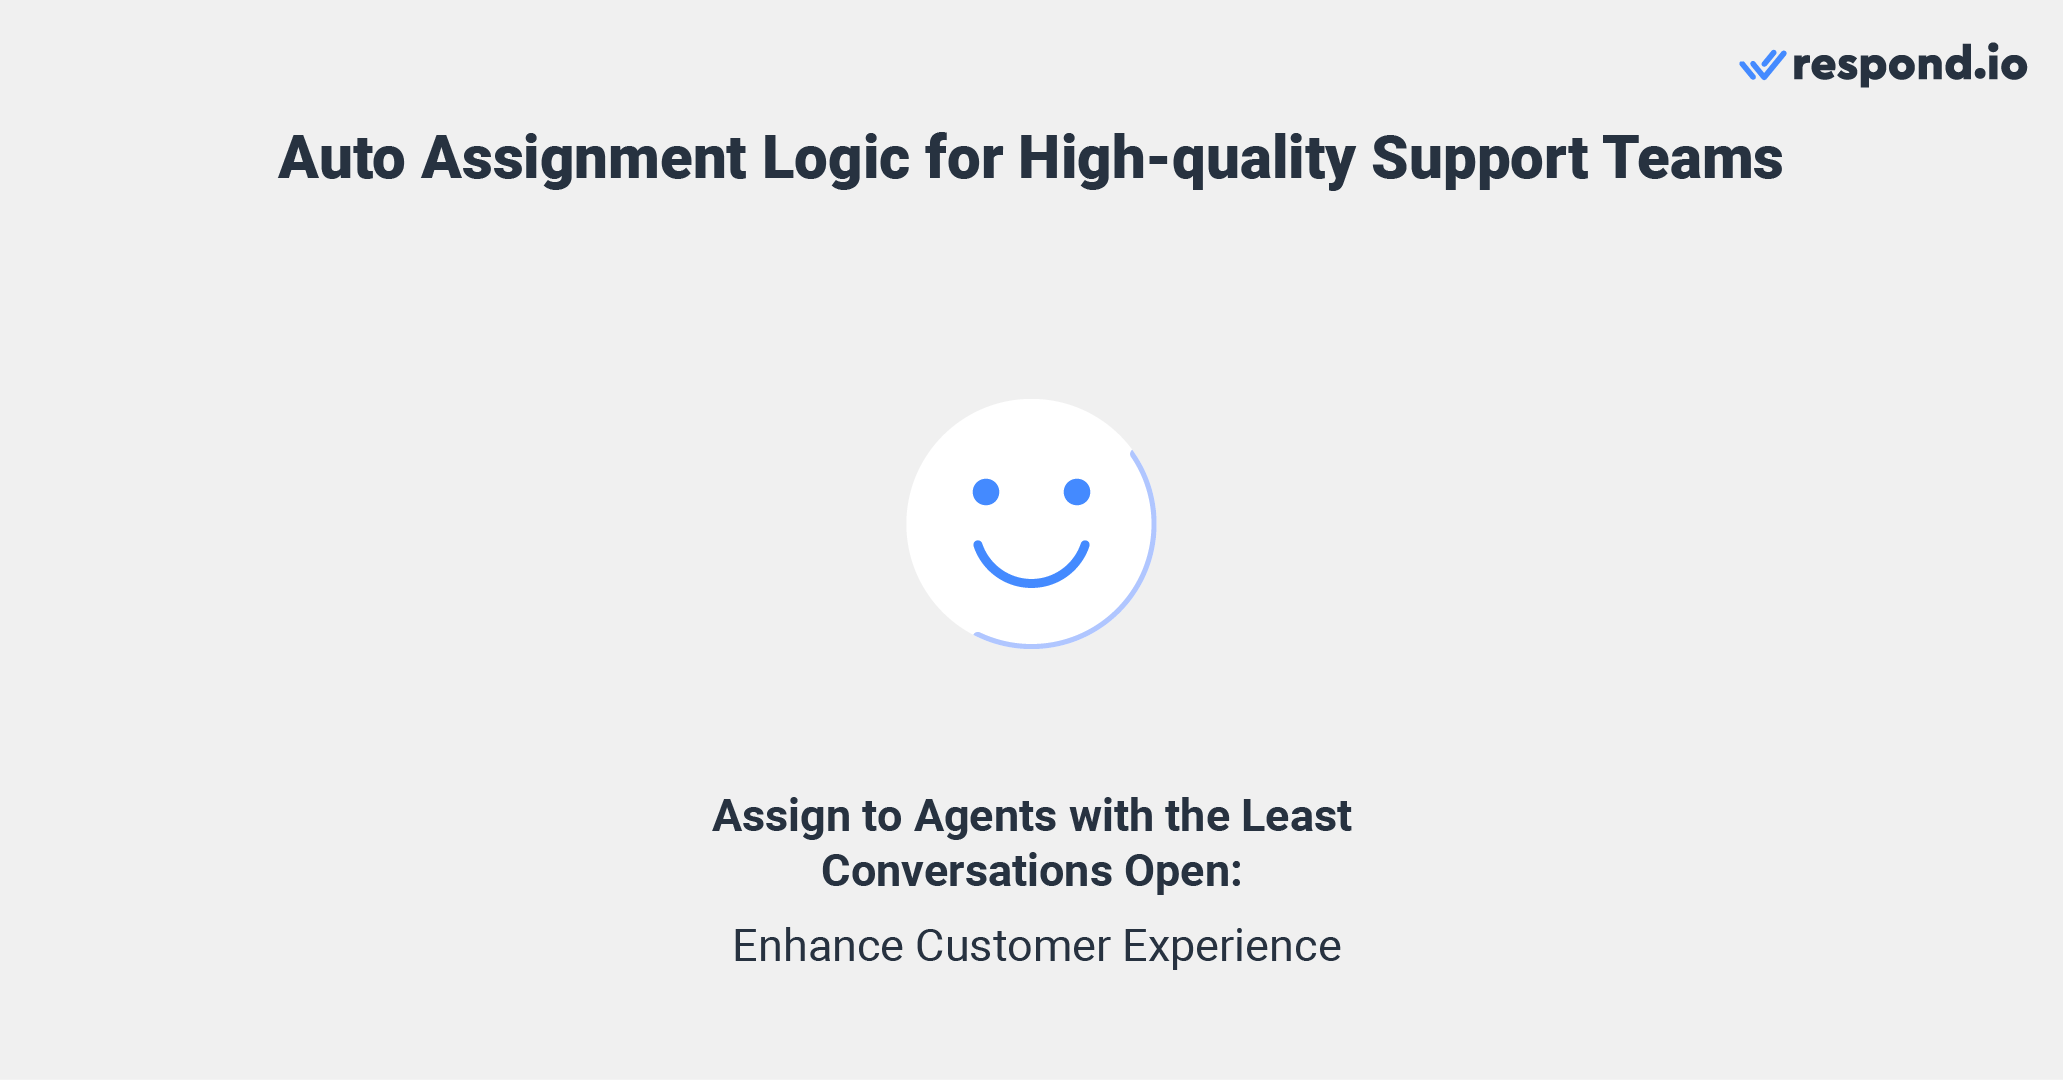
This approach grants agents a manageable number of conversations to handle simultaneously, allowing them to focus intensively on each interaction. As a result, customers get quicker responses and resolutions, which elevates customer satisfaction.
Auto Assignment Logic for Low-Cost Support Teams
For companies considering support teams as a cost center, cost reduction is a priority. In this scenario, support agents often deal with more conversations concurrently than those in high-quality support teams. This is why they are also encouraged to end conversations as quickly as possible.
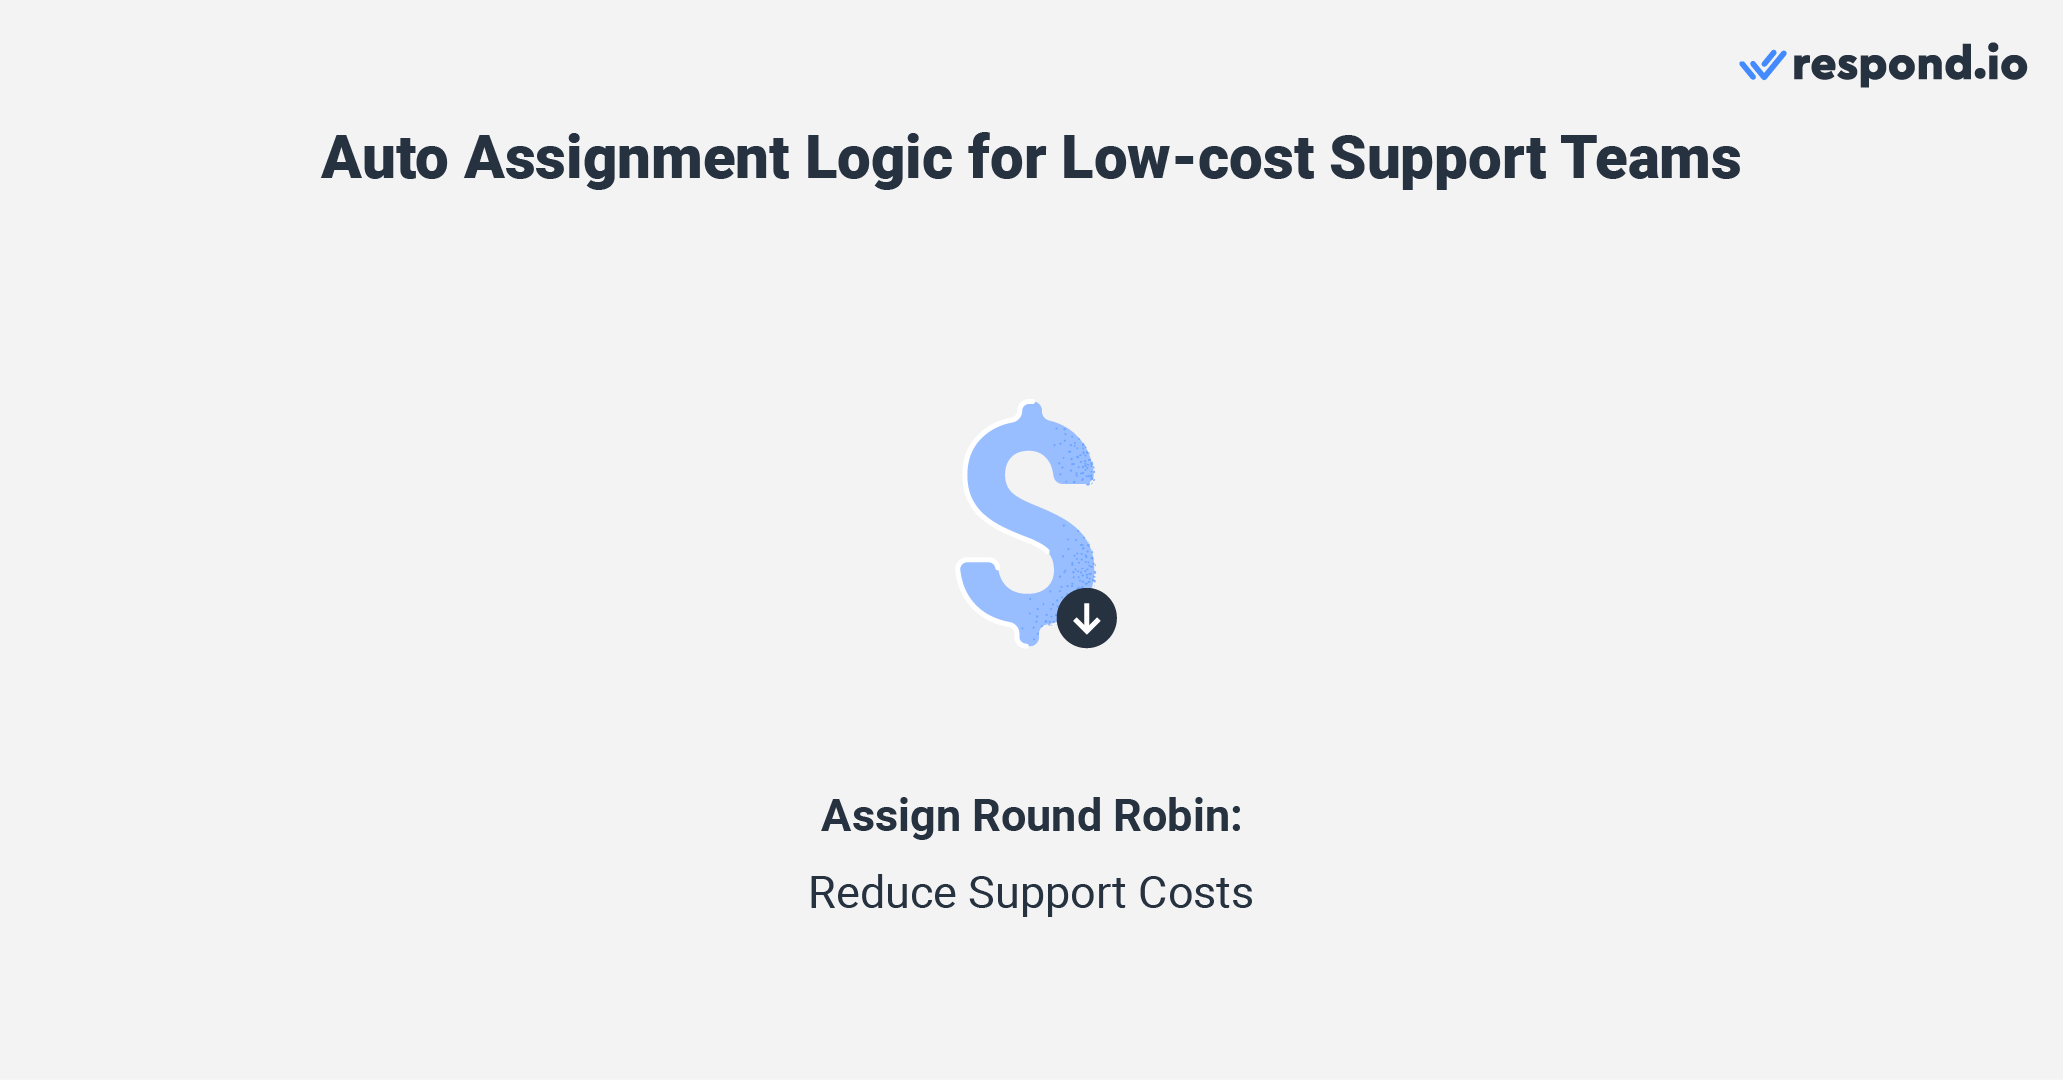
Given the overarching objective of cost savings, the optimal automatic assignment method is round-robin with a condition to assign conversations to online agents only. This approach ensures that conversations are assigned equally among available support agents.
However, many businesses also assign conversations first to an AI Agent to answer FAQ and even resolve issues entirely on its own. If the customer still requires human assistance, the AI Agent can route the conversation via round-robin.
Now that you know some strategies for assigning conversations based on team function, let’s look at how you can assign conversations based on customer status.
Auto Assignment Logic Based On Customer Status
Some businesses can benefit from automatic assignment logic based on customer status as they provide a personalized support experience. Let's look at some of the assignment logic you can implement.
Auto Assignment Logic for New and Returning Customers
When a customer contacts you, there are two potential scenarios. They could either be a new customer or a returning one.
Based on this, businesses can assign new customers to new agents and assign returning customers who have an interaction history to the previous agent responsible for their case.
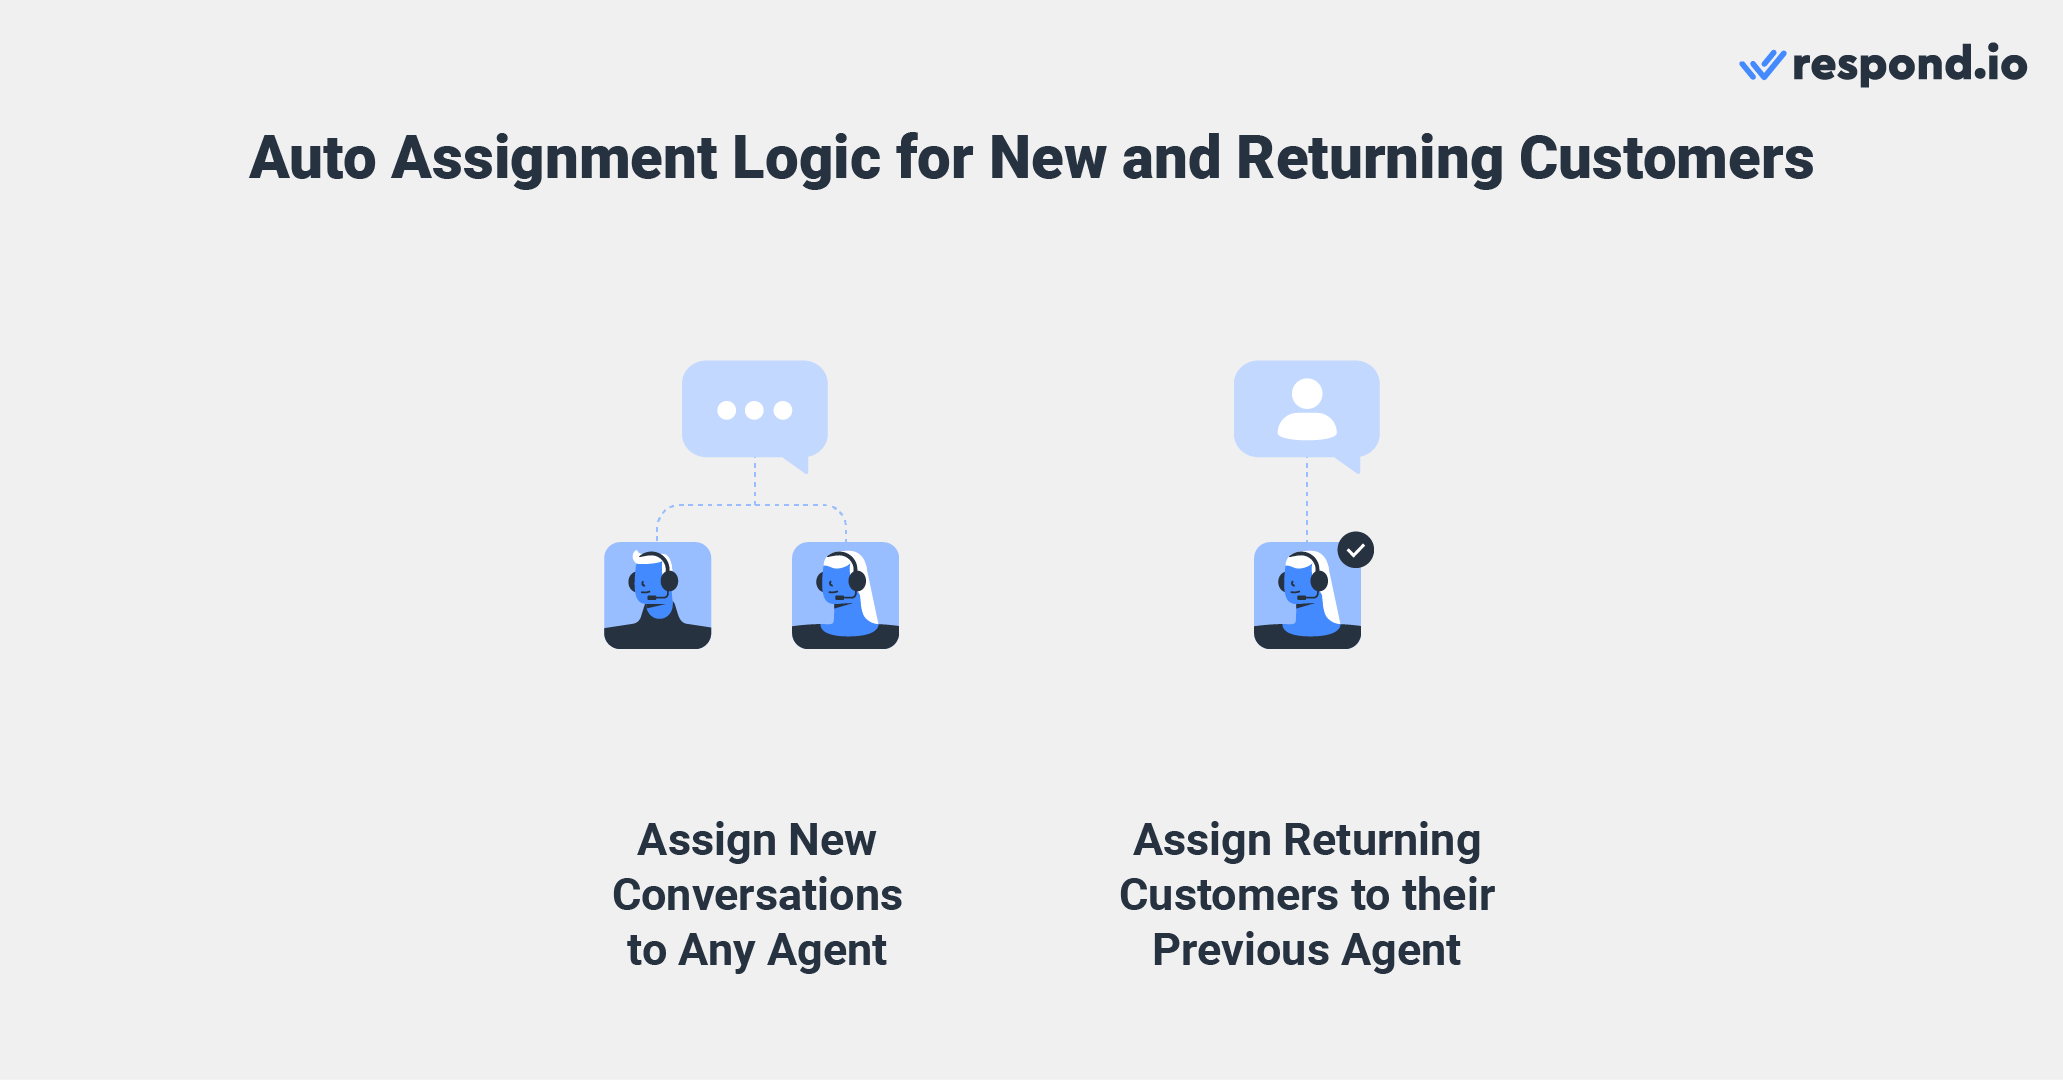
This helps agents build a stronger relationship with existing customers and develop a deeper understanding of their needs and preferences. As a result, customers can get a more personalized and effective support experience.
Assignment Logic for High-Value Customers
High-value customers are important as they contribute substantially to a business's revenue. Recognizing this, businesses that want to prioritize them can assign high-priority customers to a dedicated agent.
With a dedicated agent auto assignment strategy, high-priority customers will have a primary point of contact for all their needs.
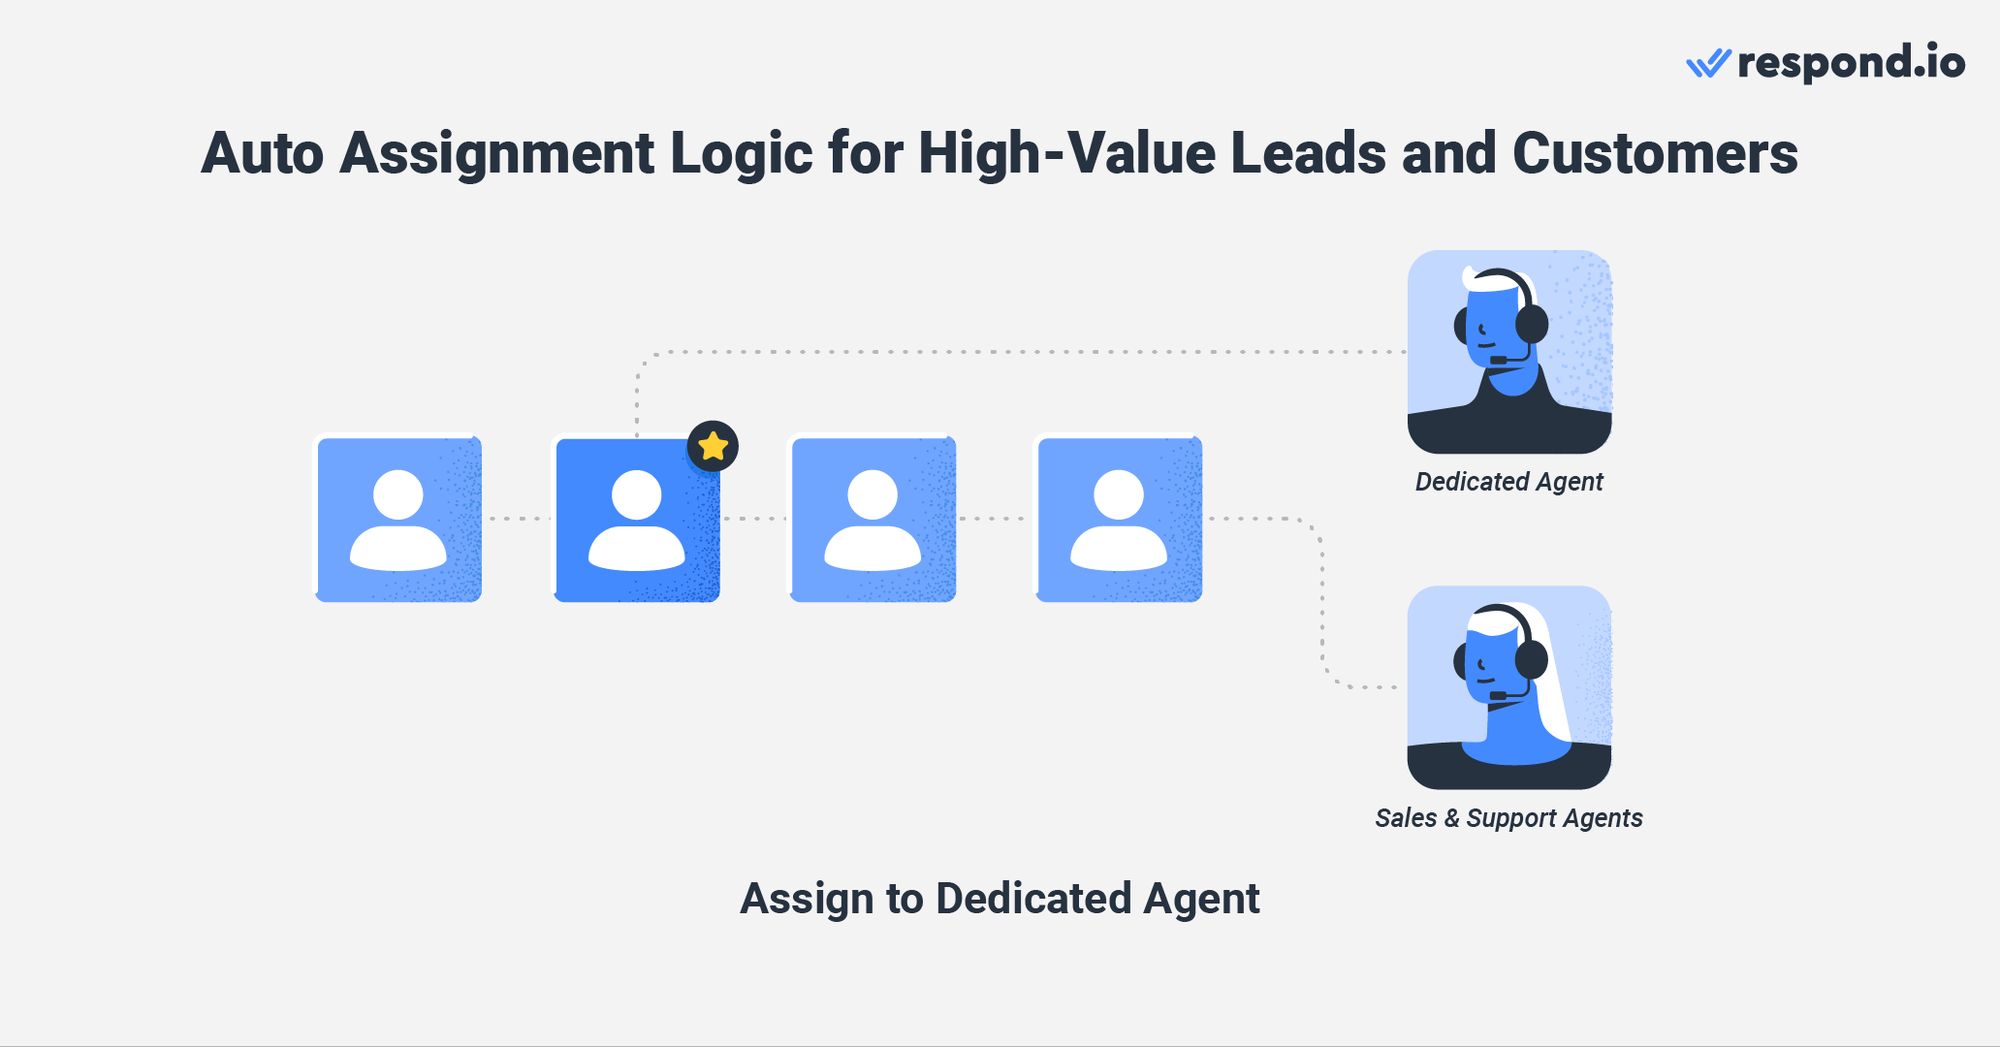
The agent will work closely with the customer to understand their goals or desires and provide personalized guidance and support to help achieve them. This assignment logic can also be used to prioritize high-value leads.
By now, you should know which strategy is the best for your business. However, to implement an automatic assignment strategy that perfectly caters to your business needs, it is essential to have a software with powerful automation capabilities.
It should allow you to build auto assignment workflows with multiple strategies, no matter the complexity of your operations. On that note, let’s take a look at how respond.io can help you achieve your desired auto assignment strategy.
Automatic Assignment: Robust Platform for Complex Operations
Respond.io is a customer conversation management software that allows you to connect all the communication channels your customers use. This includes instant messaging channels like WhatsApp, Instagram, Facebook Messenger and Telegram along with traditional channels like email, webchat and SMS.
It allows you to provide a true omnichannel experience to your customers, send broadcast messages on multiple channels, track agent performance with comprehensive reports and most importantly build advanced automation.
With respond.io’s Workflows, you can build automation for complex business processes from scratch or via templates. You can apply any of the strategies we’ve discussed earlier with advanced settings like only assigning conversations to online agents and setting maximum conversation limits per agent.
AI Agents can be used as first point of contact to reply to messages and then the agent can route the conversations as needed. AI Agents can also trigger Workflows to keep all processes moving while adding tags and leaving internal comments that capture context for smooth handovers.
Use prompt templates to ensure your AI Agent has the correct instructions to route conversations correctly based on your assignment logic.
Now that you know what respond.io can do, we’ll explore some of the best practices you can apply when building your automatic assignment workflow.
Auto Assignment Best Practices to Manage Customer Expectations
Establishing the right expectations can enhance customer satisfaction during waiting periods and minimize the negative impact of unmet expectations.
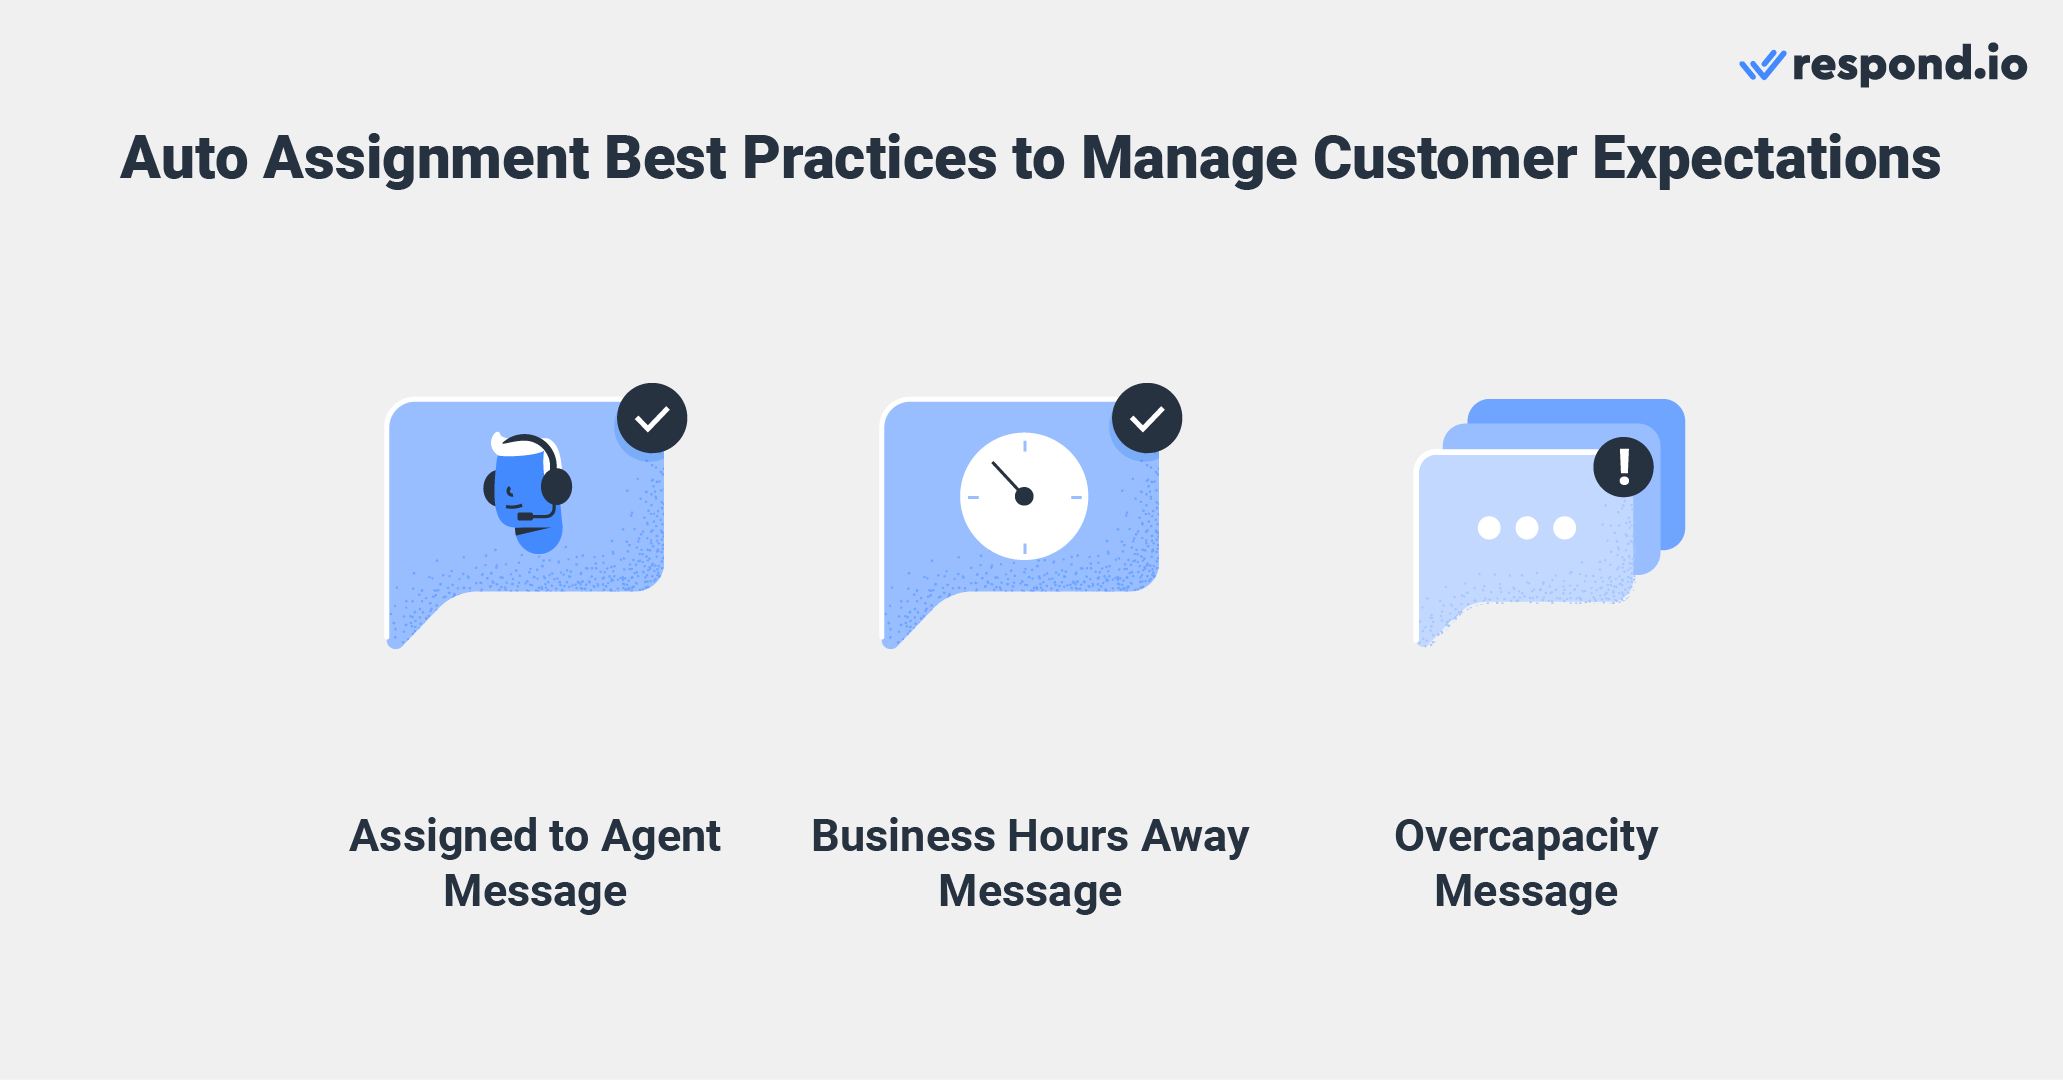
Let's explore some best practices that will help you manage customer expectations effectively.
Auto Assignment: Assigned to Agent Message
Sometimes, agents may take a few additional minutes to respond after the conversation has been automatically assigned to them. However, due to the lack of context, customers might leave the conversation thinking no one is attending to them.
This can be fixed by simply sending a message informing that the conversation has been assigned to an agent. The message can include the agent's name and the anticipated response time.
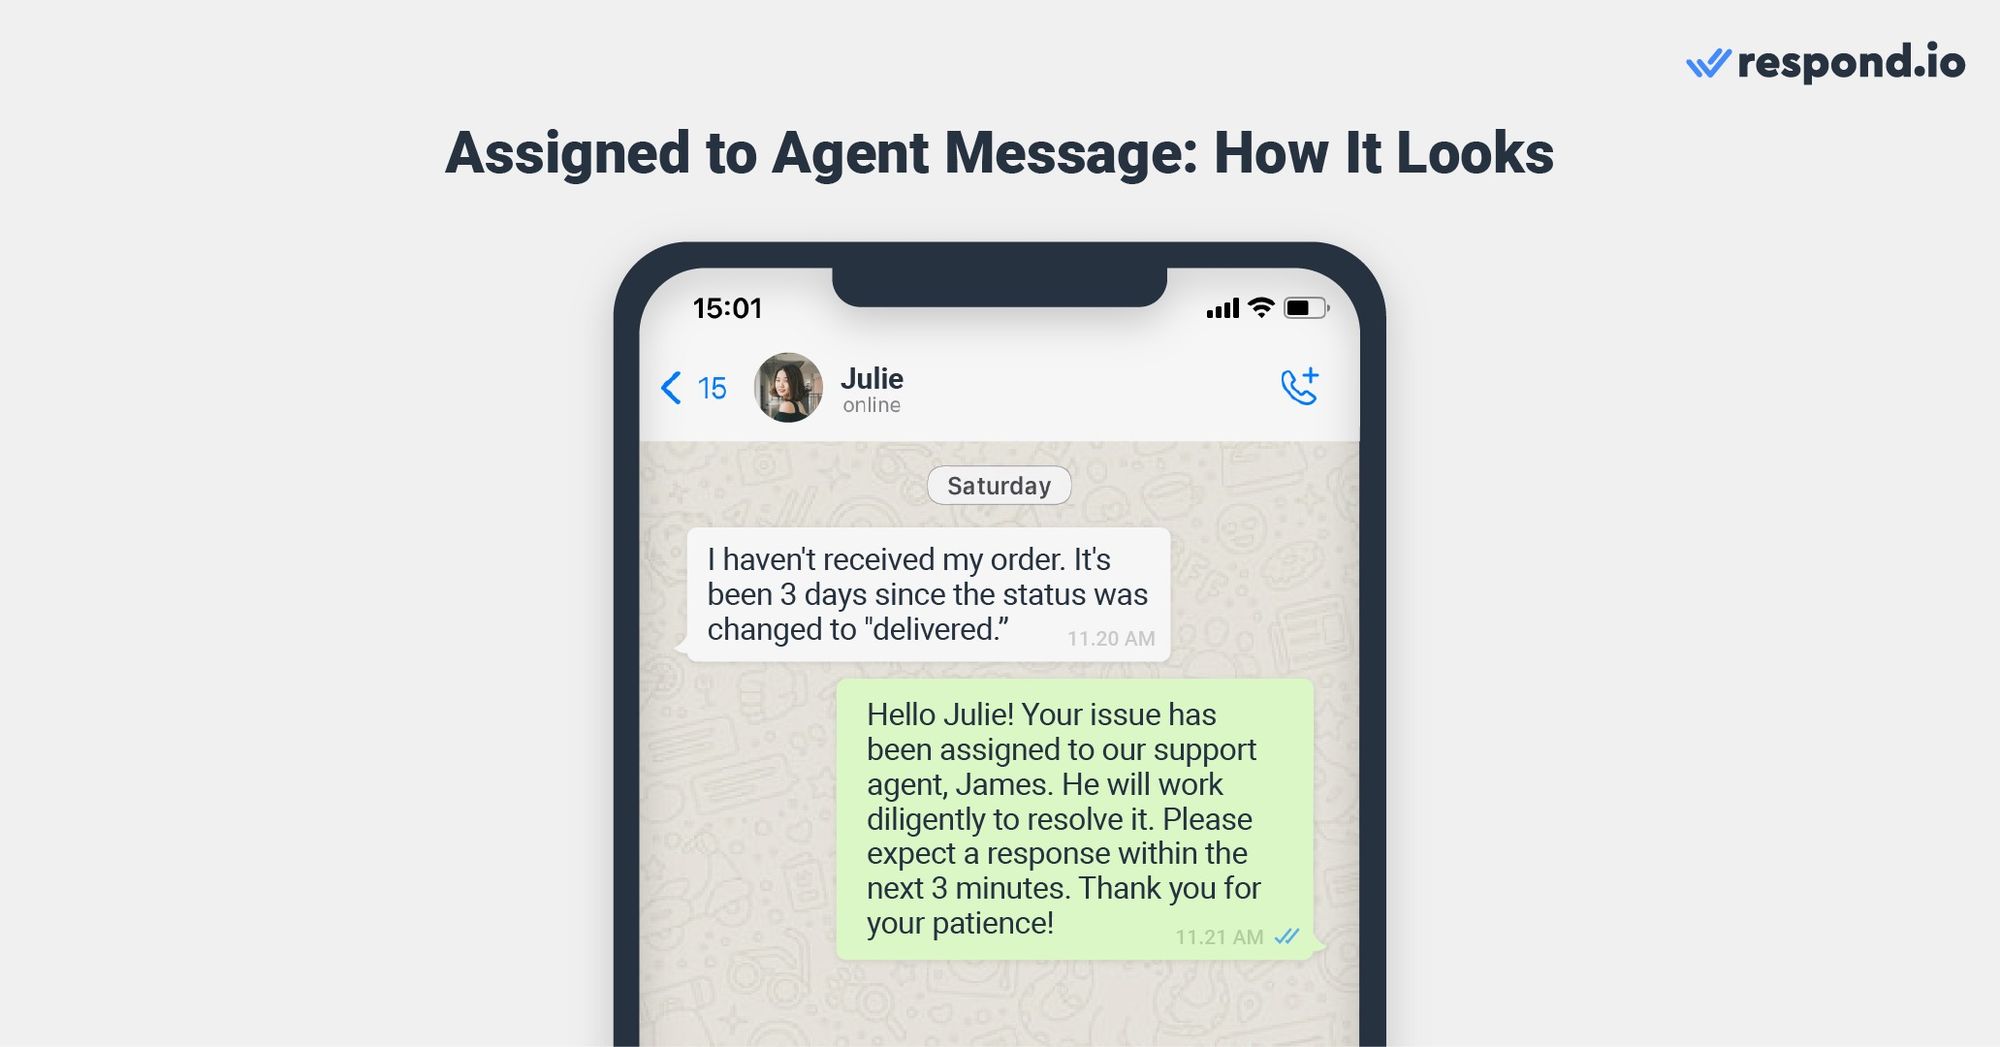
By doing so, you offer a sense of reassurance to customers who are aware that they will soon engage in a conversation with a human agent. As a result, they become more inclined to patiently await a response.
Auto Assignment: Business Hours Away Message
Not all companies operate round the clock. While some regular customers might be aware of your business hours, others may not be. To address this, it's essential to notify customers you're unavailable when they reach out outside your business hours.
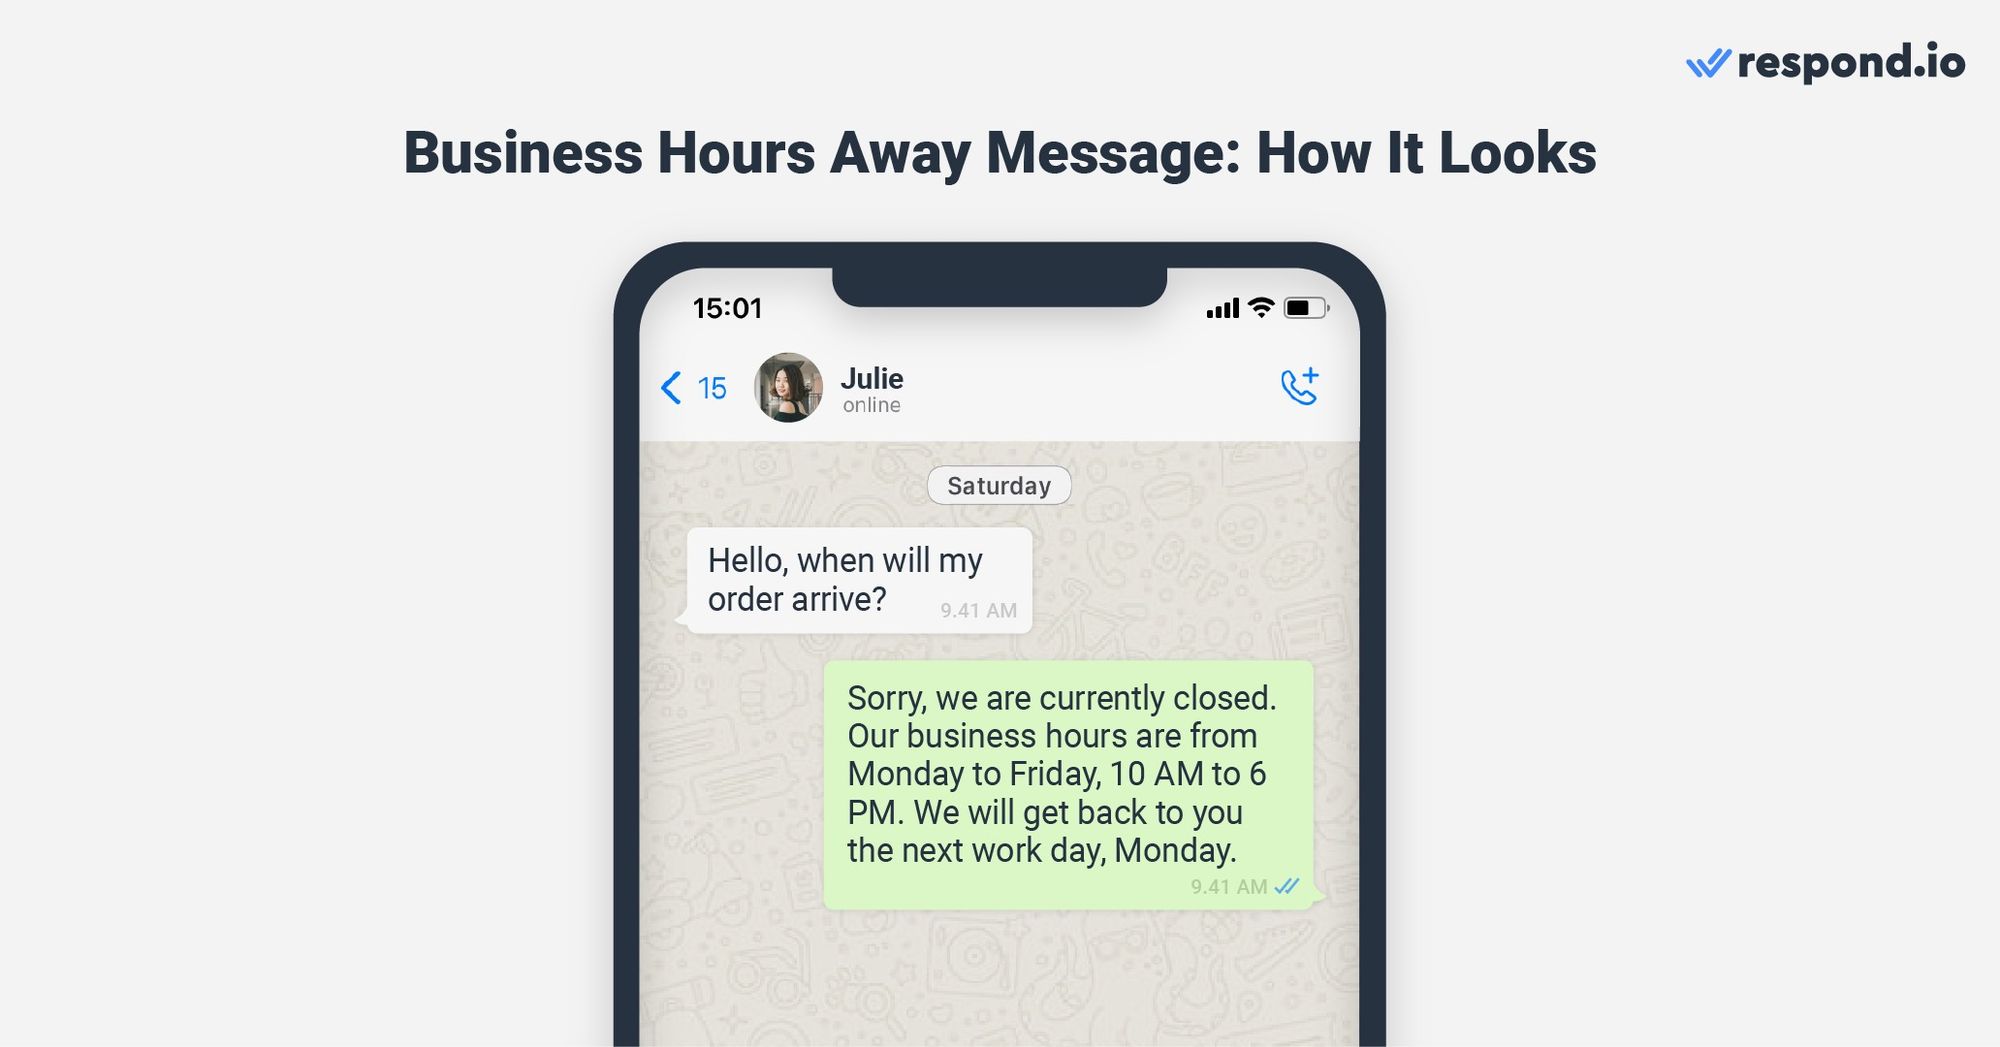
Your message can include your business hours and the expected response time. This keeps customers informed and helps minimize potential frustration during wait times. Don't forget to inform customers that they will receive support from agents as soon as help is available.
Auto Assignment: Overcapacity Message
When agents are at maximum capacity, it will take longer than usual for conversations to be assigned to an agent. As a result, customers might prematurely exit the conversation under the assumption that they won't receive the necessary support.
To address this issue, send an overcapacity message to inform them that you’re currently experiencing a high volume of inquiries. Your message can include an apology for the delay, an update on their position in the queue and an estimated response time.
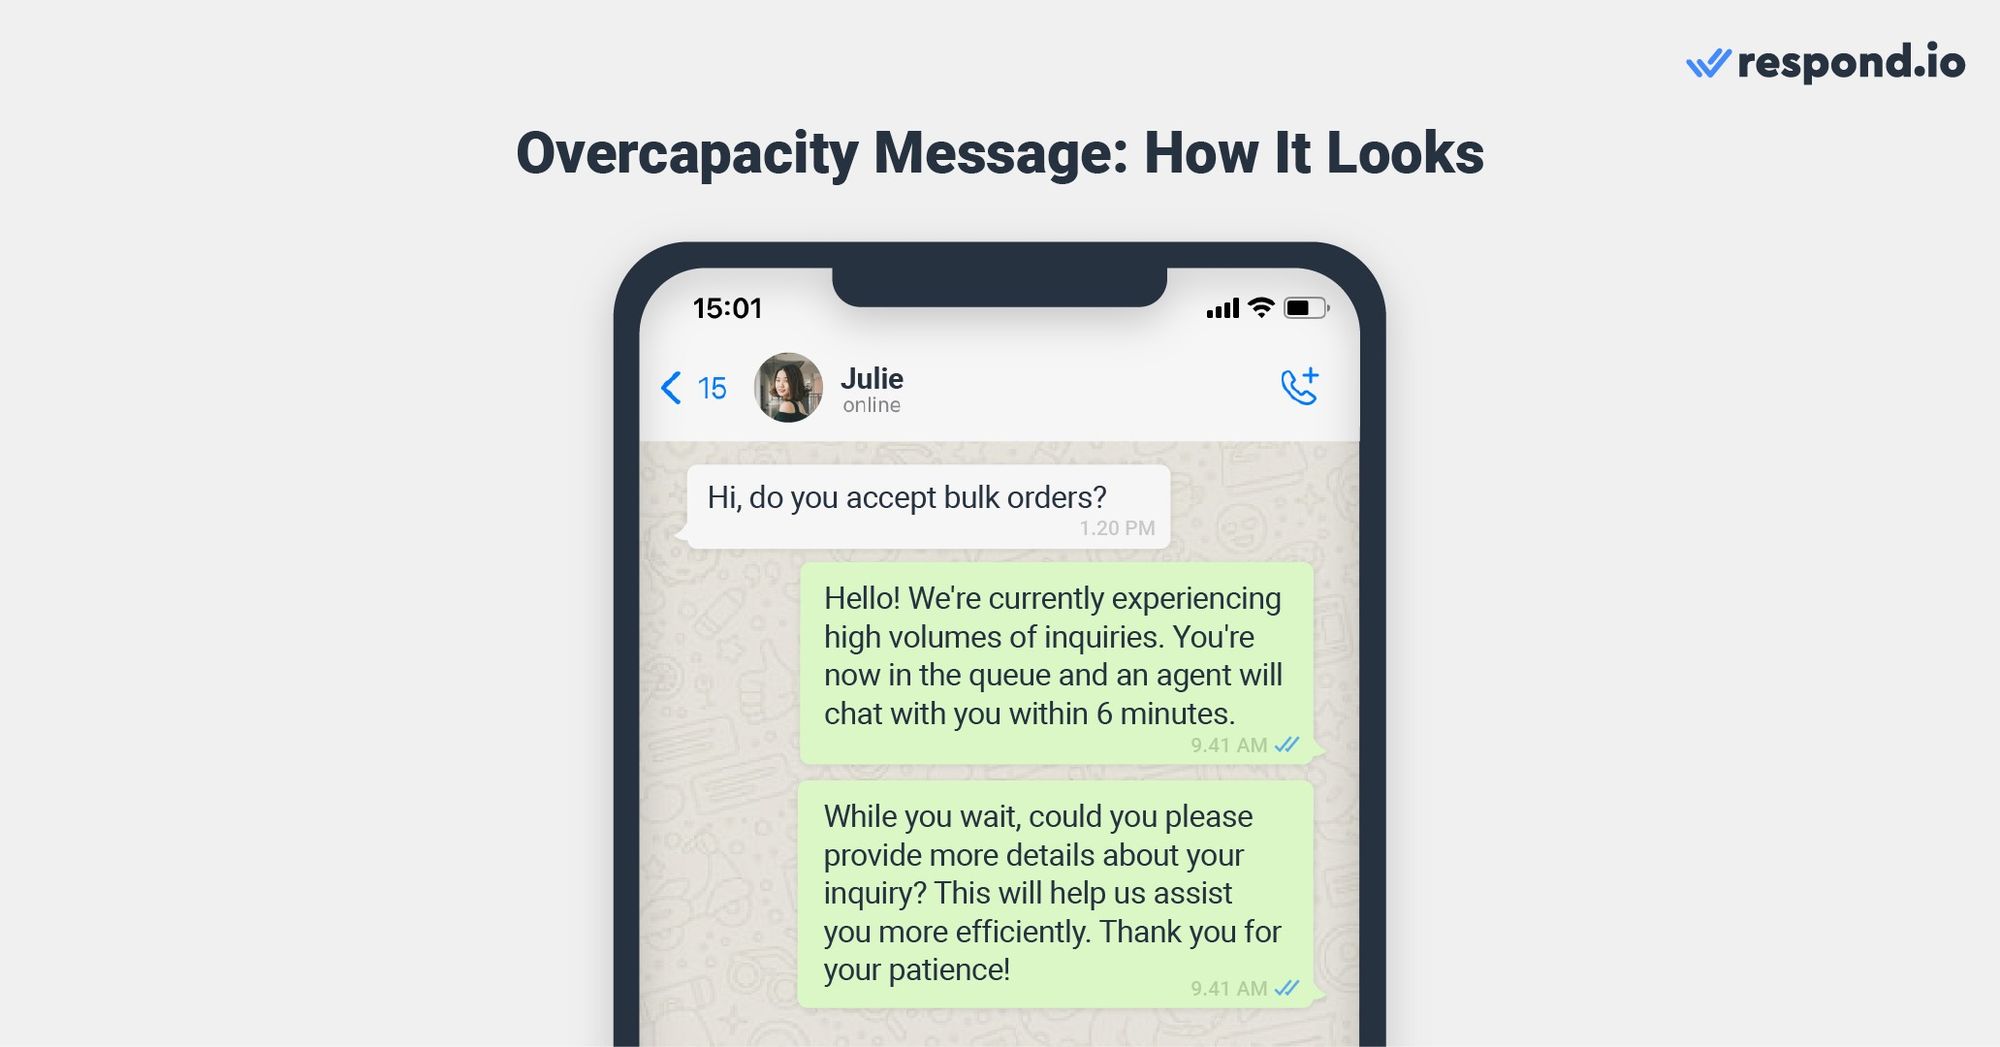
This assures customers that their concerns are acknowledged and not overlooked. By understanding the underlying reason for the wait, customers gain context, which often proves crucial in keeping customers from leaving the conversation too soon.
Beyond these, when using AI Agents in auto assignment, it’s best practice to set clear objectives, confidence thresholds, and handoff rules. This ensures the AI only takes actions it’s suited for, escalates seamlessly when needed and provides a reliable experience for both customers and agents.
As you can see, it is important to have the right strategy and implement best practices to automatically assign conversations effectively. Most importantly, you need software that allows you to build automation for complex business processes.
If you need a robust customer conversation management software, then respond.io is for you. Try respond.io for free and experience powerful automation like no other platform!
FAQs about auto assignment
How do AI Agents and auto assignment work together?
AI and auto assignment complement each other perfectly:
AI handles routine tasks and gathers data
Auto assignment routes the conversation to the right human agent
User Takeover ensures the AI stops immediately when a human steps in
This creates a smooth, scalable workflow that supports both speed and quality.
How does AI improve automatic assignment?
AI enhances auto assignment by handling the first layer of work before agents step in. It can:
Ask qualification questions
Capture customer details
Answer FAQs
Handle simple troubleshooting
Adds tags and context for human agents
Direct inquiries into the correct workflow
With respond.io’s improved AI system, the agent only runs the exact steps it needs, resulting in faster responses, fewer errors and more predictable AI credit usage.
Turn customer conversations into business growth with respond.io. ✨
Manage calls, chats and emails in one place!
Further Reading
If you enjoyed this article, here are some readings that might interest you.


