
Considering using messaging apps for your business? Facebook business chat should be first on your list. This article will answer questions like, where is Facebook Messenger popular? How to get Messenger for Facebook business Page? And most importantly, how to use Facebook Messenger for business Page? Let’s dive in!
Already have a Facebook Page and want to start messaging customers? Check out our documentation for connecting your Facebook page to respond.io
What is Facebook Messenger?
Facebook Messenger is the messaging part of Facebook, launched in 2011 and separated from the main app in 2014. By 2017, it was one of the most popular chat apps, boasting a record userbase with more than 1.3 billion Monthly Active Users (MAUs) worldwide.
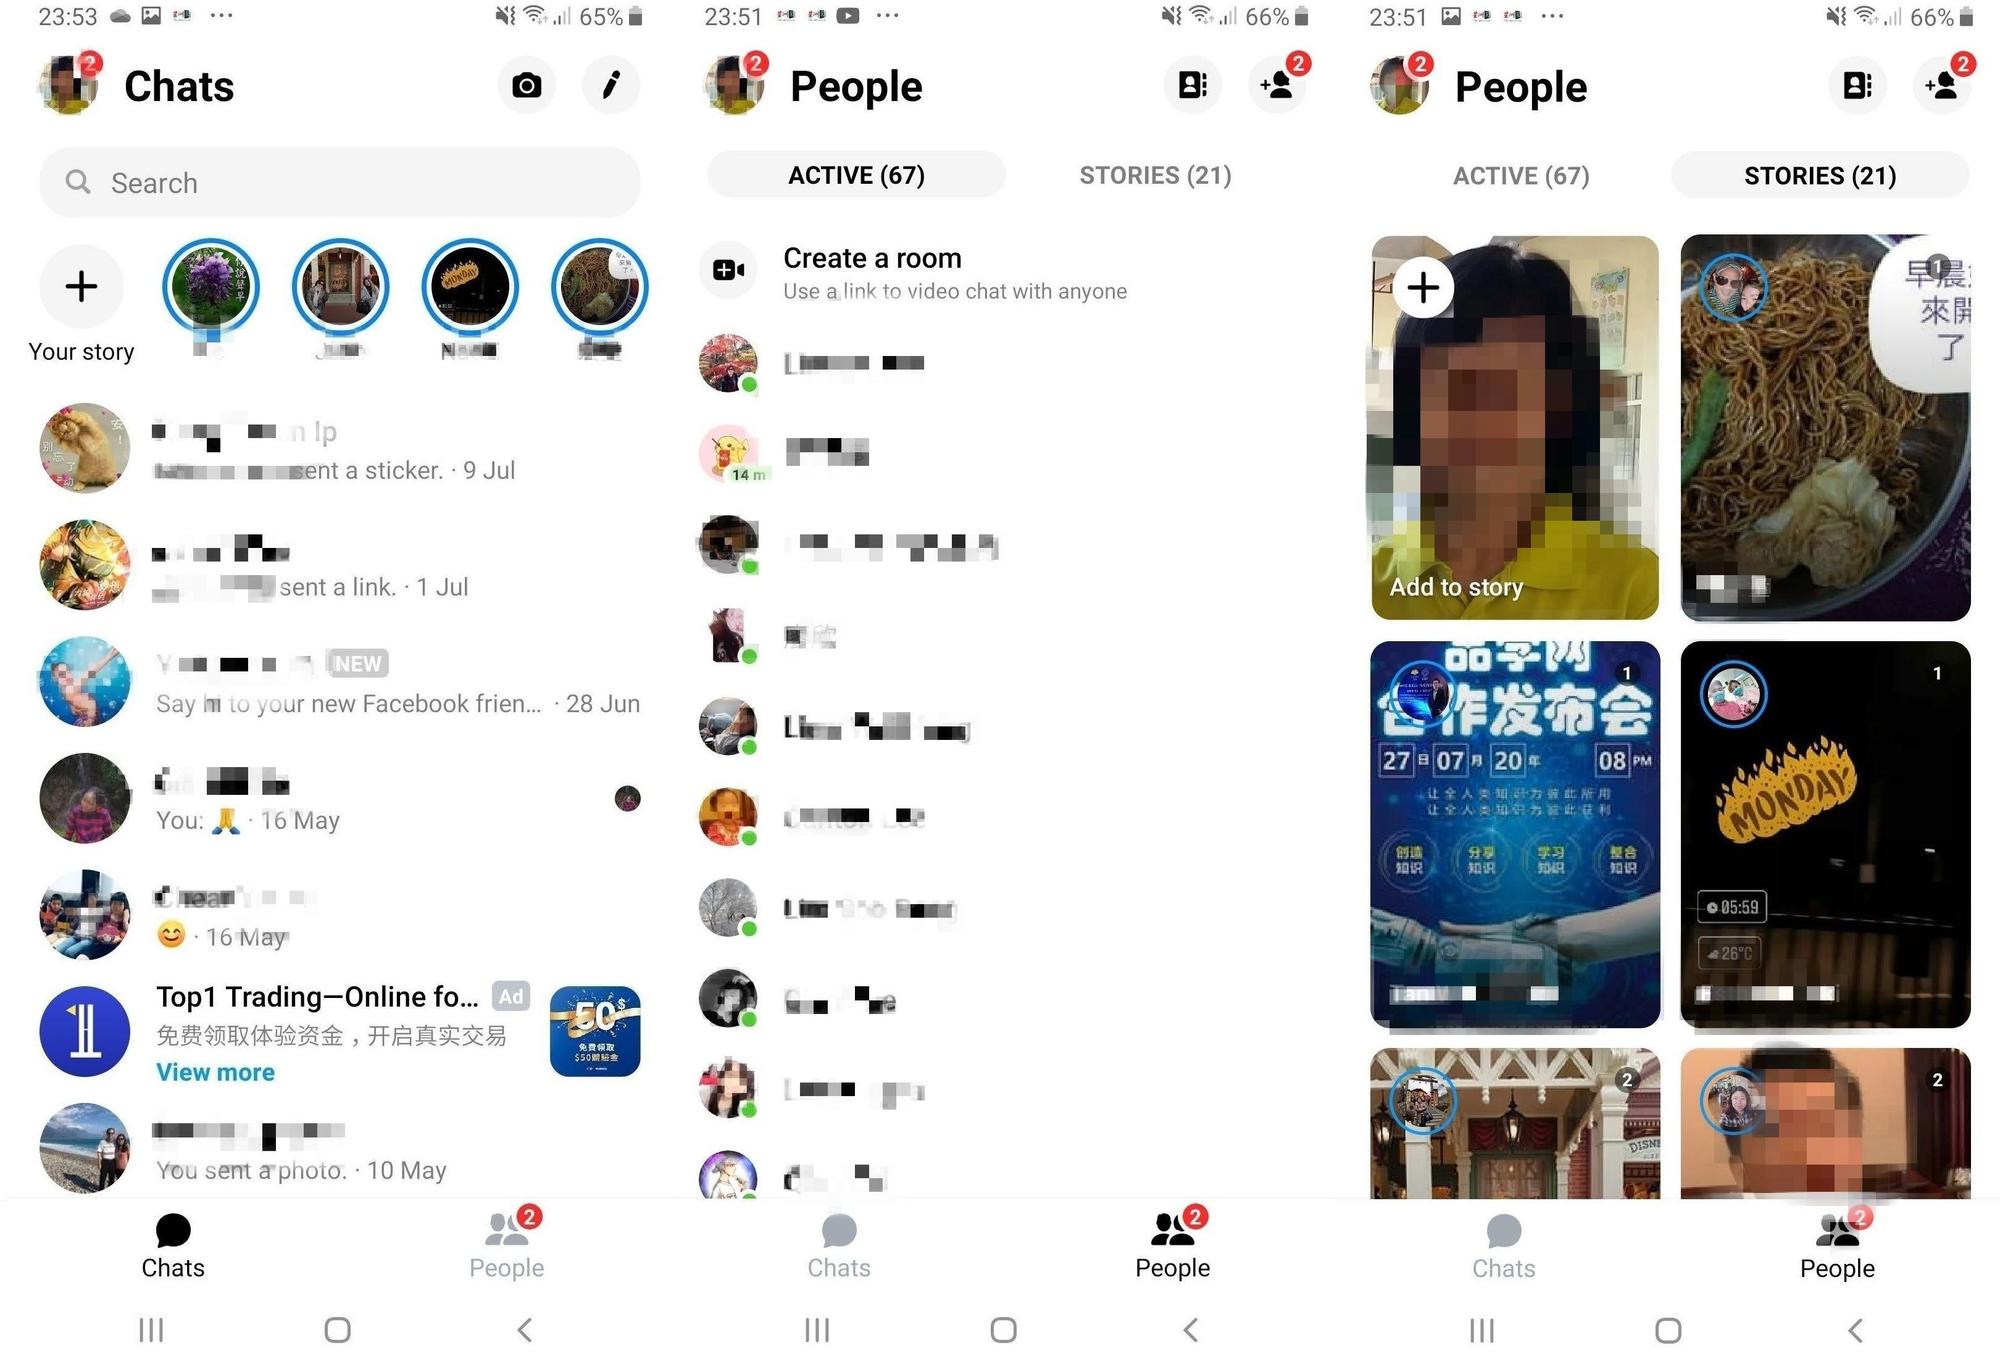
In 2020, Facebook Messenger was redesigned and brought back in line with its core role as a messaging app. With the Discover panel and associated features completely removed, the app now has two sections, Chats and People.
Chats is what you would expect, containing all your conversations with Facebook Friends and Pages. Occasionally you’ll also see ads here, enabling Facebook Ads customers to target you on Facebook or on Facebook Messenger.
People contains two sections, Active and Stories. Active is where users find their most-used contacts and make video calls, whereas Stories shows friends’ and Pages’ Facebook Stories. Now, let’s discuss the worldwide popularity of this messaging app.
Where is Facebook Messenger Popular?
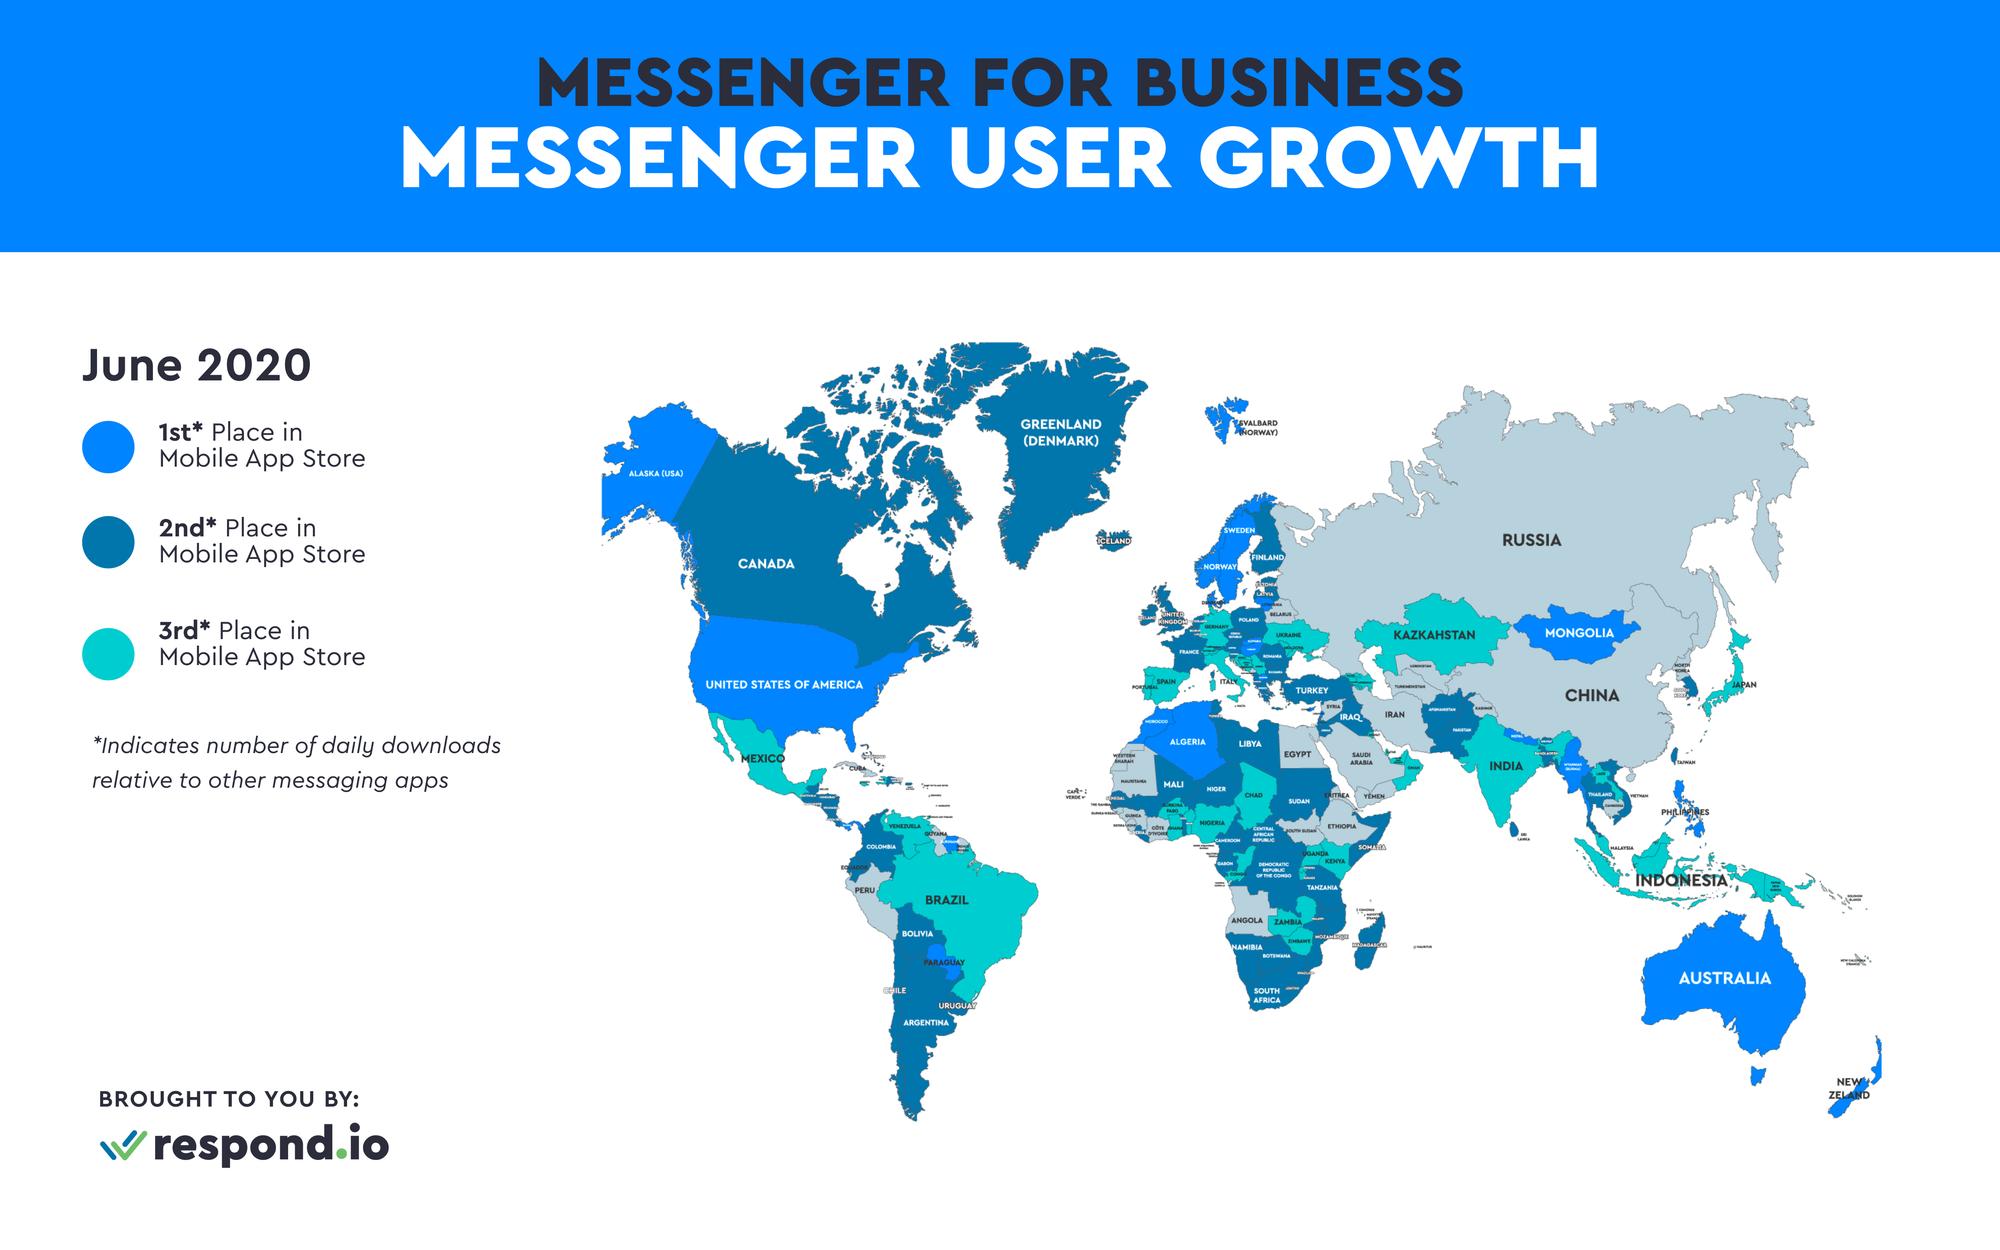
Messenger has a colossal audience. From 2014 to 2017, the number of Messenger MAUs rose from 500 million to 1.3 billion people. It’s growing fast in 214 countries, including the US where it takes the first spot on Google Play and App Store charts.
Other chat apps like WhatsApp have struggled to reach equivalent heights in the US. The success of Messenger in the States is likely due to its ability to send SMS, historically the most popular form of text-based communication in the region.
Integrating SMS into the app allows users to connect with Facebook friends and SMS users who are not on Facebook. The capability of sending and receiving SMS likely played a part in the quick rise in popularity of Facebook Messenger.
Outside the US, Facebook Messenger is growing the fastest in Southeast Asian countries, including Myanmar, the Philippines, Cambodia and Vietnam. In these countries 1 to 1 and group messaging are the social networks.
This explains why Asian consumers tend to live on chat apps like Messenger. If you want to connect with your customers in Southeast Asia, the US, or other countries where Messenger is popular, then Messenger for Facebook Business Page is for you.
Facebook Business Chat: Accounts
To start chatting with customers over Facebook Messenger all you need is a Facebook Page. Once set up, Facebook Page visitors will be able to privately message your page over Facebook Messenger, and you can message them back too.
How To Get Messenger For A Facebook Business Page
You’re probably wondering how to get Messenger for a Facebook business page. All you need to do is create a Facebook page and then turn on messaging. The easiest way to do this is to go to the Facebook for Business website and press on Create a Page.
1. Create and configure a Facebook Page. Enter a Page name, category, and description.
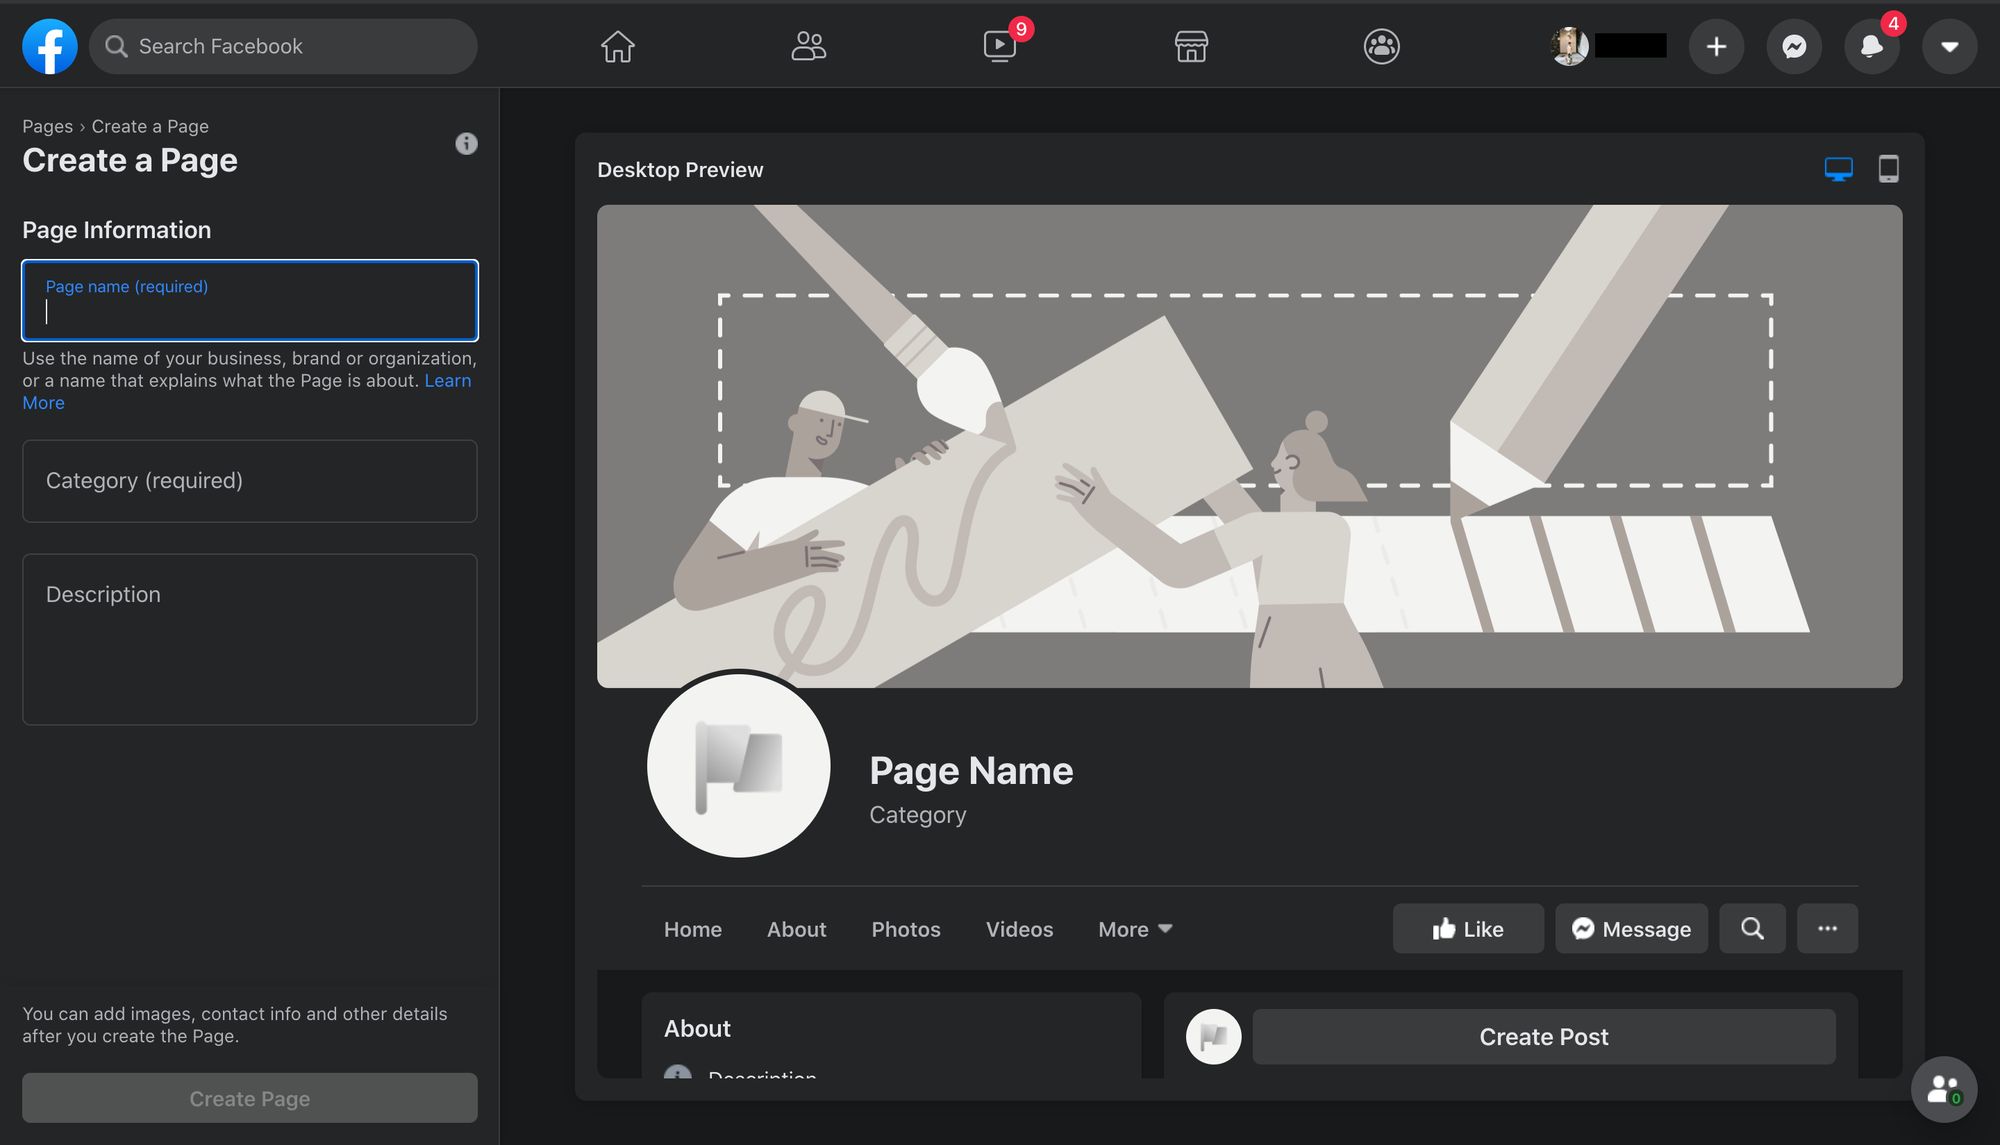
Choose your Page name wisely because it’s painful to change. Name change requests are subject to review and may take several days to process.
2. Toggle messages on. Although messages are on by default it doesn’t hurt to check by navigating to Page Settings > General and checking.
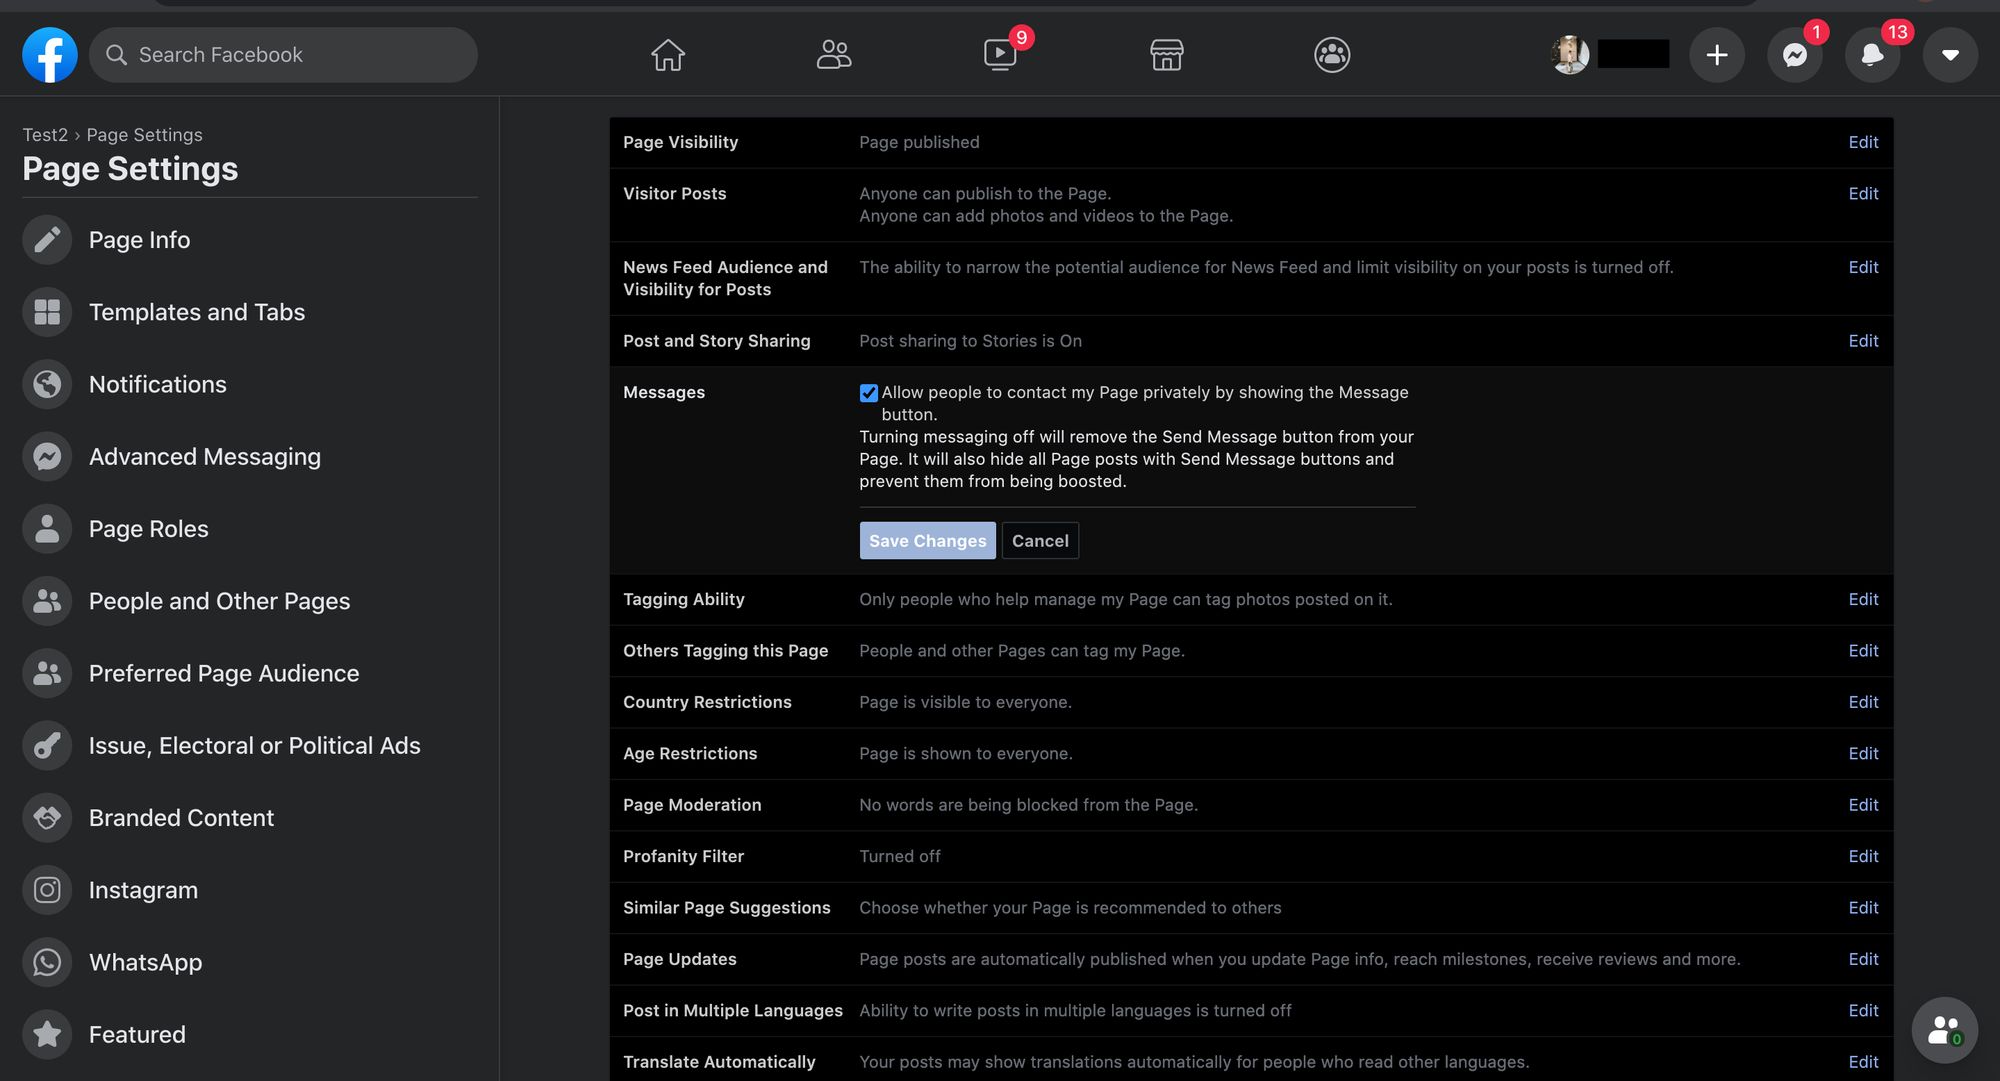
3. Done. You’ve created Facebook Messenger for business. Before moving forward, you should probably create a username for your page. This will be useful later when you create chat links so customers can find and message your page more easily.
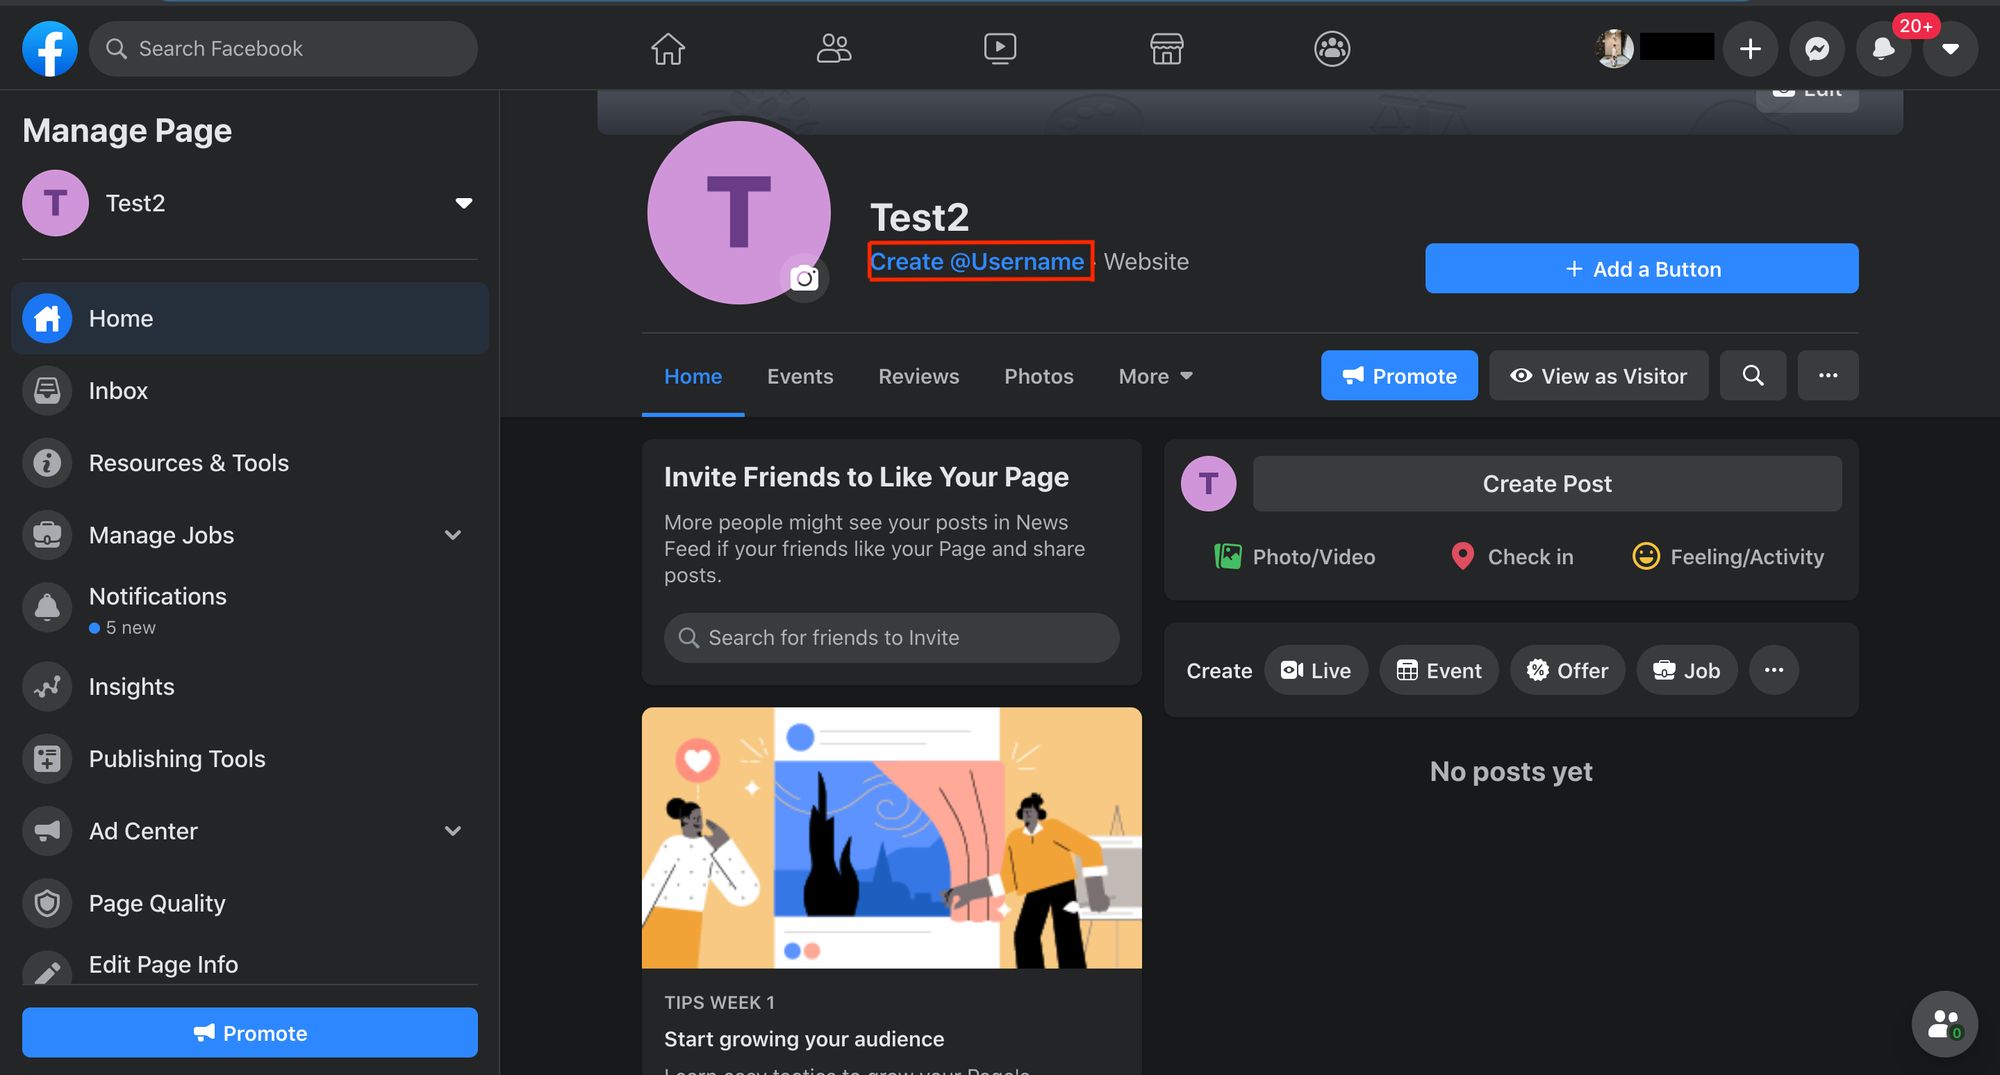
Creating a Username for a Facebook Page
Page usernames show underneath Page names, they are also used in the URL and m.me link. A unique username helps people identify your business, making it easier for customers to find and navigate to your page.
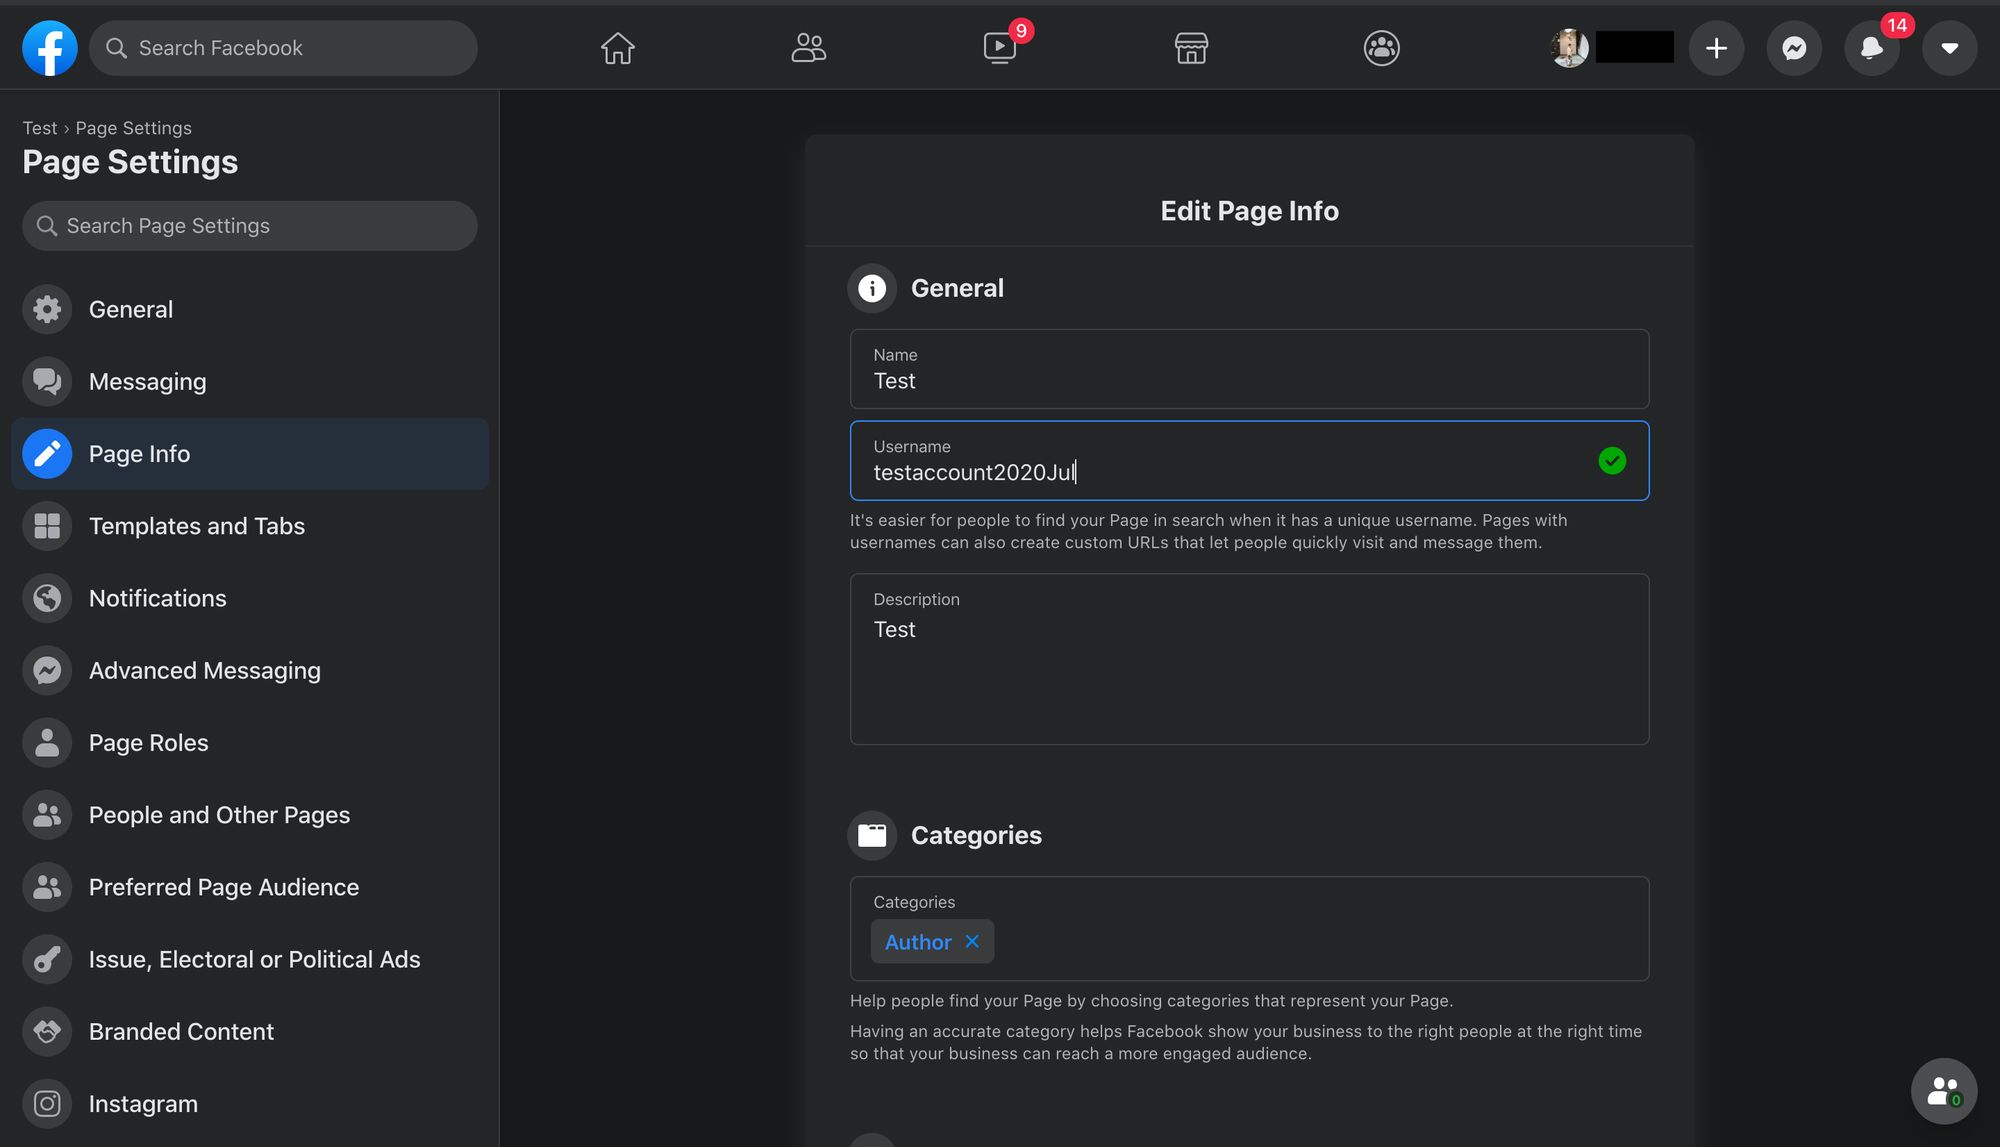
Creating a Page username is simple. Click on Create @Username, or go to Page Settings > Page Info and enter your username. If you’ve recently created several new Pages, you may not be able to immediately create a username for a new Page.
Now that you’re all set up, let’s review some Messenger for business best practices.
Turn customer conversations into business growth with respond.io. ✨
Manage calls, chats and emails in one place!
Facebook Business Chat: Best Practices
Communicating with customers over messaging apps is different from using email, phone and SMS. In this section, we’ll discuss the best practices for finding your customers on Facebook Messenger and the rules for messaging them.
Facebook Business Chat: Finding Your Customers
It would be nice if you could simply send all your Facebook page followers a private message, but Facebook does not allow this to avoid spam. Like most messaging apps, Facebook requires users to send the first message for businesses to start conversations.
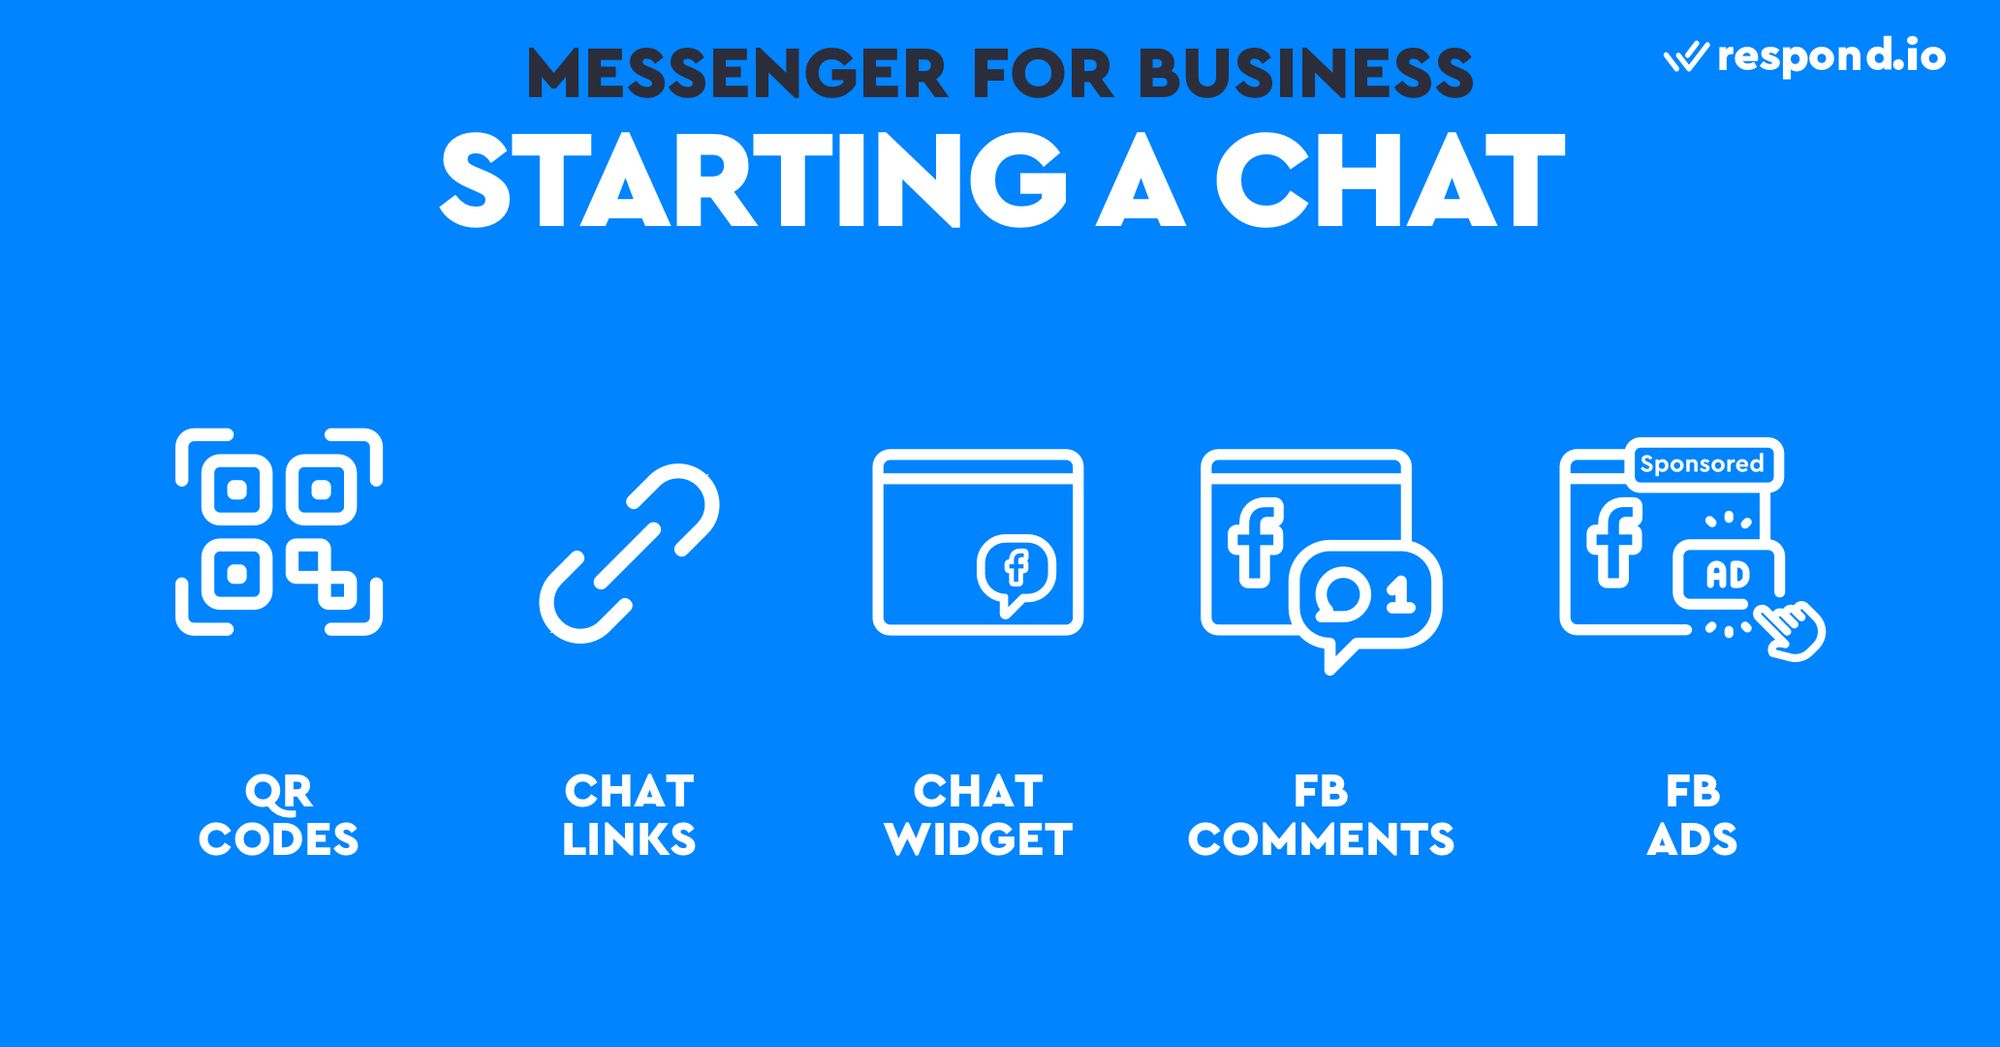
Luckily Facebook has several features to help you encourage your current and future customers to send a private message to your Facebook Page. If you already have a lot of traffic coming to your website Chat Links & Scan Codes are a good place to start.
Facebook Messenger for Business: Chat Links and QR Codes
To make it easier for users to message you, Facebook has created a shortened URL that directs users to your Business Page in Messenger. These m.me URLs can be used on your website or inside newsletters to help direct visitors to chat with you.
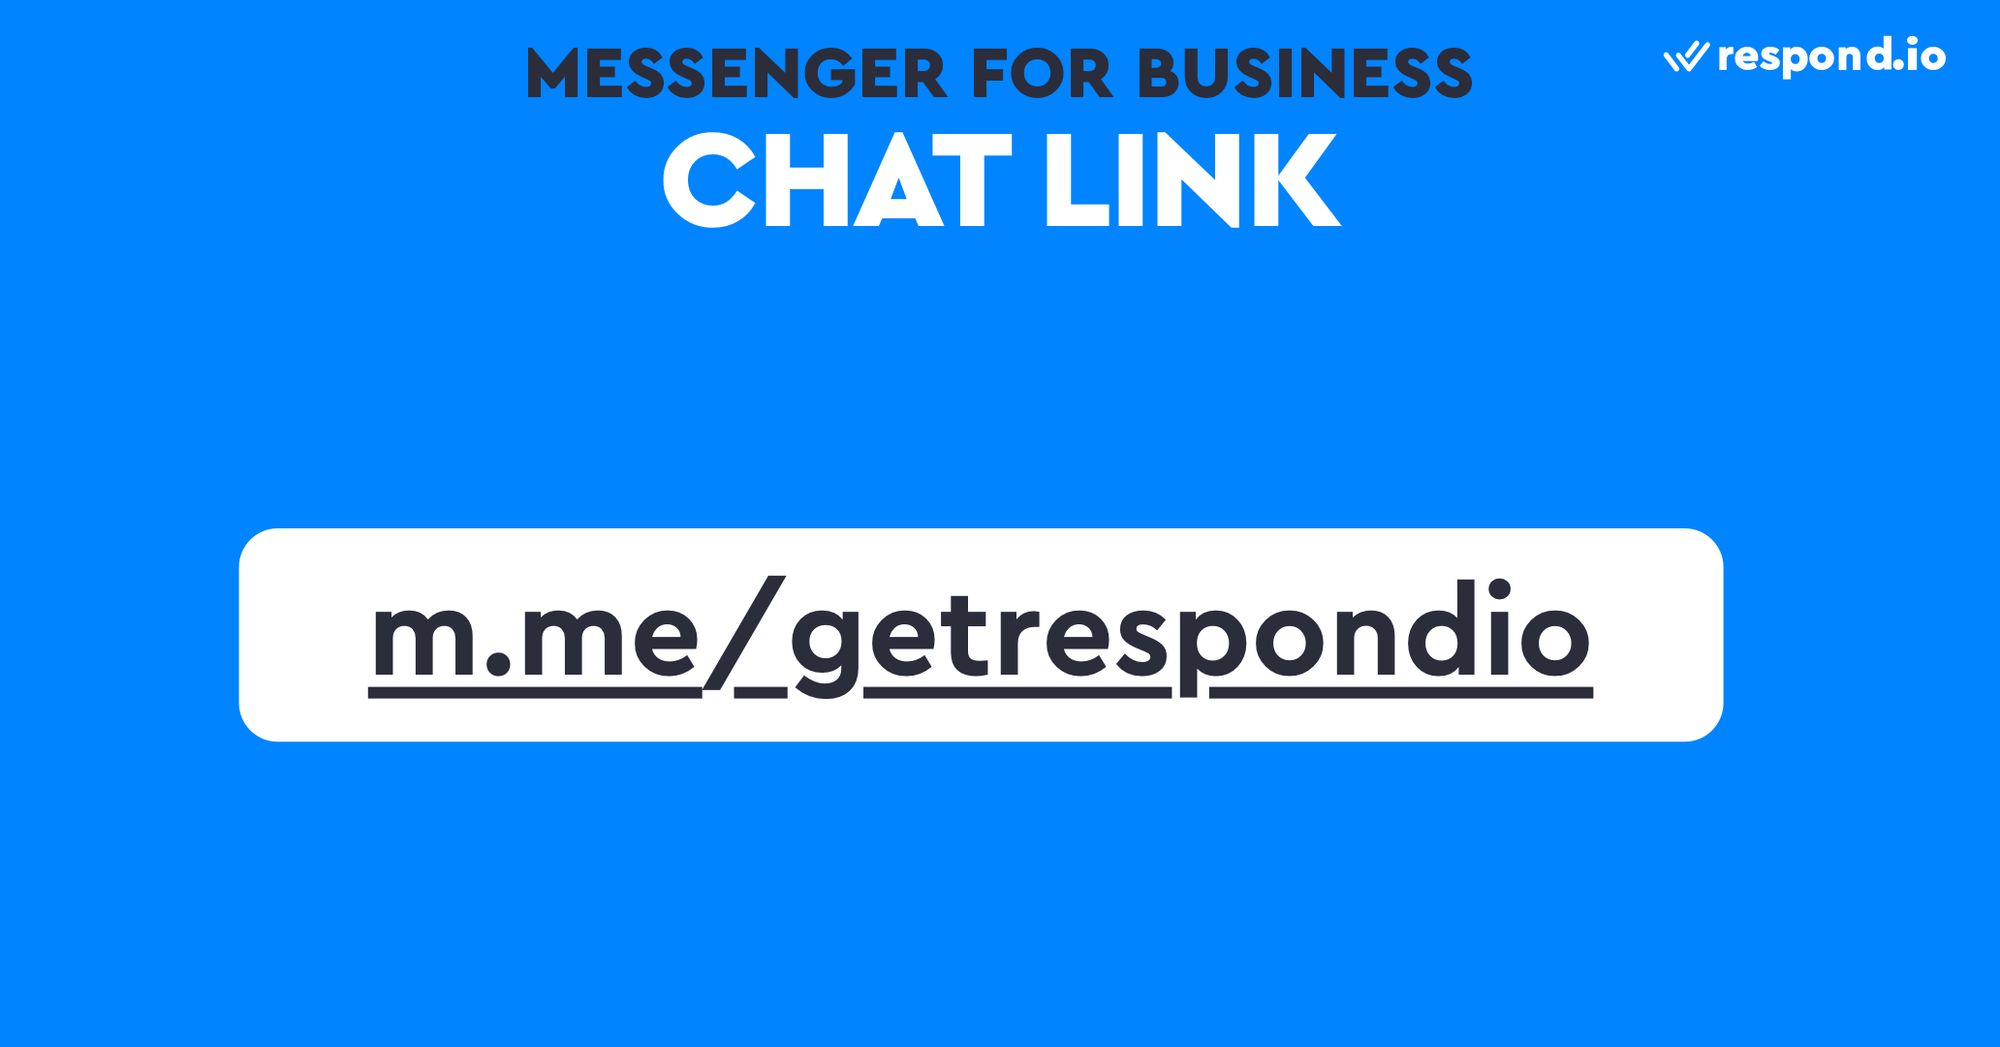
Your Facebook Page m.me link can be found in Page Settings. You can also add references to an m.me link by adding ?ref= at the end of the URL. By adding references to m.me links you can track which is generating the most chat traffic for your account.
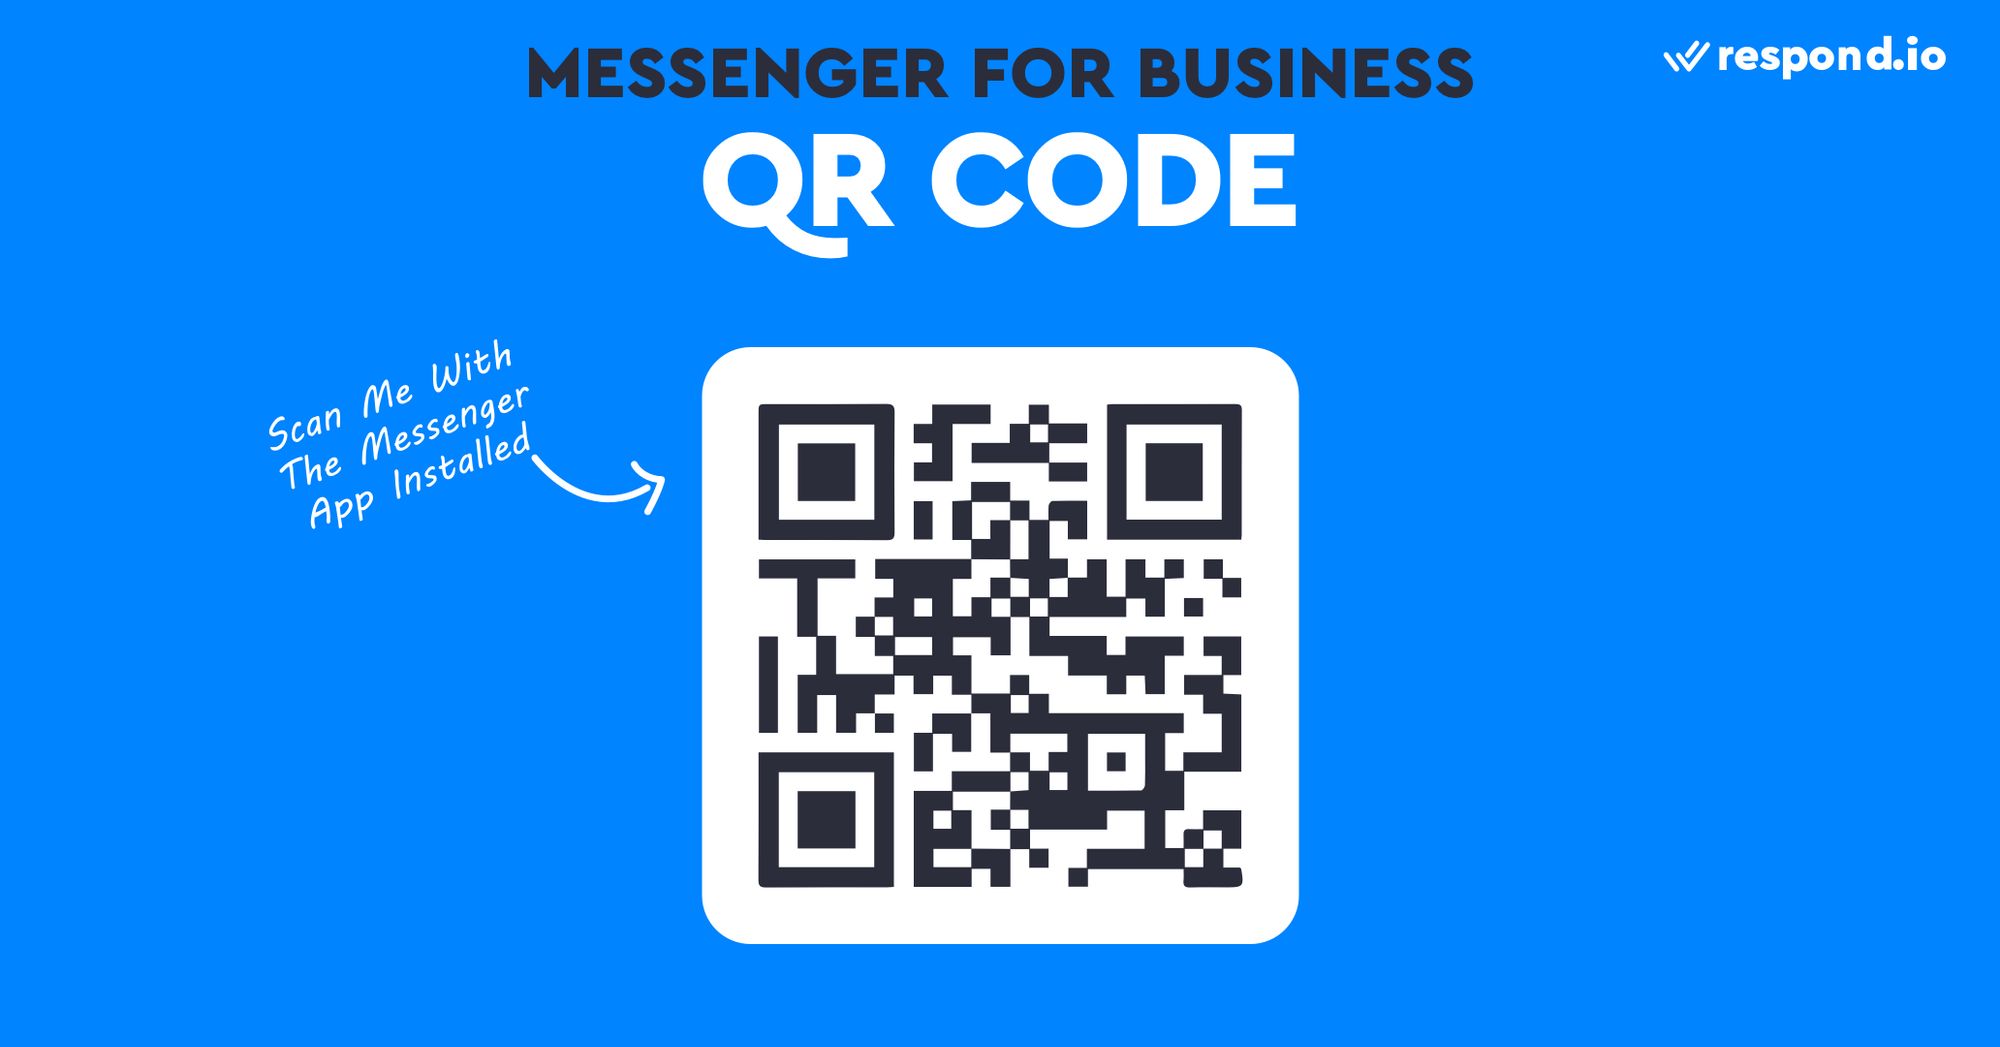
By generating QR codes with an m.me link, you can drive offline visitors to message you. If you’re looking to generate a QR code for your Facebook page, you can create a free account on respond.io and connect your Facebook page, then generate a QR Code.
Facebook Messenger for Business: Customer Chat Widget
Using the Customer Chat Widget, website visitors can chat with your Facebook page directly on your website. It works like live chat, except Facebook users need to log in to send a message, so you can message them back later through Facebook Messenger.
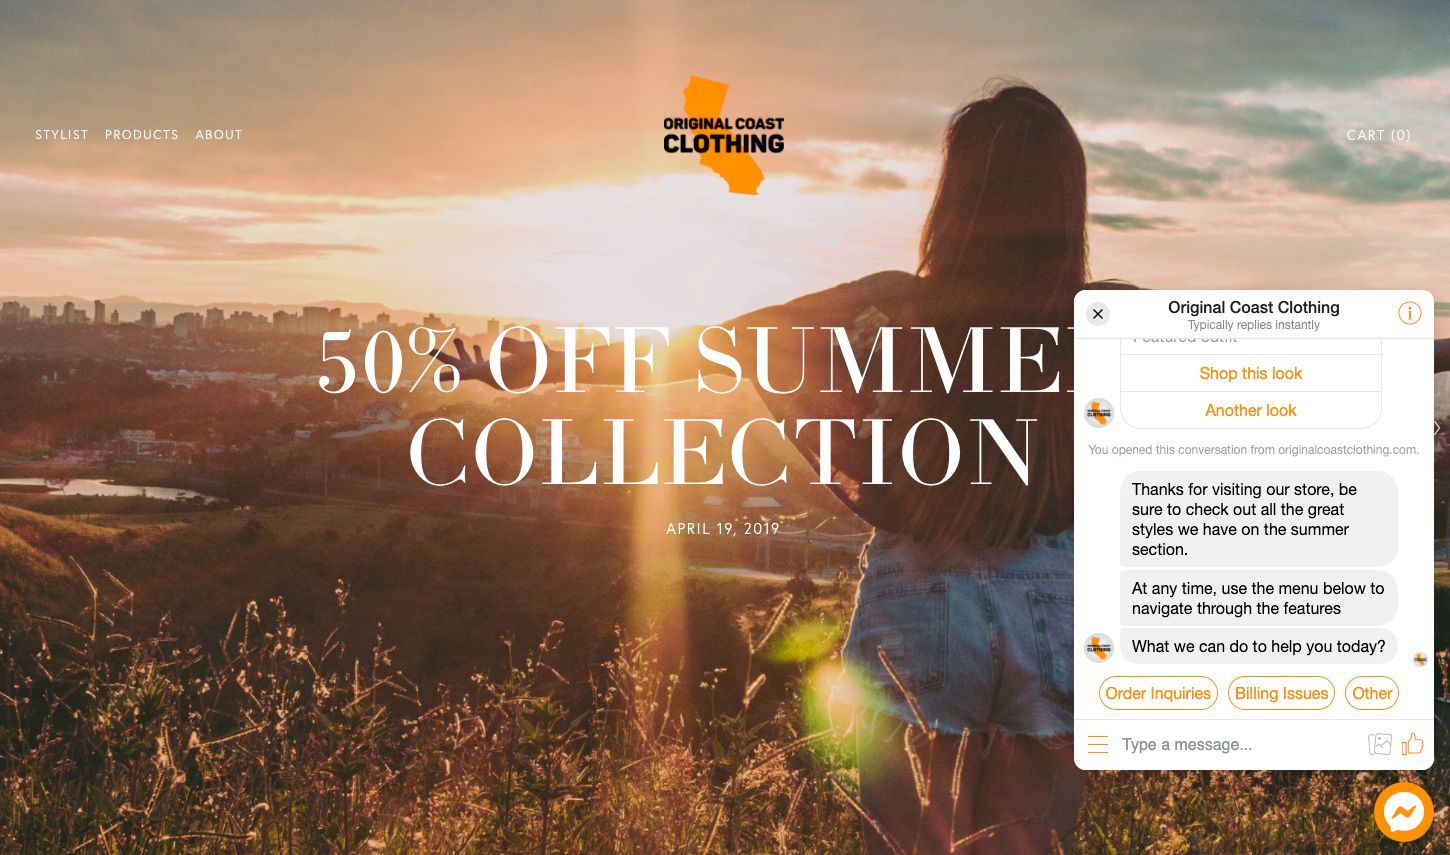
Although this may slightly limit who you can message you, there are good reasons why this solution is a whole lot better than live chat. Especially if you cannot be available 24 hours a day to make sure you answer a live chat message before the person leaves your website. You can create and customize your Facebook Messenger chat widget on respond.io.
Facebook Messenger for Business: Facebook Search and In-App Search
If you have the type of business that gets more Facebook Page visits than website visits, add a Send Message button to encourage Page visitors to chat in Messenger. Adding the button is simple; just navigate to Home and tap Add a Button.
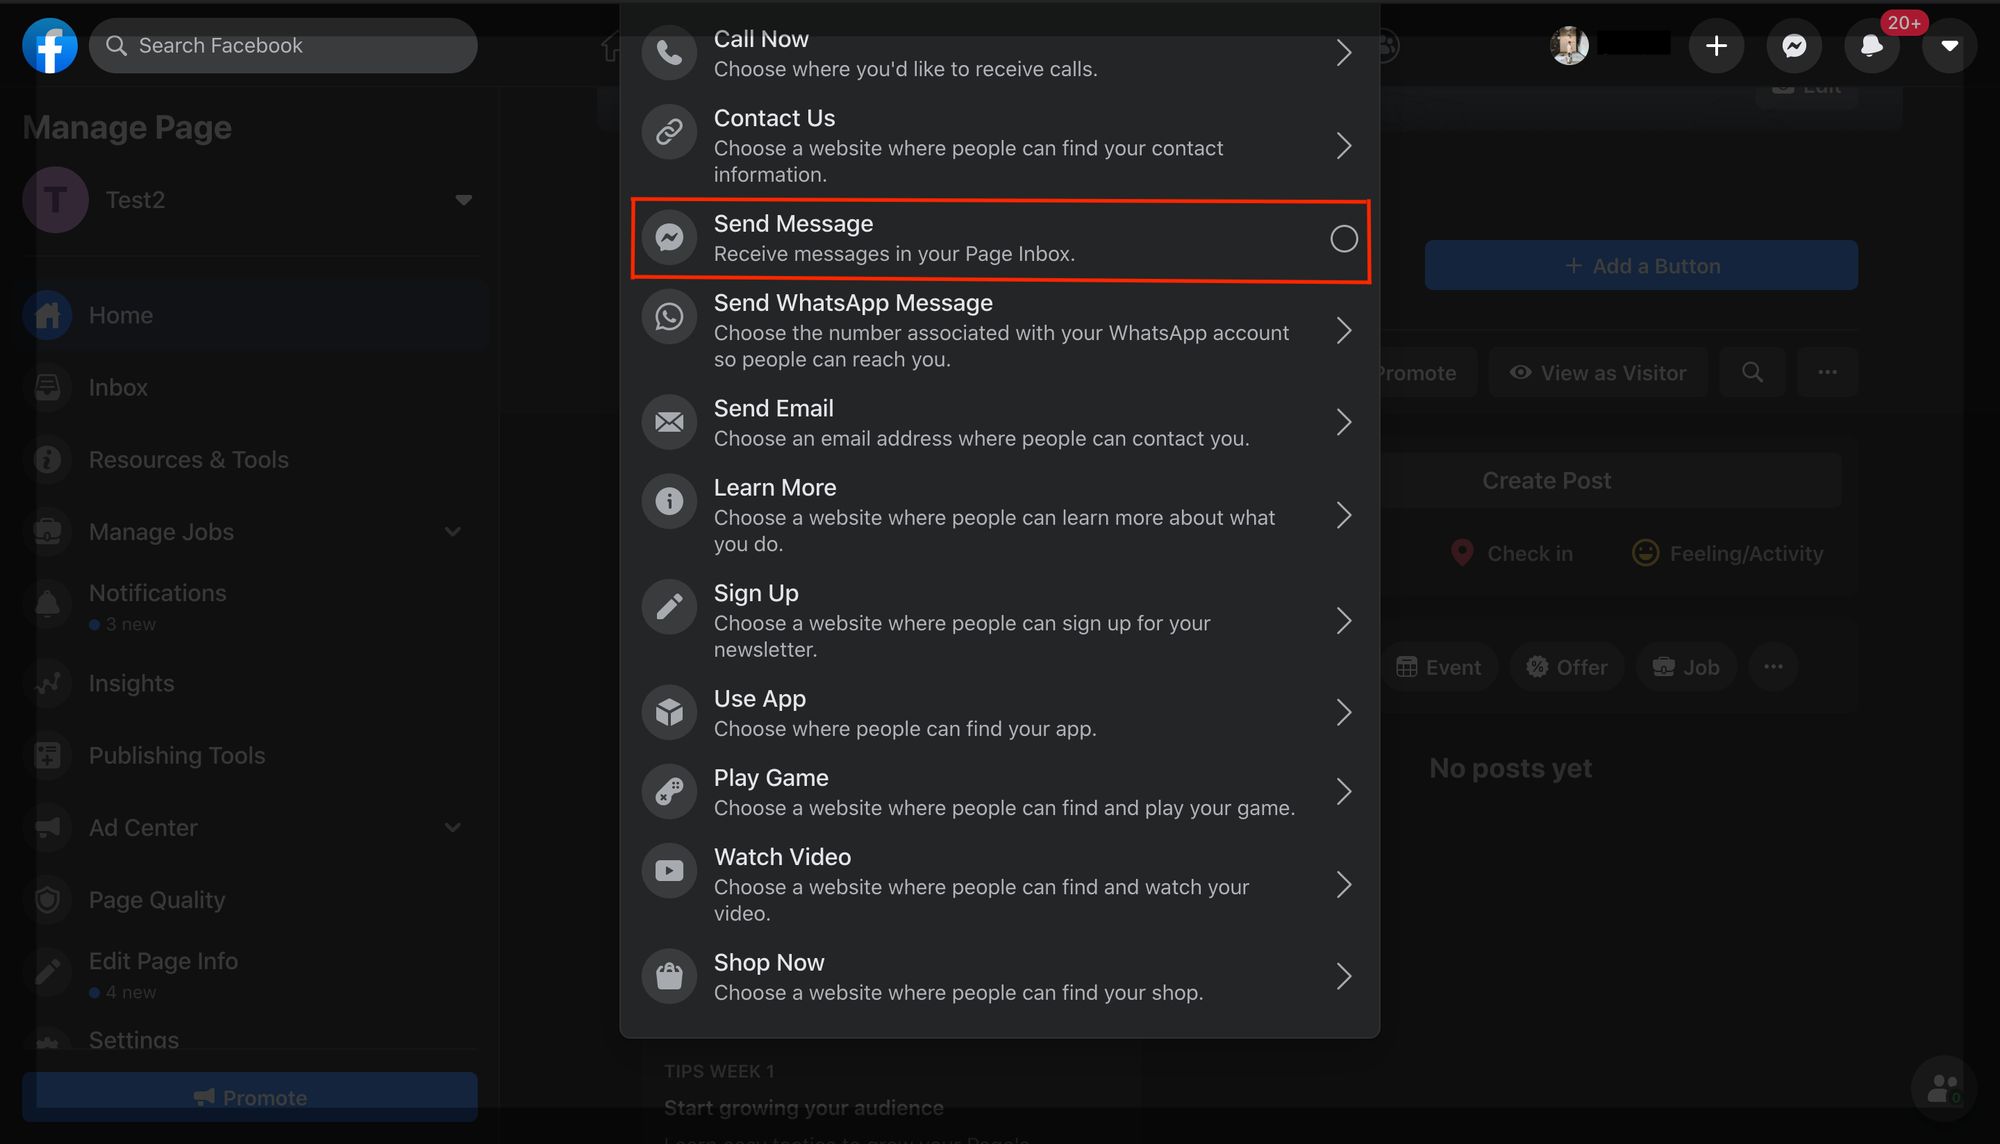
Your Facebook Page is also searchable through Messenger in-app search. So Facebook Messenger power users can message you directly without landing on your Facebook Page. But for those that do, there are some optimizations you can make.
Facebook Messenger for Business: Page Chat Window
What if Page visitors miss the Send Message button? You can prompt visitors to message you instead. When activated, the setting will prompt Facebook users to send a message with a pop-up chat window on the bottom right.
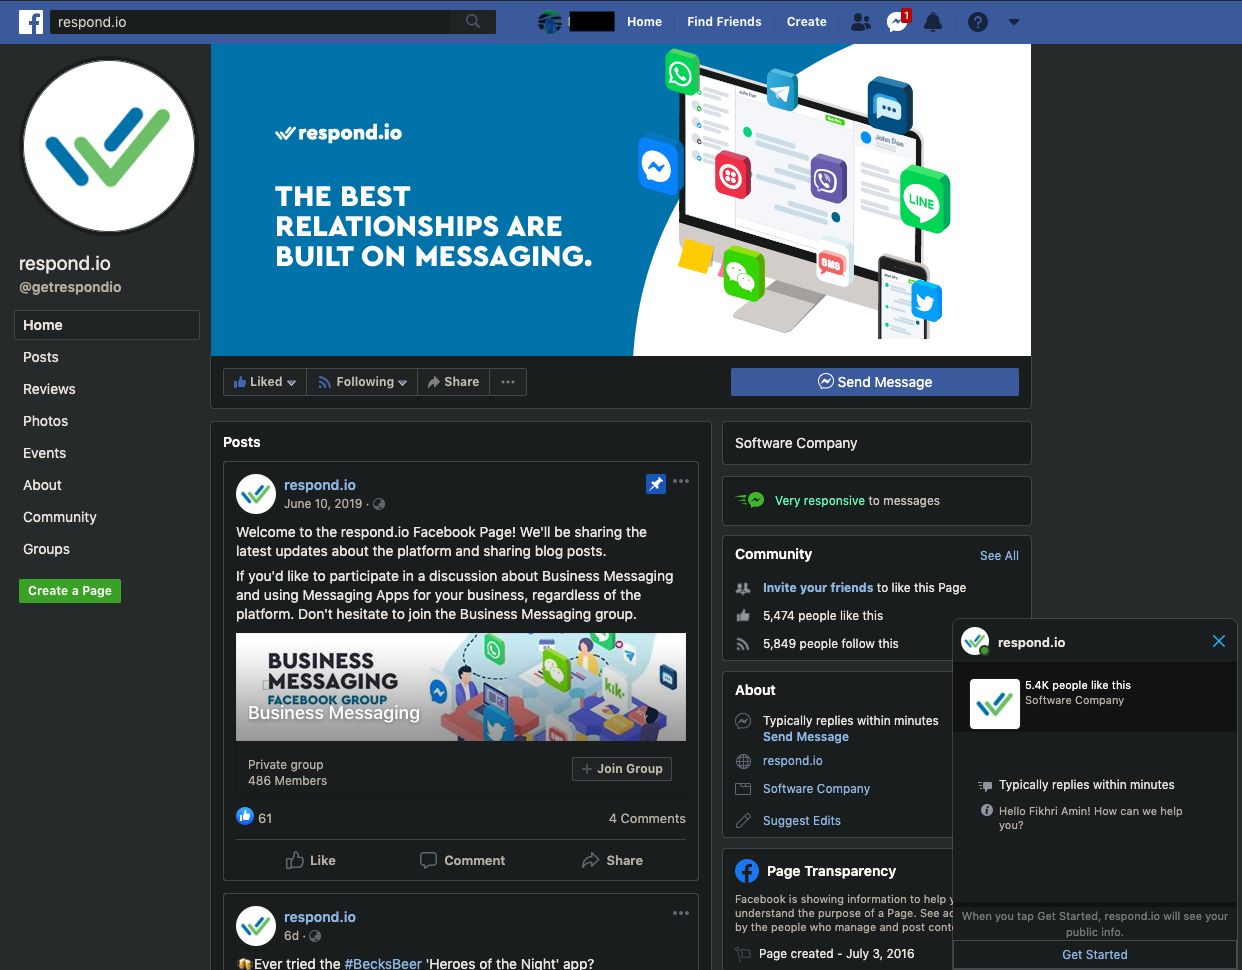
To enable the chat window, turn on Prompt people to send messages in Settings. You’ll be able to message Page visitors back once they’ve messaged you. Please note that your Page needs a responsive to messages badge to see this option.
Facebook Messenger for Business: Comment Private Replies and Auto Reply
Even if users don’t message your page, sometimes you can still send them a private message. Users may leave a comment on your post asking for additional explanation, businesses can you this opportunity to respond privately through Messenger.
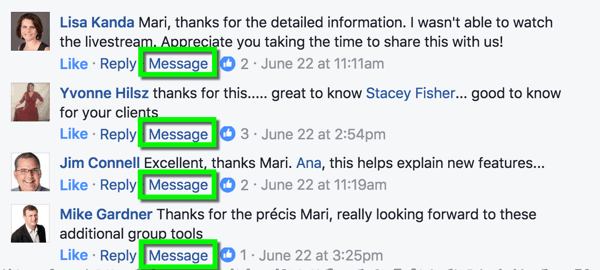
Businesses can send Private Replies to users by pressing the Message button on Facebook. Or Set up Facebook Comment Auto Reply on the respond.io platform and automatically send a message to each user than comments on their posts.
Facebook Messenger for Business: Click-to-Messenger Ads
Once you’ve converted all your existing customers to Facebook Messenger Contacts, you’ll want to reach out to new audiences. Using Click-to-Messenger Ads, you can direct Facebook users directly to a conversation with your business.
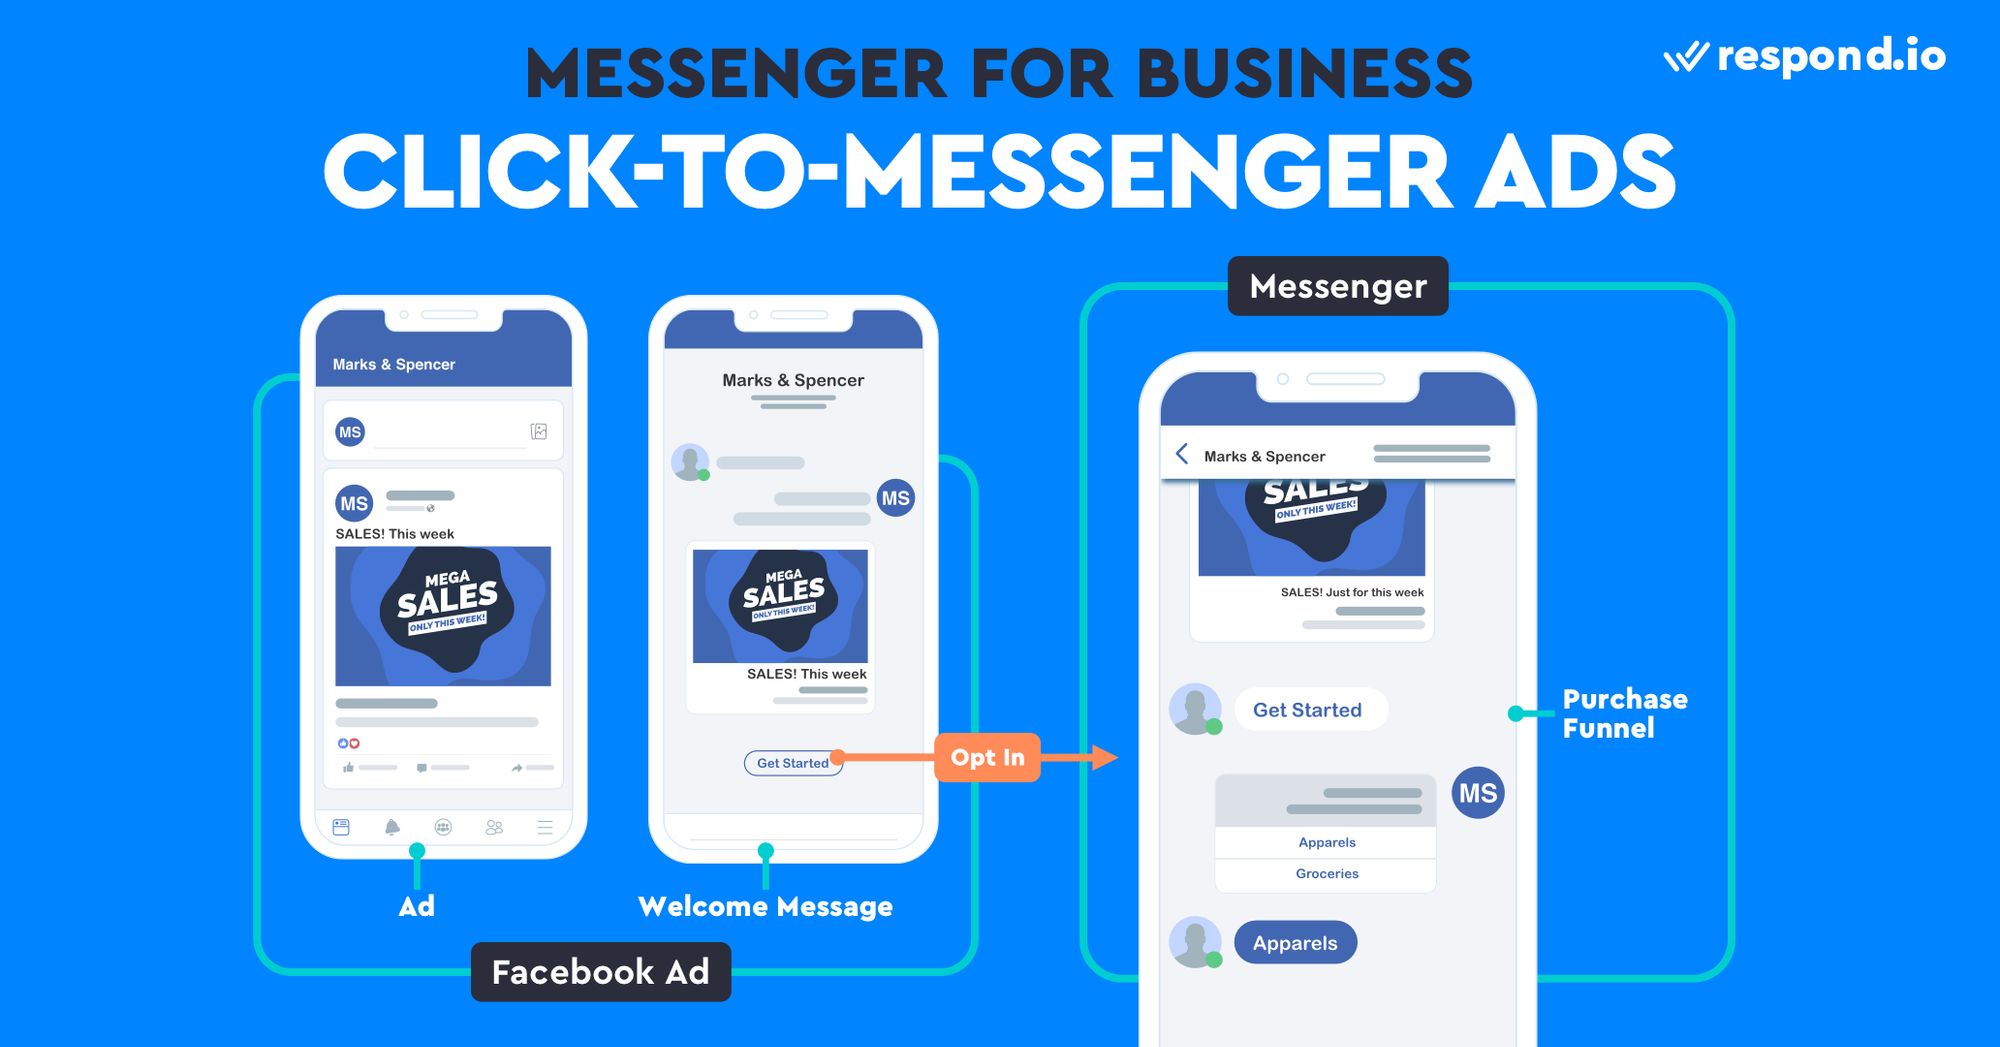
Consider your current funnel, it’s probably a Facebook ad that directs a user to a landing page with a form, then you sent them an email. By skipping these steps and going directly to a Facebook conversation, you can increase your conversion rate by 10x.
Click-to-Messenger ads can be placed in Facebook news feeds, Messenger Inbox and even on Instagram. Learn how to set up Click-to-Messenger ads and how we generated over 4,000 Messenger contacts with a Click-to-Messenger campaign.
Facebook Messenger for Business: Customer Matching
We’ve discussed all the best options above, but there is one additional one worth mentioning. Facebook Customer Matching. With Customer Matching, you can upload your customer's phone numbers to Facebook and start messaging right away.
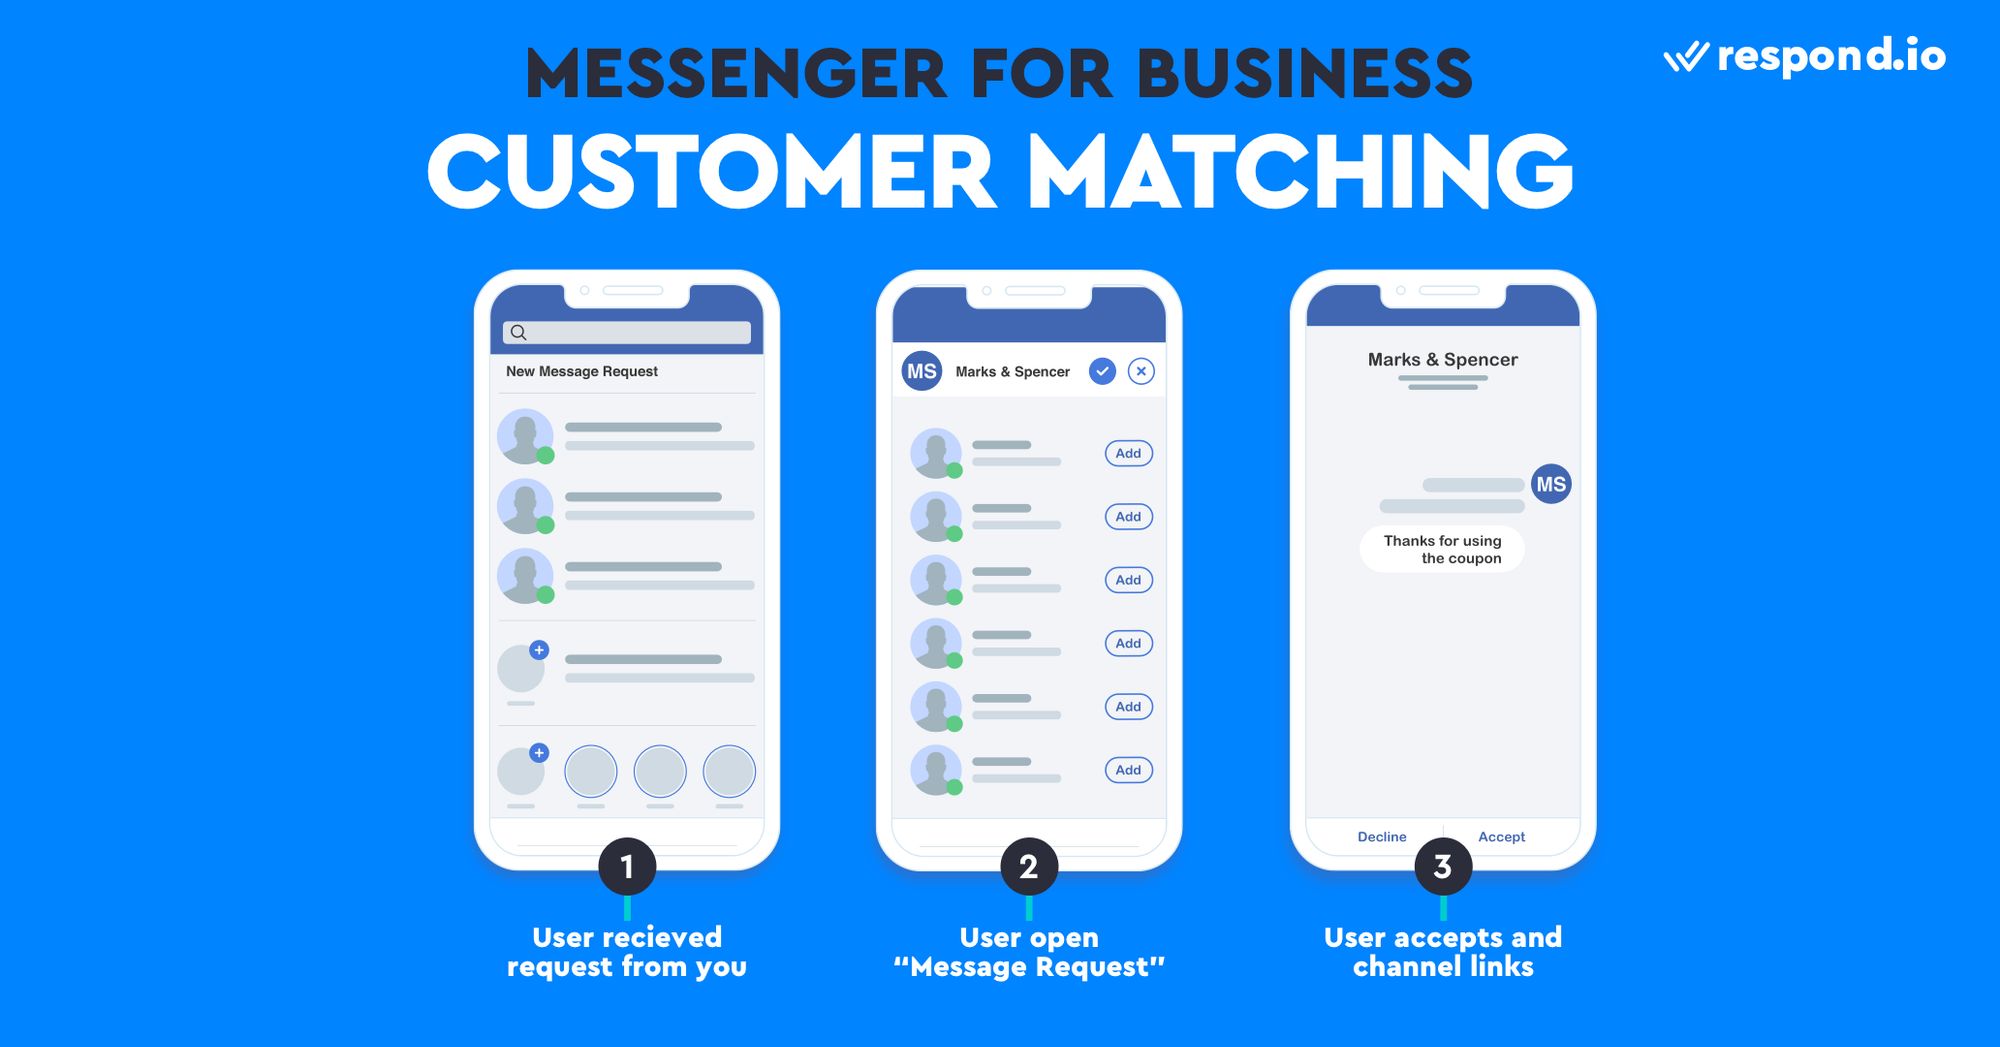
So why did we leave this amazing feature for last? It’s currently in Beta and only available to US customers. So, unfortunately, we haven’t had the chance to test it out or explore if Facebook will ever expand this Beta program.
Messaging Customers Using Facebook Business Chat
Now that you know how to find your customers on Facebook Messenger, it is time to send a message from your Facebook Business Page. There are two ways to respond to customers on Facebook Messenger for business: via a third-party CRM platform or via Page Inbox.
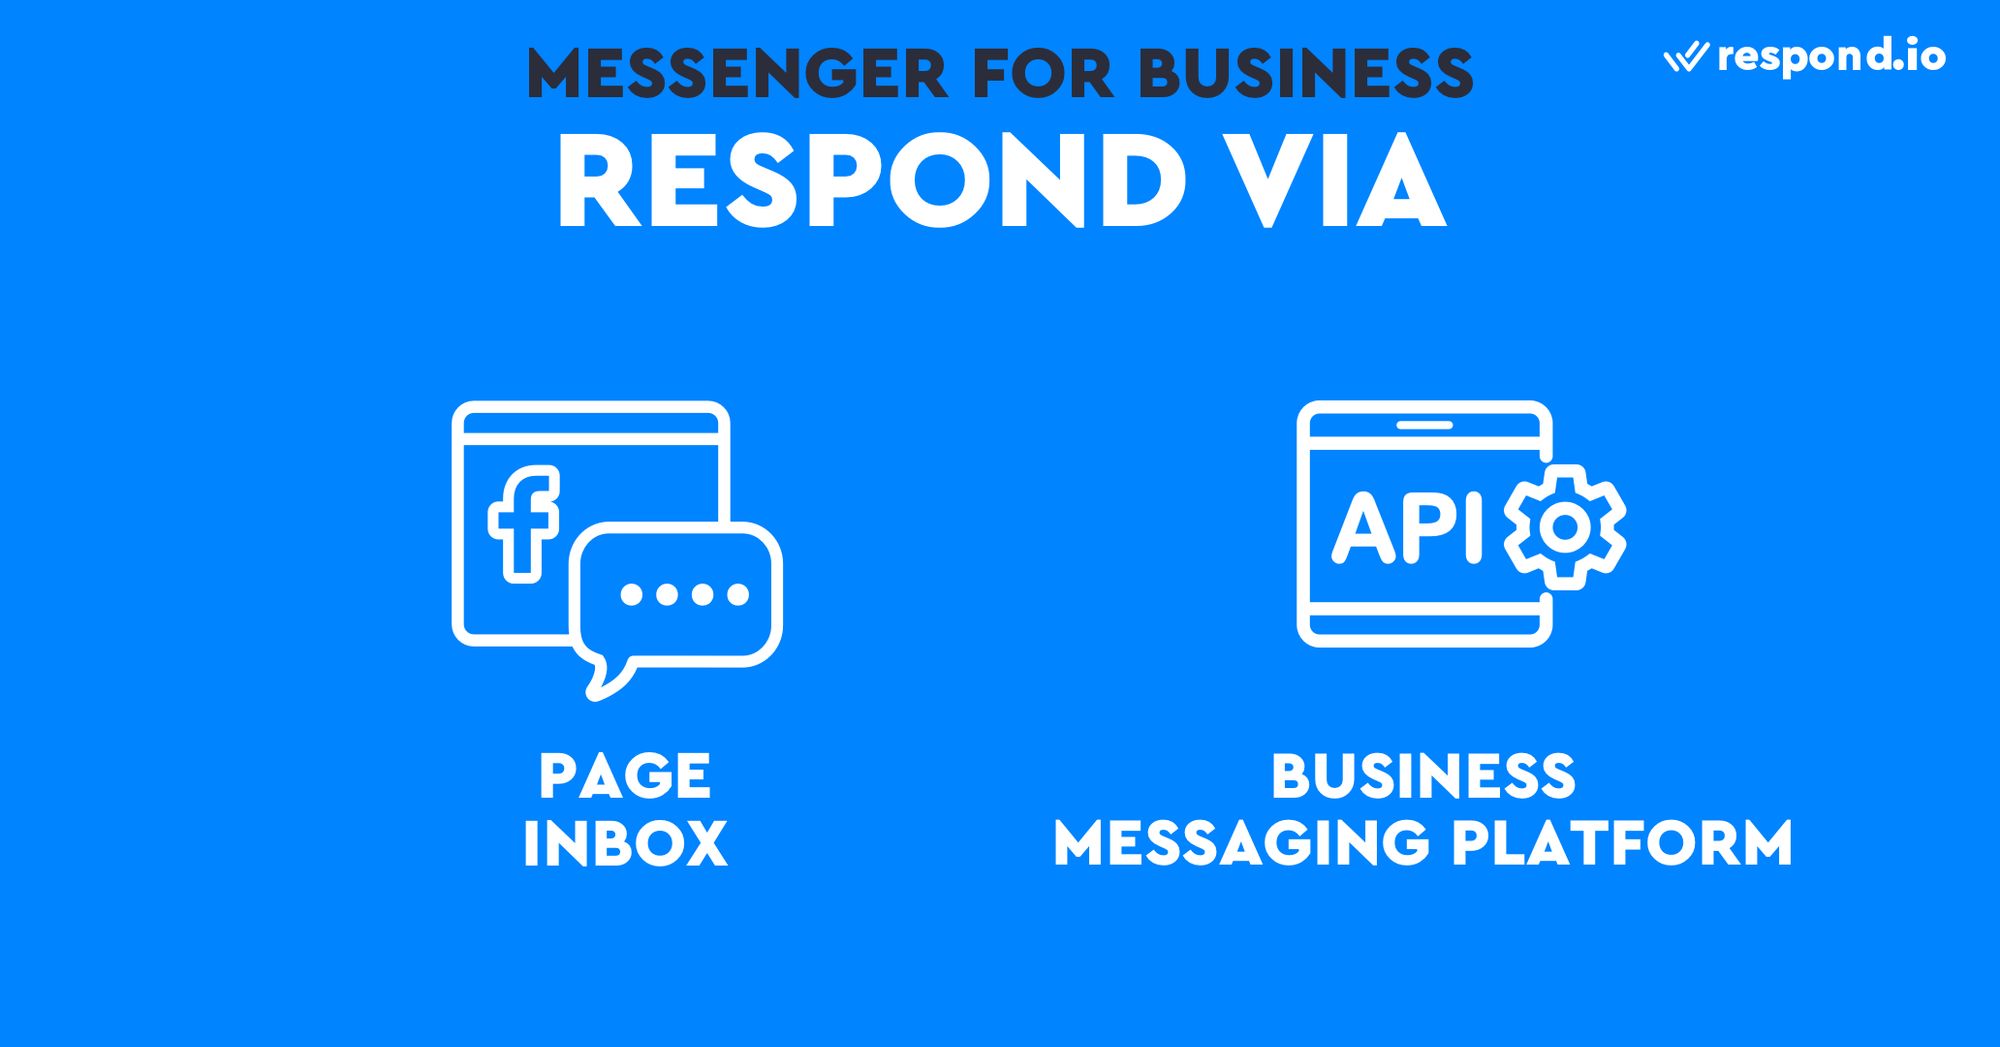
Page Inbox makes it relatively easy to use Facebook Messenger for business. It allows Page owners to respond to messages received through Messenger and Instagram Direct. Plus, Page Inbox provides advanced organizational features like labels and notes.
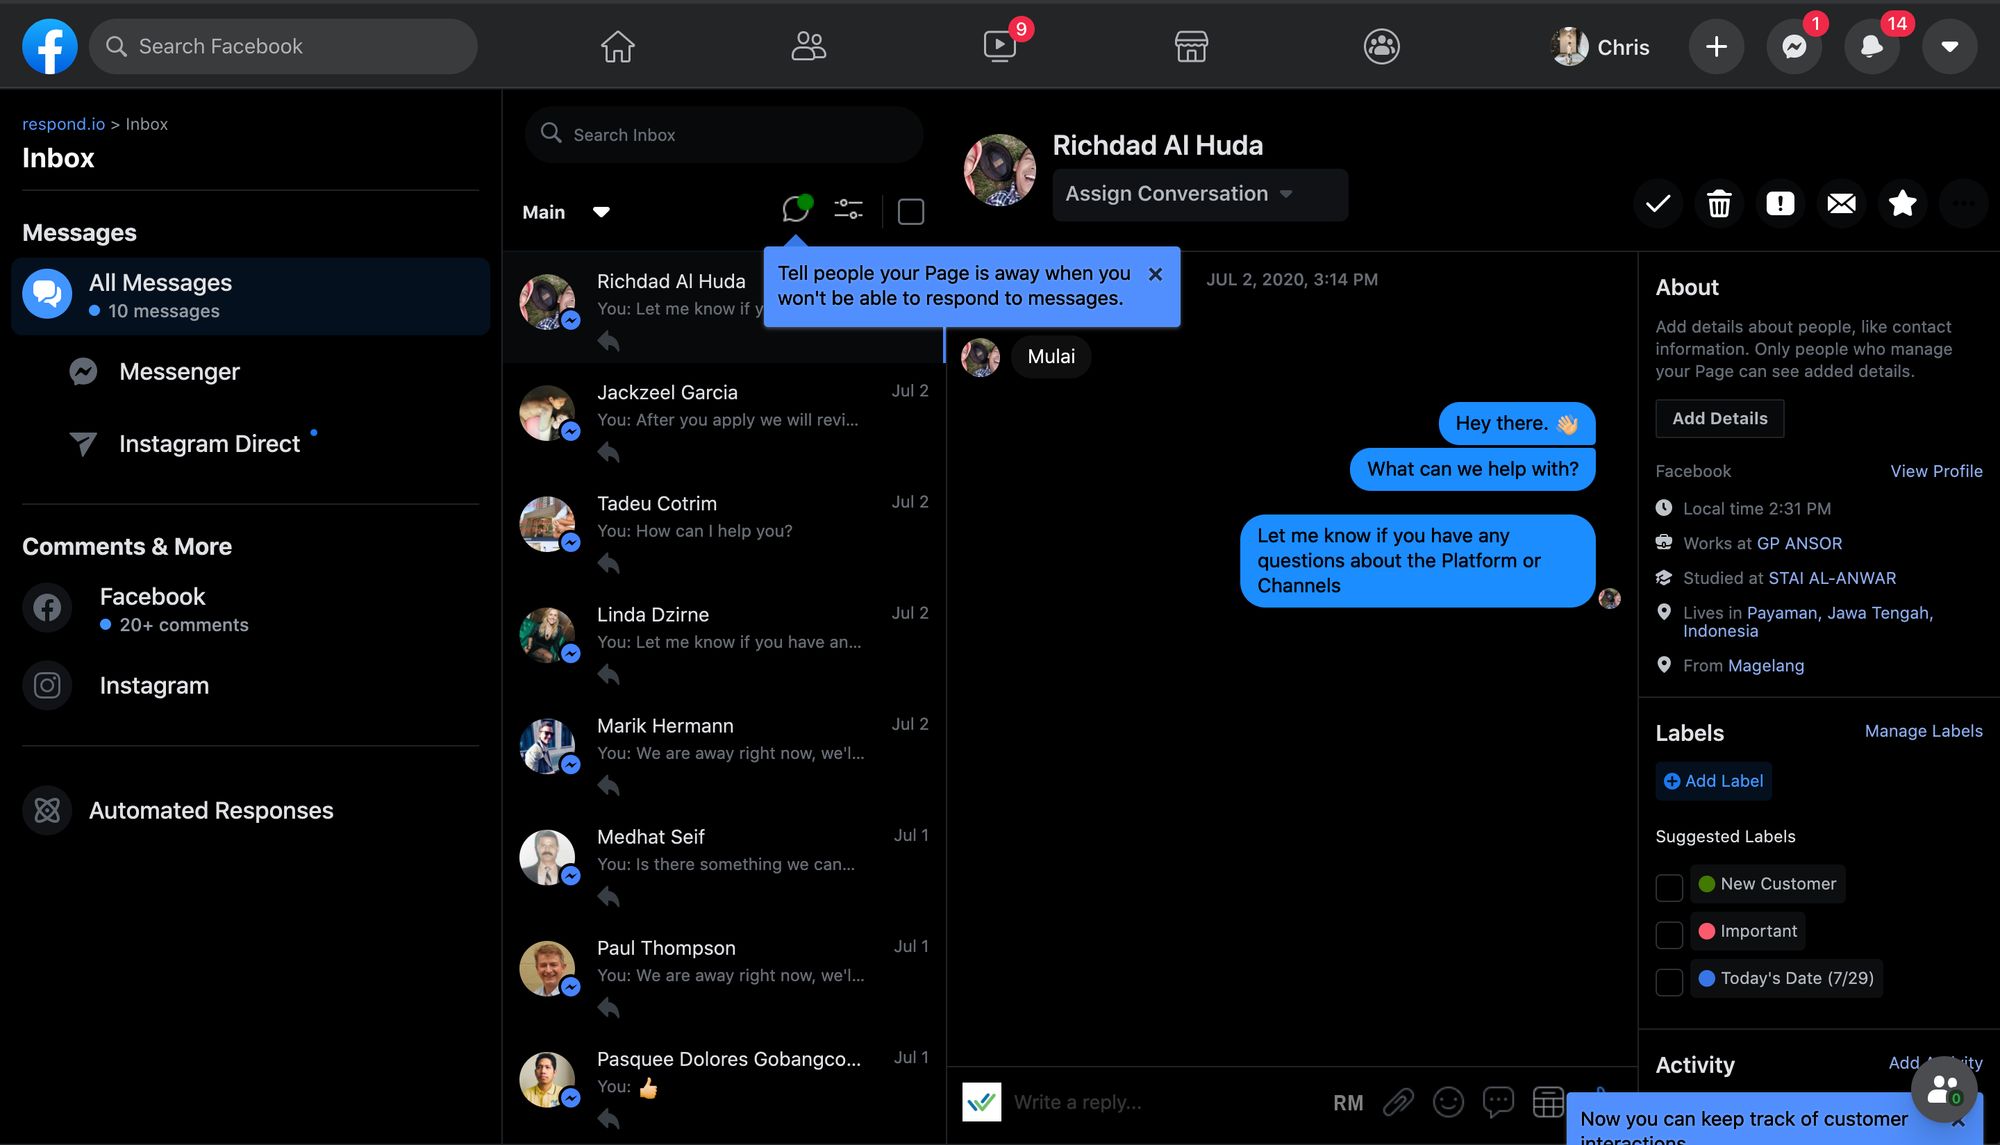
While Page Inbox is relatively feature-rich, it’s not suitable for large businesses with many Messenger contacts. If a Page sends too many messages in a short time period, it will lose access to Page Inbox and have to manage messages through APIs.
As with other messaging apps business accounts, Facebook Business Chat has certain limitations that will affect messaging with customers. We’ll describe these features in terms of 1:1 Messaging, Broadcast Messaging, Notifications & Group Messaging.
Facebook Business Chat: 1-to-1 Messaging
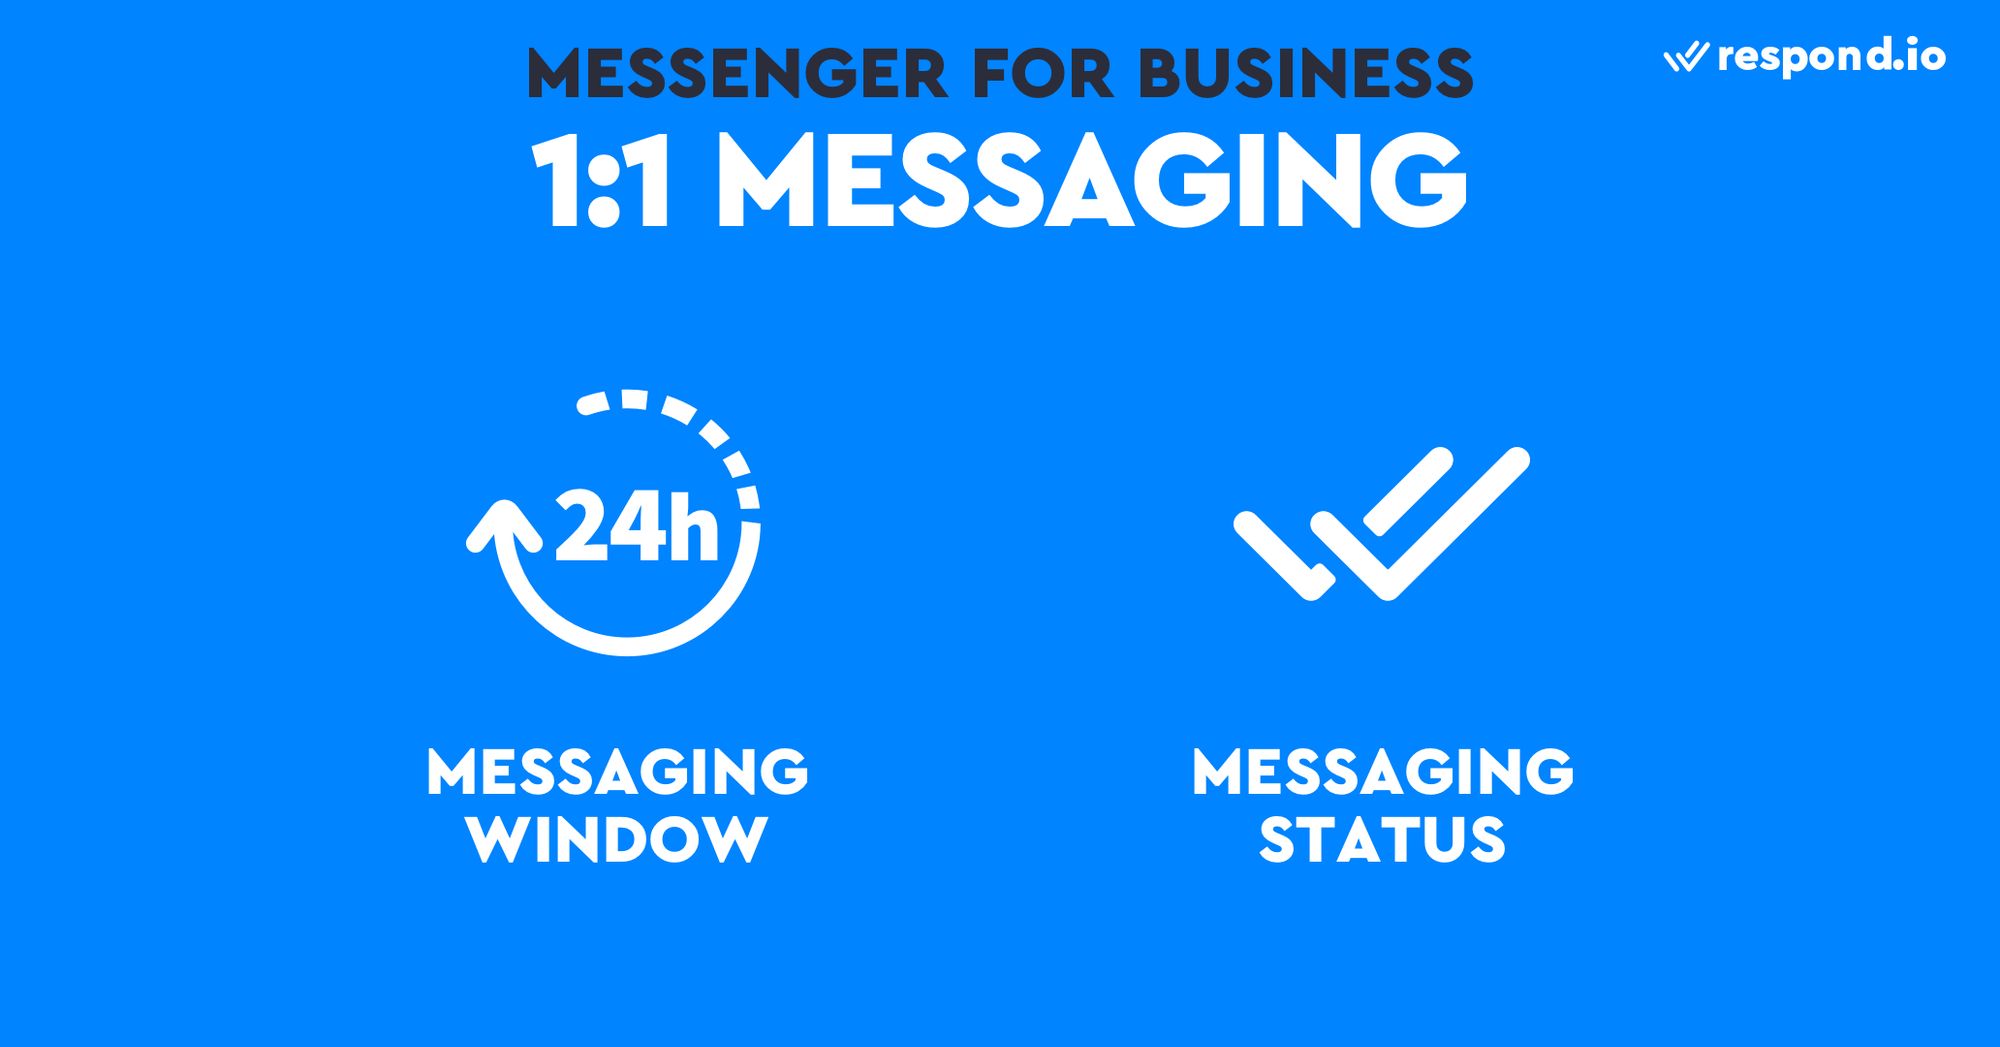
Facebook has a few rules and features that you’ll need to understand to message customers successfully. The most important one is the Facebook Messaging Window. While Read Receipts and Personas are not as essential they are nice to have tools.
Managing heaps of daily 1:1 conversations while keeping customer satisfaction high is challenging. For that reason, we recommend integrating Facebook Messenger with an AI-powered customer conversation management software.
If you choose respond.io, you’ll be able to reduce costs, response times and agent load with the Respond AI features: AI Agent, AI Prompts and AI Assist.
Facebook Messaging Window & Facebook Message Tags
Being able to respond to Facebook users makes conversations with customers a lot easier than email. To prevent companies from spamming users after this initial conversation Facebook has implemented a 24-hour Messaging Window.
After 24 hours, businesses can still respond to those customers, but they will have to send their message with a Facebook Message Tag. Facebook has enabled four message tags: Confirmed Event Update, Post-Purchase Update, Account Update, and Human Agent.
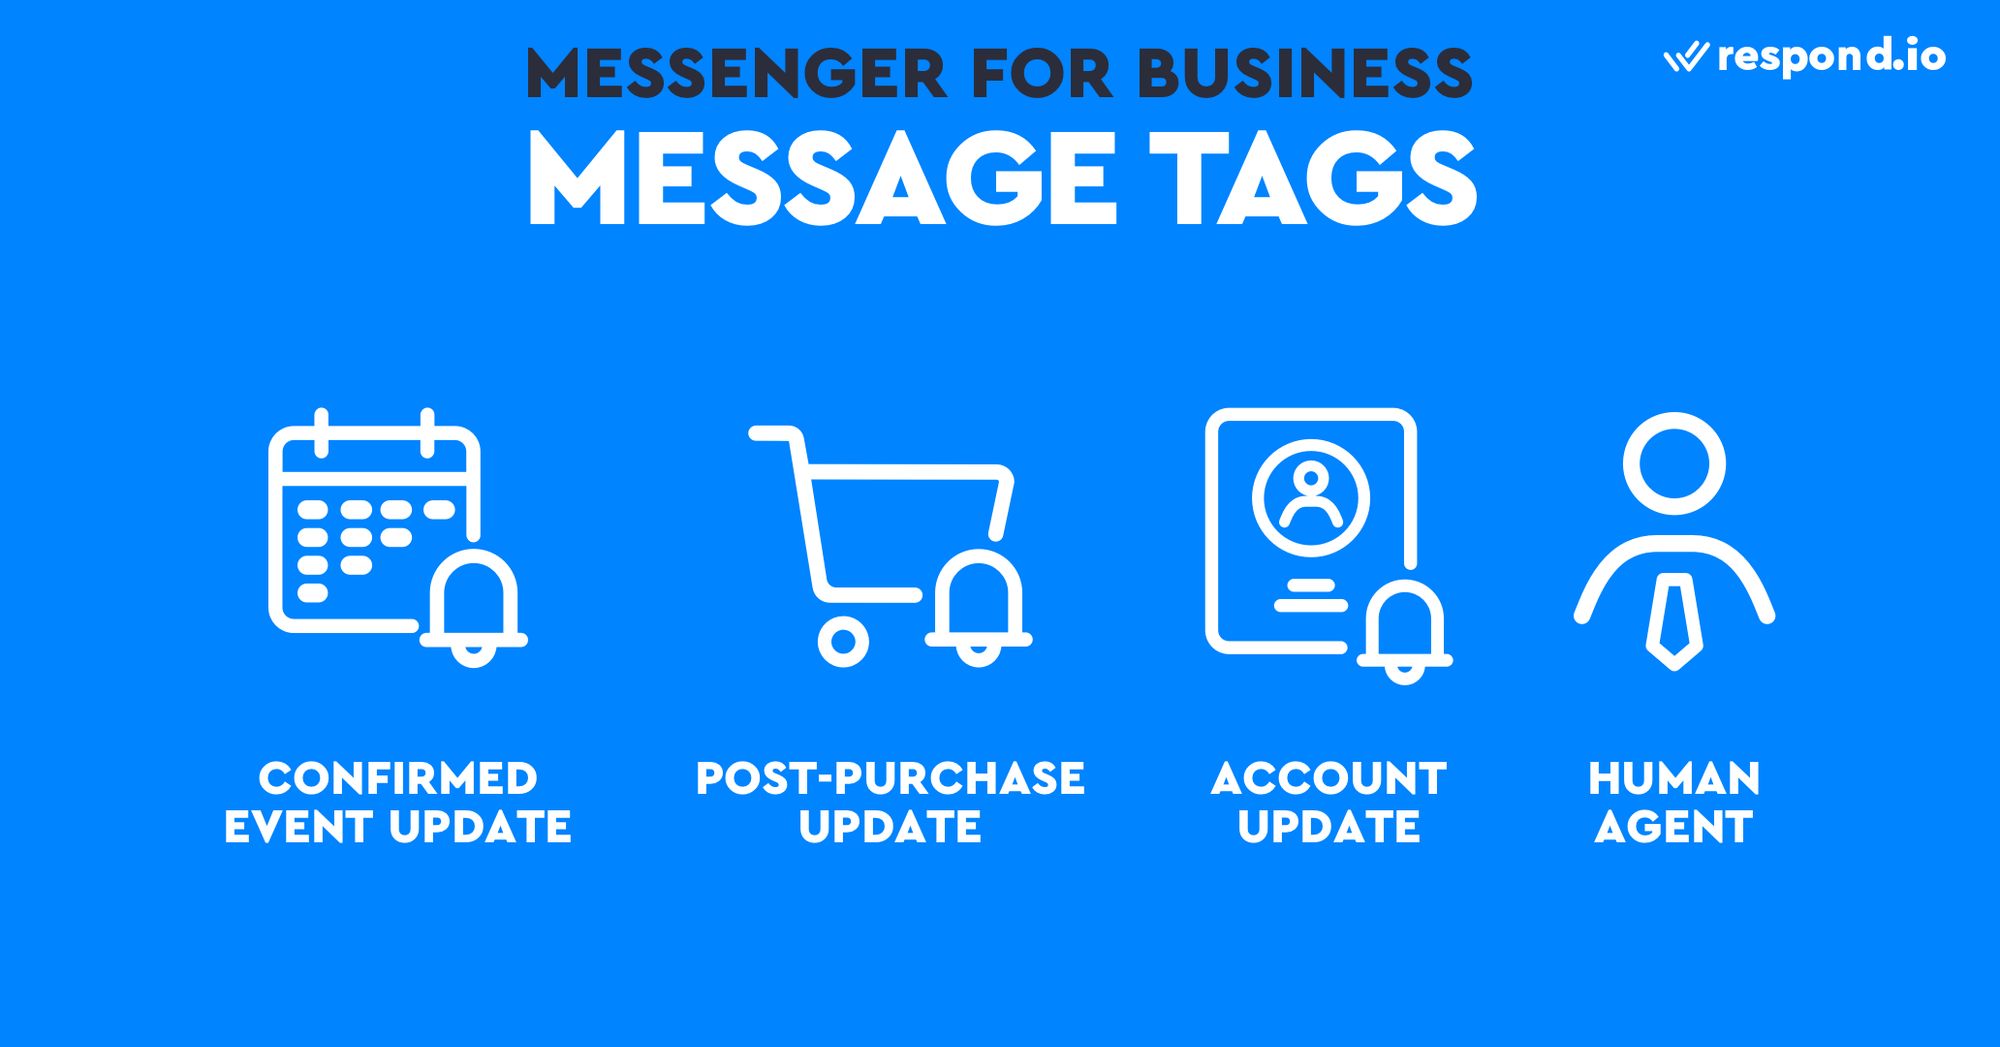
Each of the first two tags enables companies to update customers after certain customer actions. Confirmed Event Update tags allow event reminders and Post-Purchase Update tags allow shipping status updates.
Account Update Tags enabled companies to notify users of account changes like terms and conditions or issues like fraud alerts but cannot be used to send recurring content like monthly statements.
The Human Agent tag is designed to enable customer service by enabling agents to respond to issues within seven days rather than 24 hours. The Human Agent tag is currently in Beta and is only available to some CRMs like respond.io.
Keep in mind Facebook may restrict your Page if you use message tags outside their intended purposes. In our experience, Facebook will provide a warning first and then start restricting page usage for a day, then two days, etc.
Send/Read Receipts & Personas
Chatting with customers over Facebook is awesome, but Facebook provides a few extra features to make it even easier. When connected to a Messaging CRM, Facebook will pass read receipts to the platform, so you know when the customer has read your message.
Facebook is helping to handle something unusual for customers who know the brand they are talking to but do not know the name of the rep or agent. Now, Facebook can display the name of the agent responding to the customer.
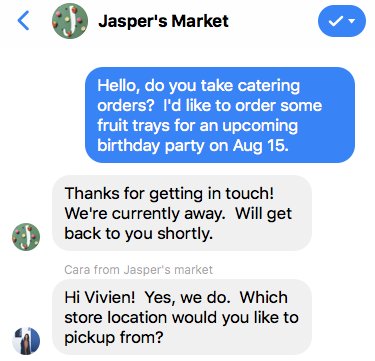
Businesses can create a persona with a new icon and name in the Messenger conversation to add a personal touch. However, this feature is only available when connected to a Business Messaging platform via API.
Facebook Business Chat: Broadcast Messaging
One-to-one messages are great for customer service, but for marketing and other use cases, you might want to use broadcasts. There are two ways to send Facebook Messenger broadcasts: Sponsored Messages and Message Tags.
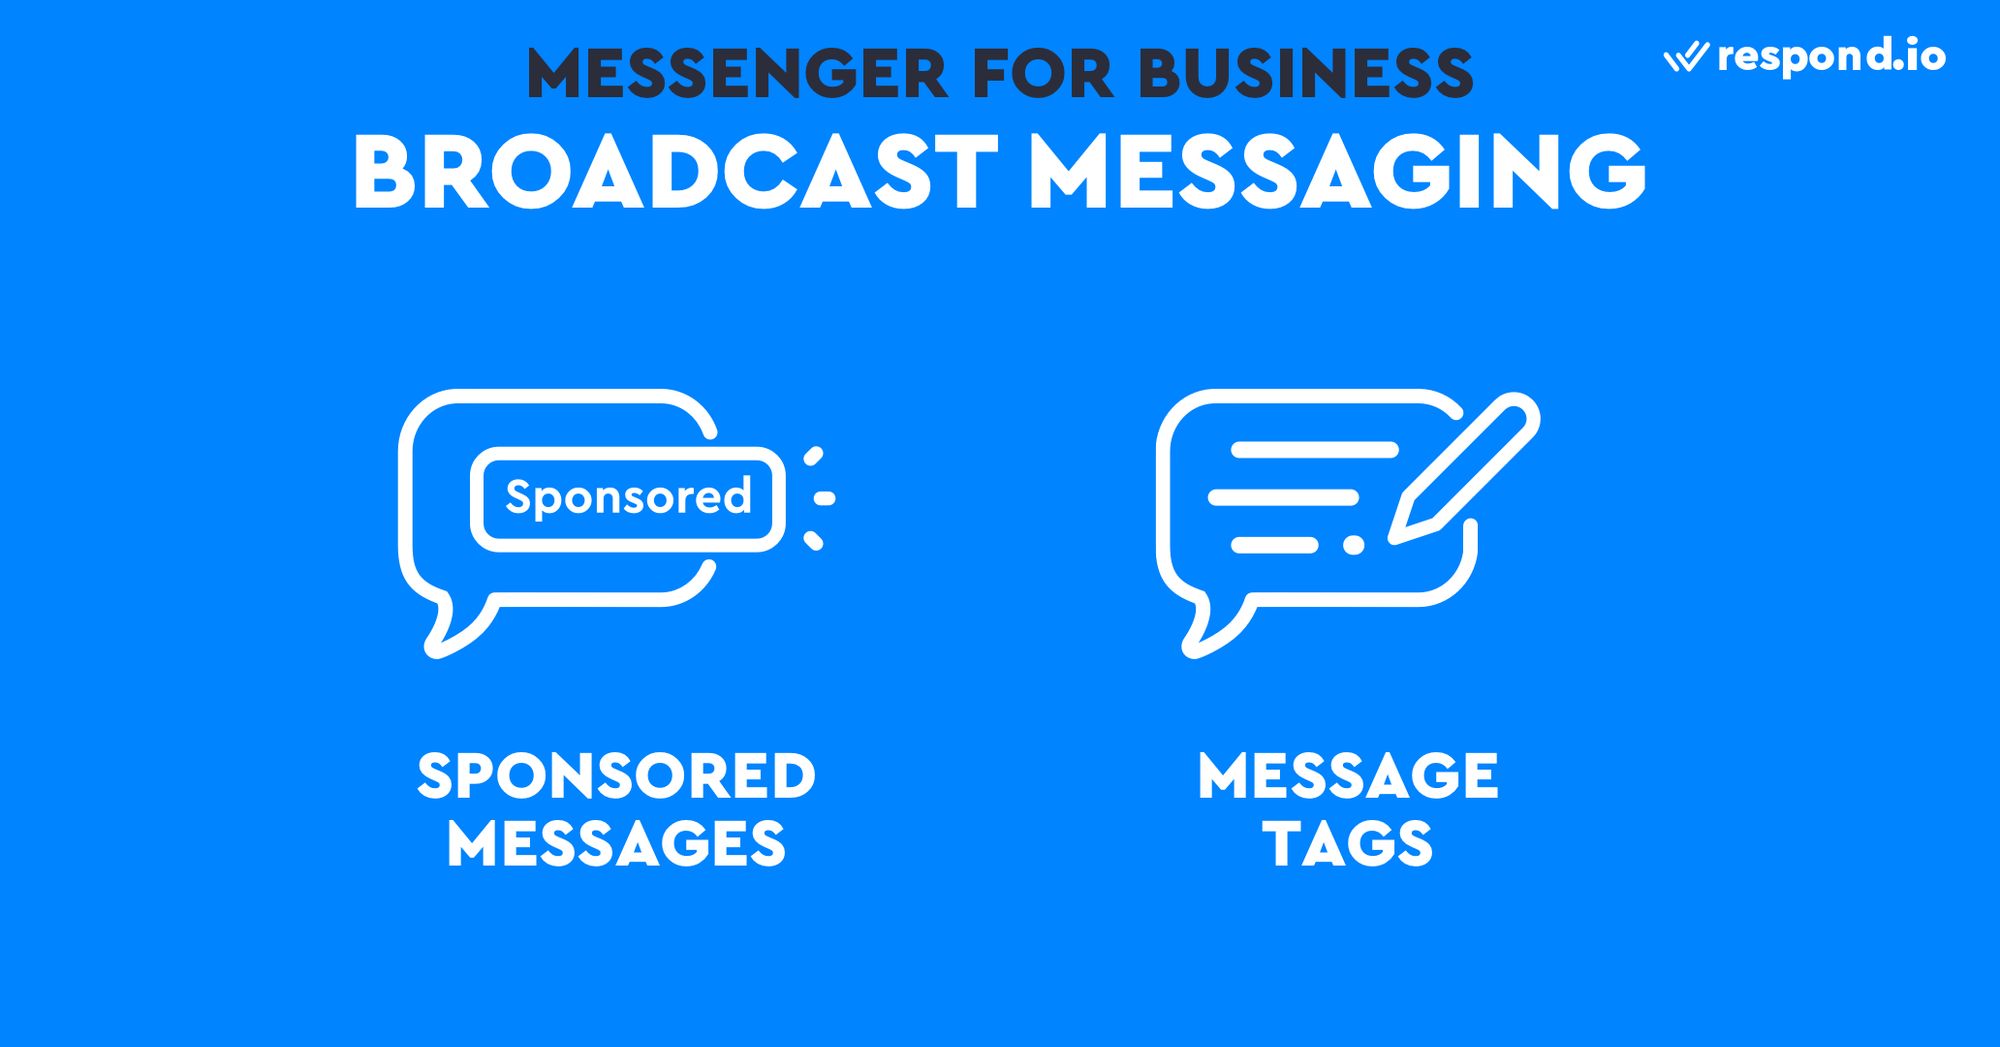
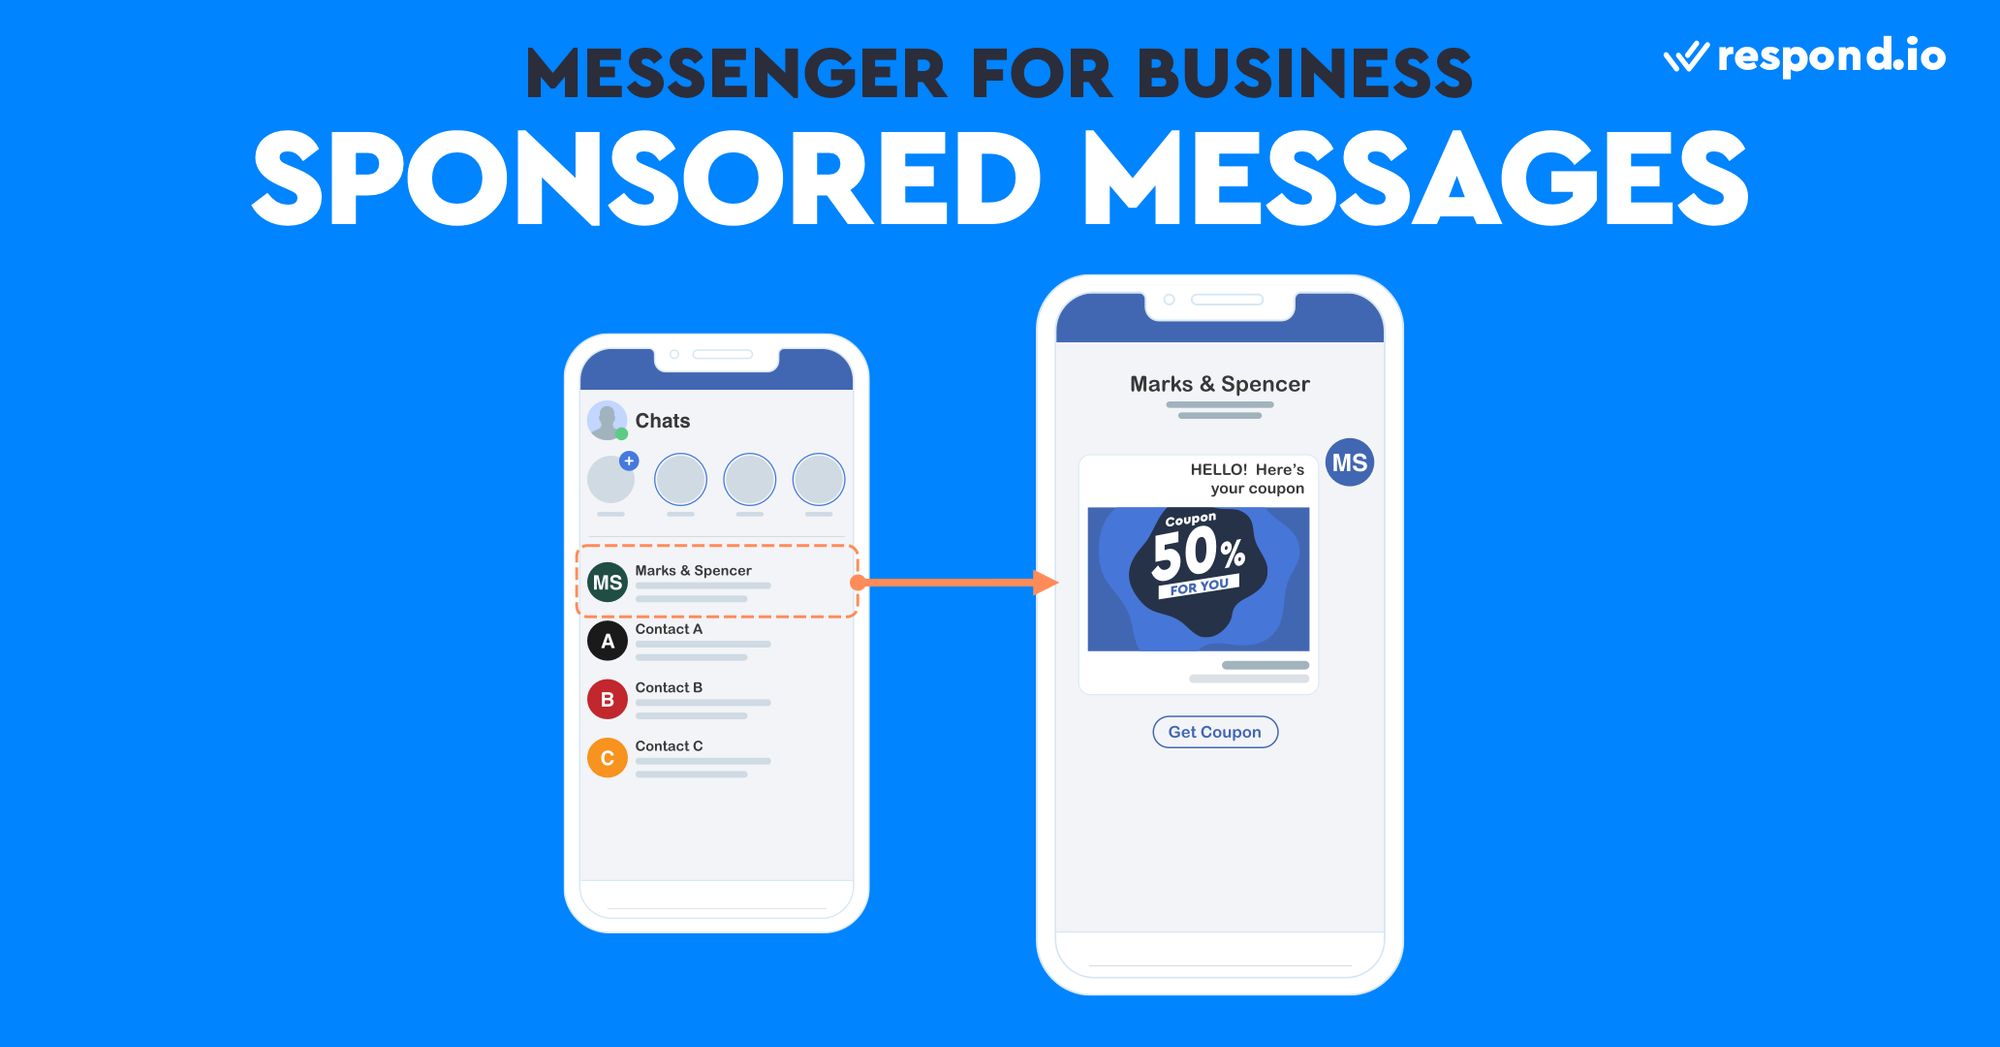
For a marketing use case, you’ll need to use Facebook Sponsored Messages. Using Sponsored Messages, you’ll be able to reach out to your current Facebook Messenger Contacts with a promotion or some other Marketing message.
Of course, Facebook will charge you for this privilege. Although Sponsored Messages can be sent outside of the Messaging Window, you still shouldn't spam your customers, as it may limit your page usage if the block rate goes above a certain percentage.
For other use cases like notifications, you can use Facebook Message Tags for broadcasts. Although Facebook doesn’t encourage this, it doesn’t restrict this practice either. So you’ll need to use your own judgment to stay out of hot water.
Sending a concert cancellation notification broadcast using the Event Update message tag is a perfectly valid use case. However, it is likely easy to get in trouble if a lot of users start blocking your page and Facebook does provide one other way to send notifications.
Facebook Business Chat: Notification Messages
While it seems redundant, Facebook offers another way to send notifications called One-Time Notifications. Businesses can ask users to opt-in to a one-time notification for a specific reason. This system cannot be used for recurring notifications.
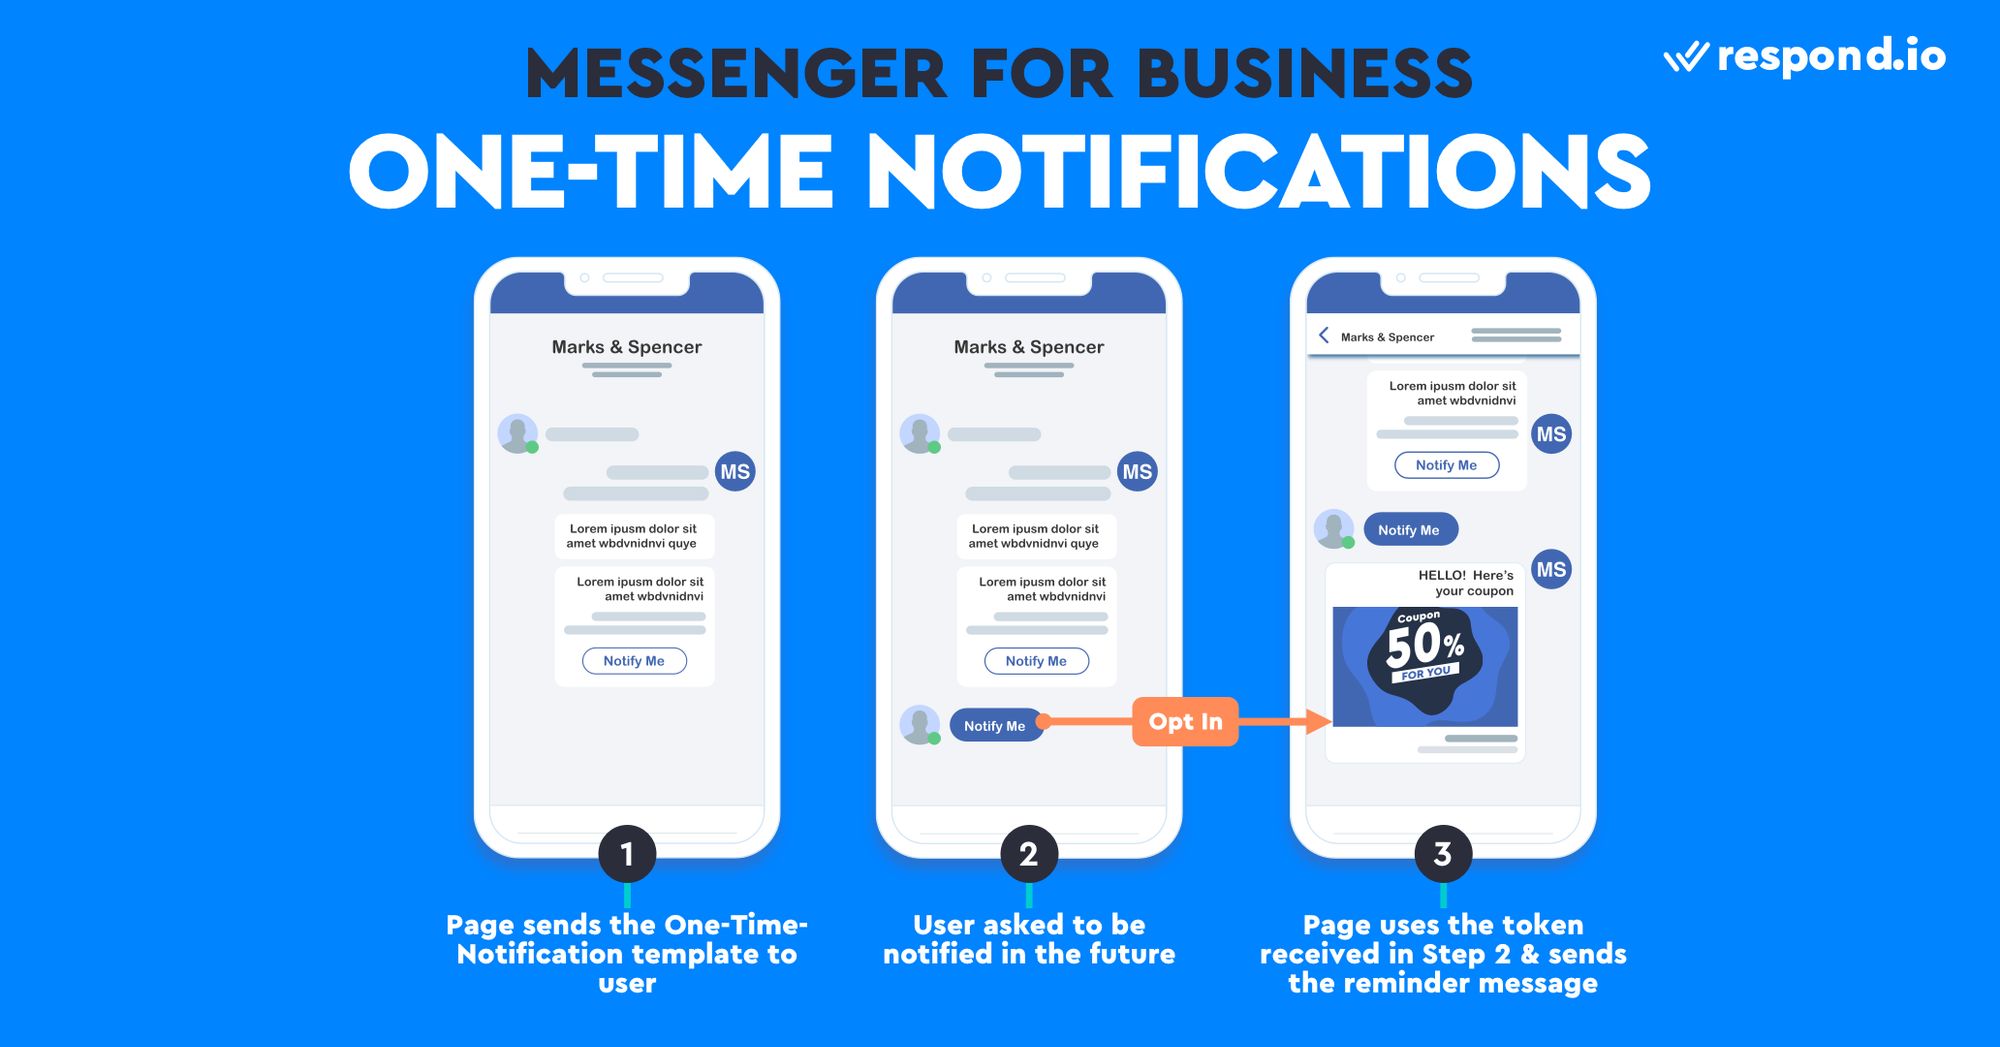
Once the user has opted in, the Page will receive a token, which is equivalent to permission to send a single message to the user. The token can only be used once and will expire within one year of creation.
Facebook Business Chat: Group Messaging
Group messaging has become important for some business use cases like sales. And you’ll be pleased to learn that Facebook Messenger bots can be added to group chats.
Once group chat support is enabled, your Messenger Bot will show up in the Add people dialog in an existing group chat thread.
FAQ and Troubleshooting
What does business chat mean on Facebook Messenger?
Business chat on Facebook Messenger refers to the use of Messenger by businesses to communicate with customers in real time. This can include customer support, answering queries, providing information, processing orders, or engaging in marketing activities.
How to use Facebook Messenger for business?
There are several things you can do to capture customer conversations on Facebook Messenger:
Set up Messenger on your business page
Add a Send Message button to your profile
Allow messages from event guests
Enable automated responses
Track Messenger analytics
Are there any costs associated with using Facebook Messenger for business?
Using Facebook Messenger for business is free by default, but there may be costs associated with running Messenger ads or using advanced automation, messaging inboxes or analytic tools provided by third-party services.
Facebook Business Chat: Infographic

You’ve made it to the end! Now that you have learned everything you need to know about Facebook Messenger for business, get ready to apply your newfound knowledge and take your messaging to the next level. To message customers with the leading AI-powered customer conversation management software, try respond.io for free.
Turn customer conversations into business growth with respond.io. ✨
Manage calls, chats and emails in one place!
Further Reading
If you're getting started with using Facebook Business Chat we recommend you read these three articles.


 Electronics
 Fashion & Apparel
 Furniture
 Jewelry and Watches
 Afterschool Activities
 Sport & Fitness
 Beauty Center
 Dental Clinic
 Medical Clinic
 Home Cleaning & Maid Services
 Photography & Videography
 Car Dealership
 Travel Agency & Tour Operator


